|
Total time: 2
Hours.. P E R F E C T!!!!!
Before starting, remove excessive dust from the headlights. You
don't want dust particles falling on the xenon projectors!
Good packaging for their international journey.
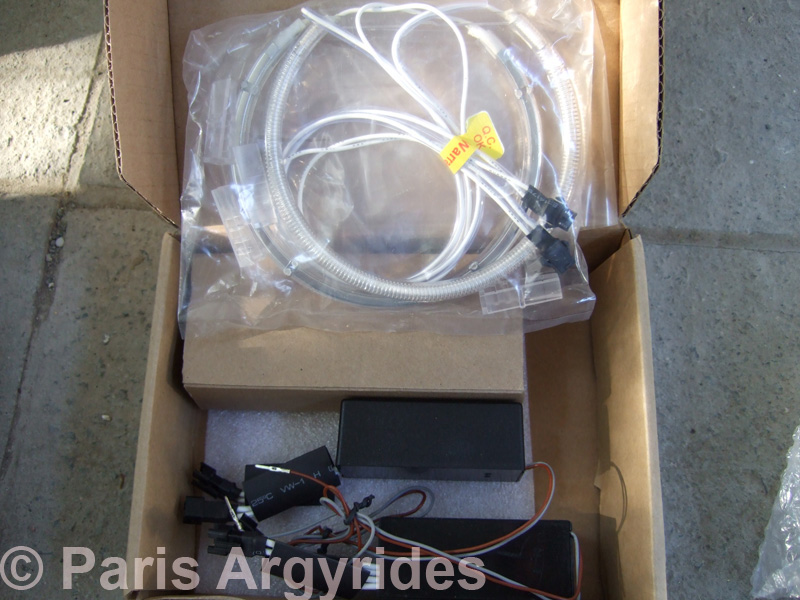
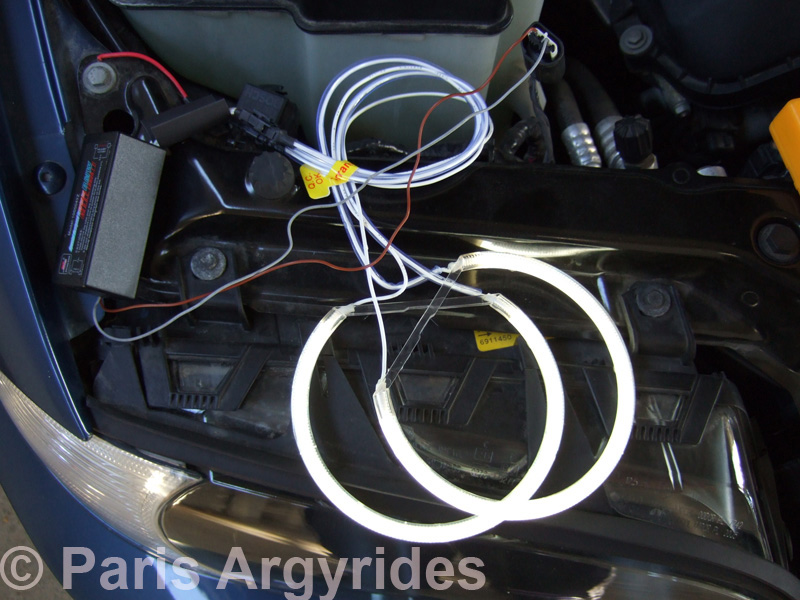
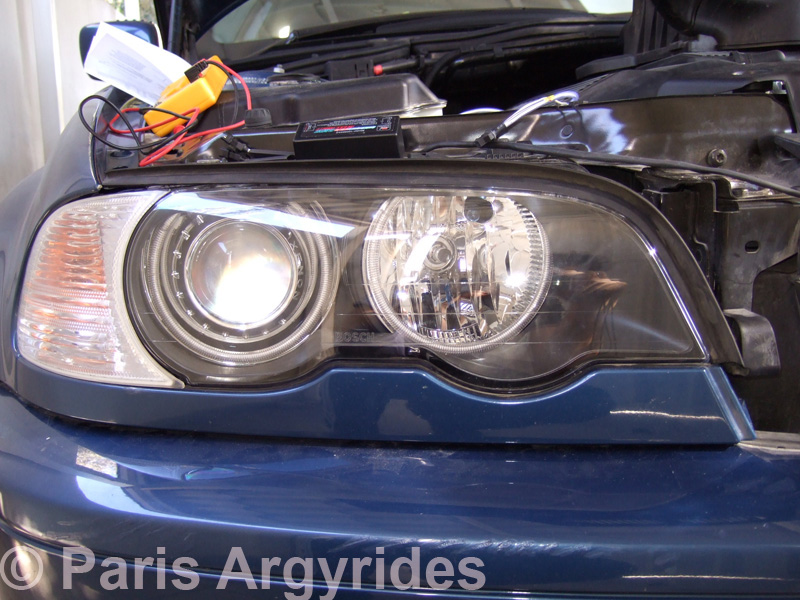
The inverter: Indeed no OBC error

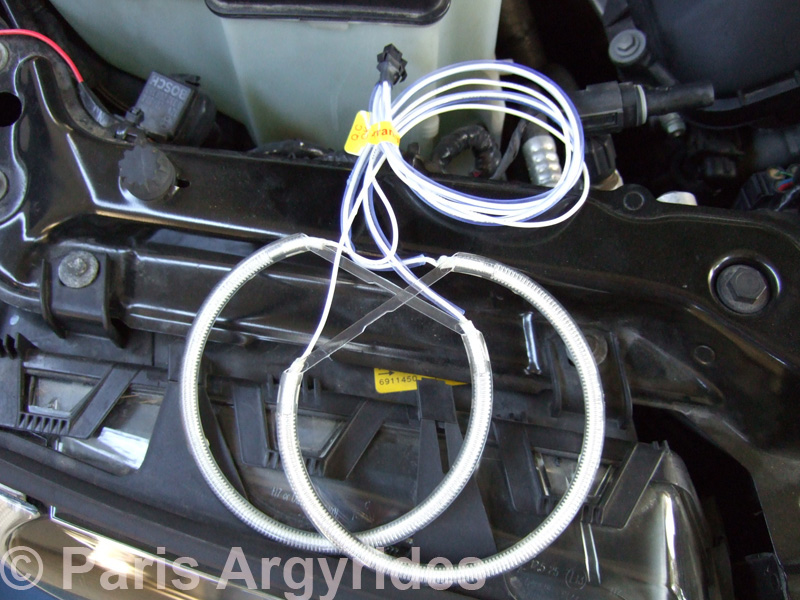
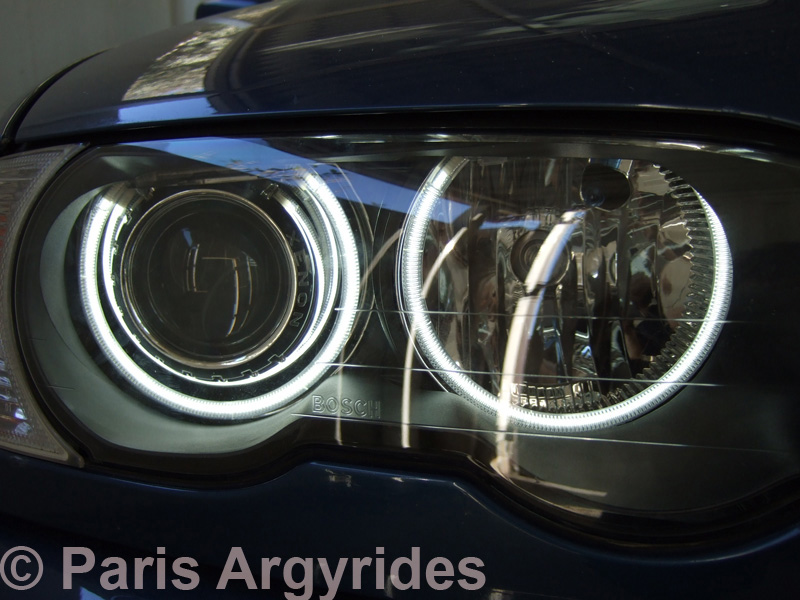
Preliminary testing:
Indicator out:
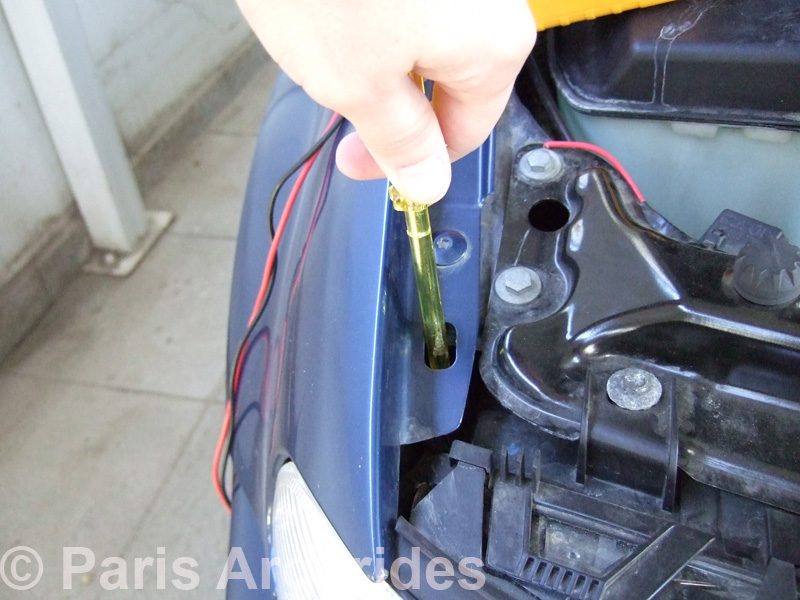
Bottom headlight trim must be removed as well
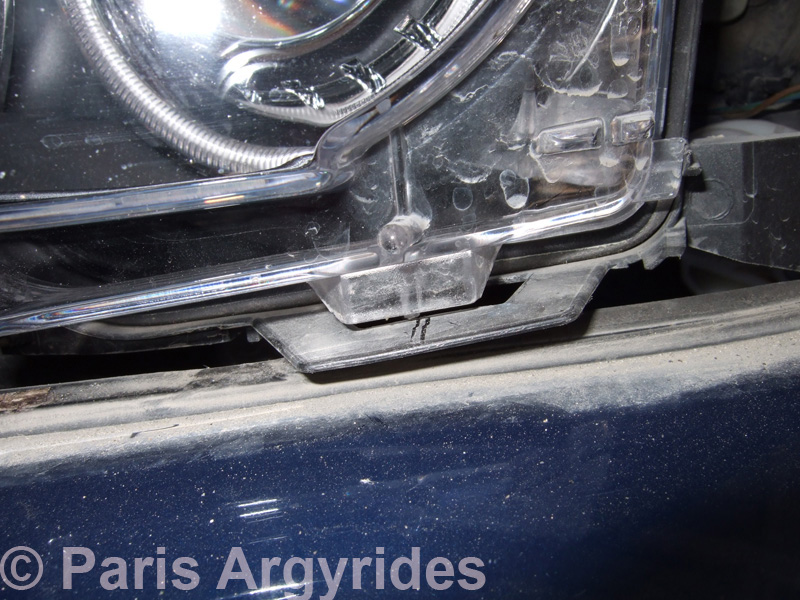
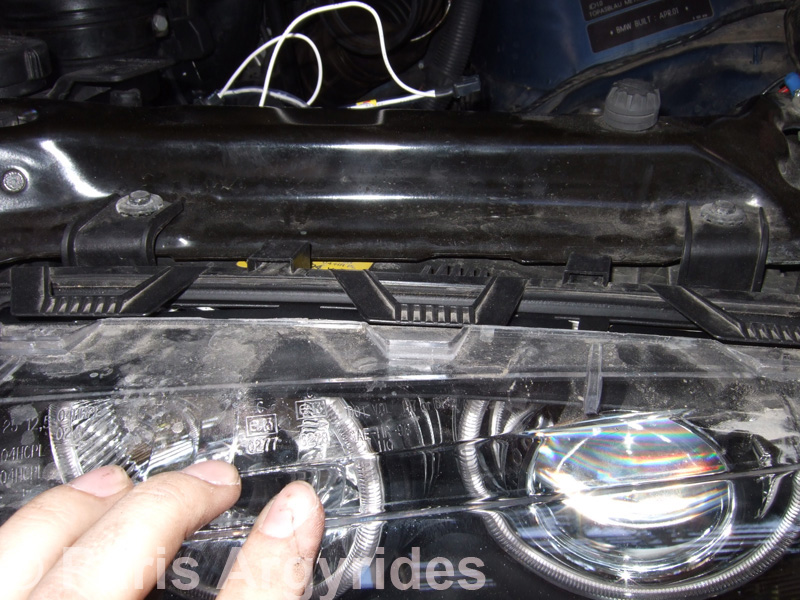
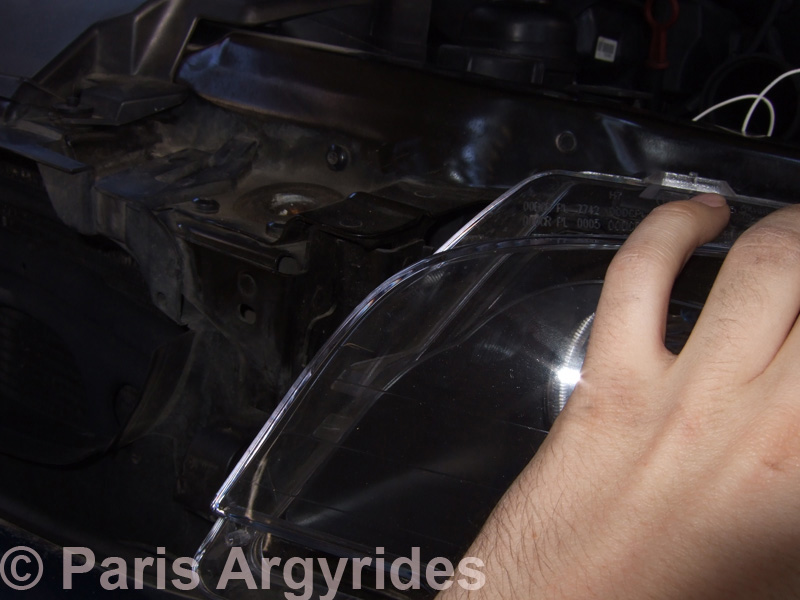
Headlight cover out (Watch the clips) 3 on top, 3 on bottom and one
on the left side:
Also remove the rubber on top of the headlight covers (5 clips)
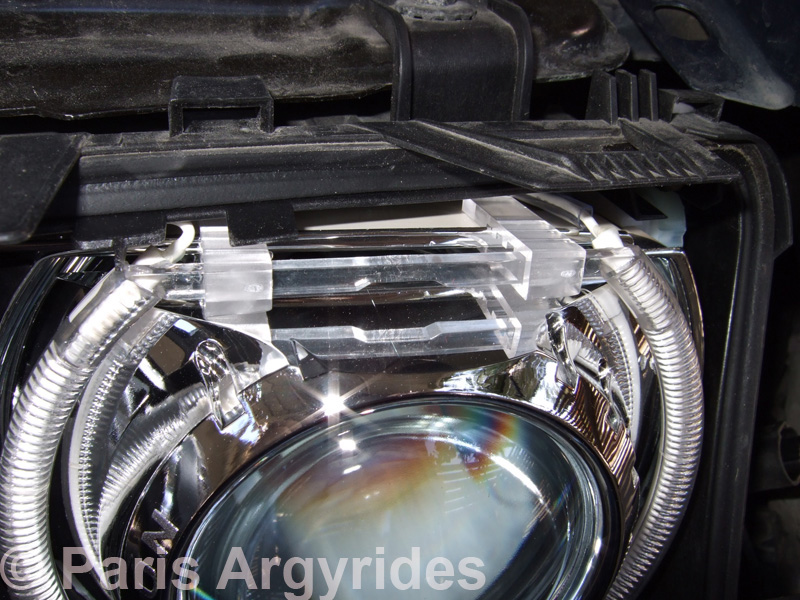
Mount the ring on the high-beam reflector
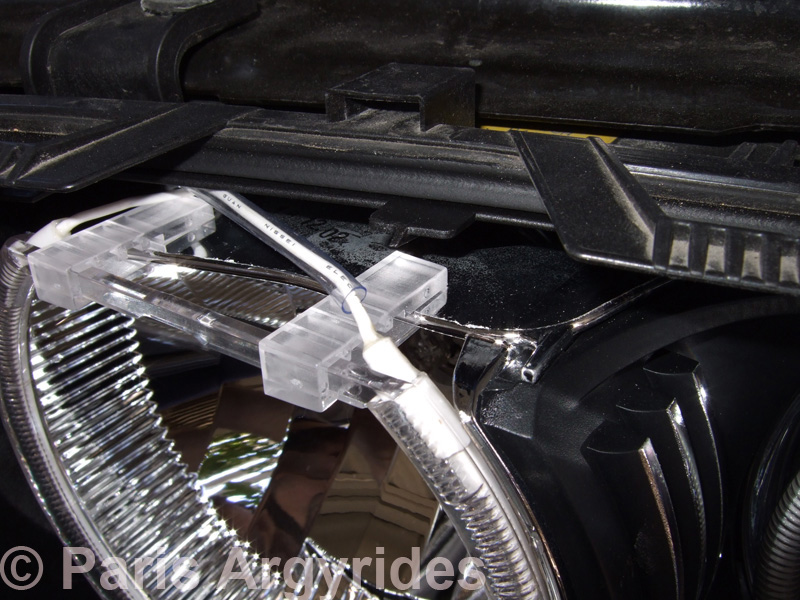
Mount the ring on the bi-xenon projector
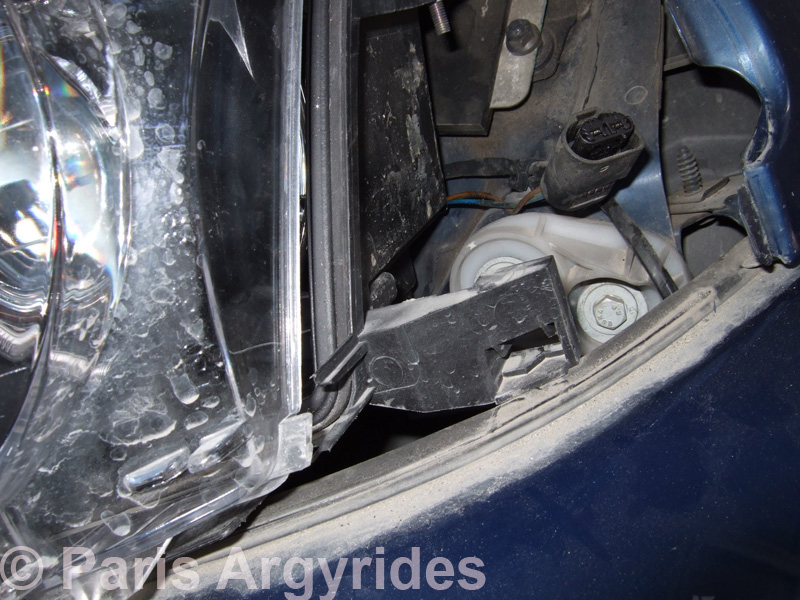
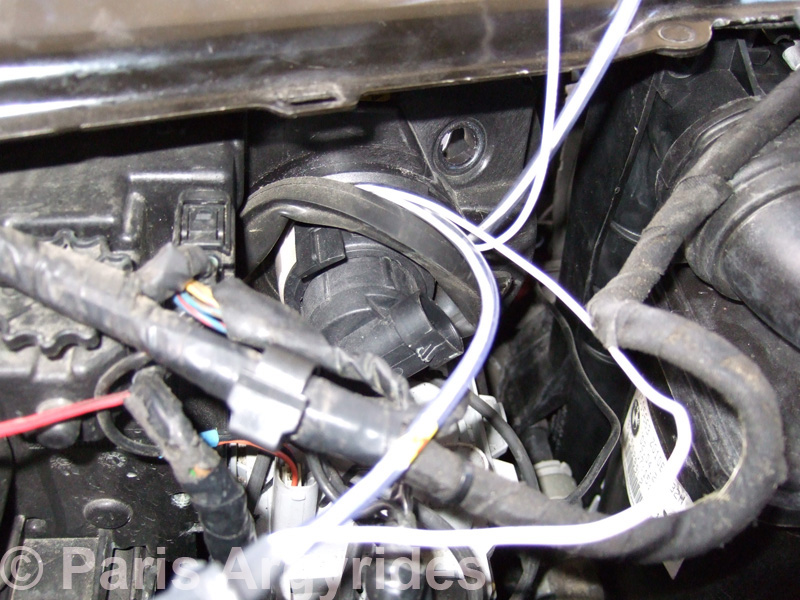
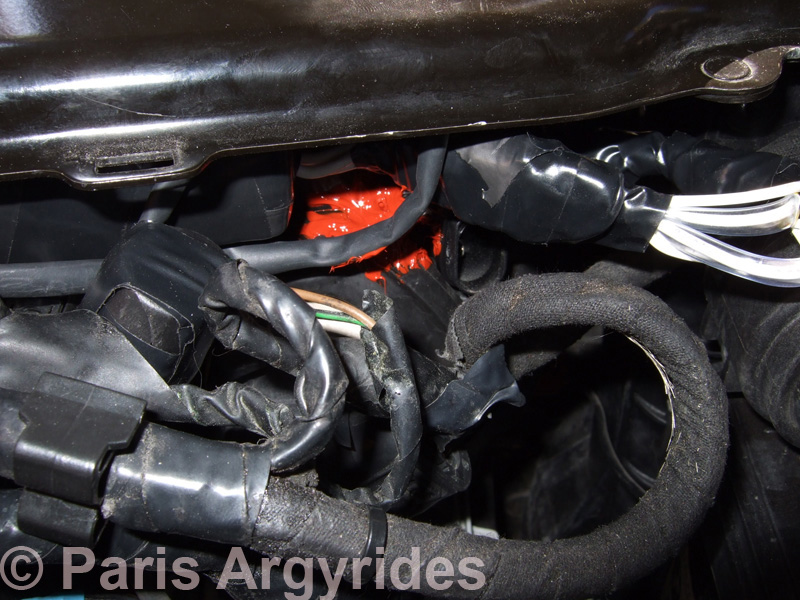
I run the wires out through the rubber boot of the high beam
assembly. I know the inverter should be inside the headlights but I
couldn't find a nice spot to put it. For now it's under the black
metal that holds the radiator.
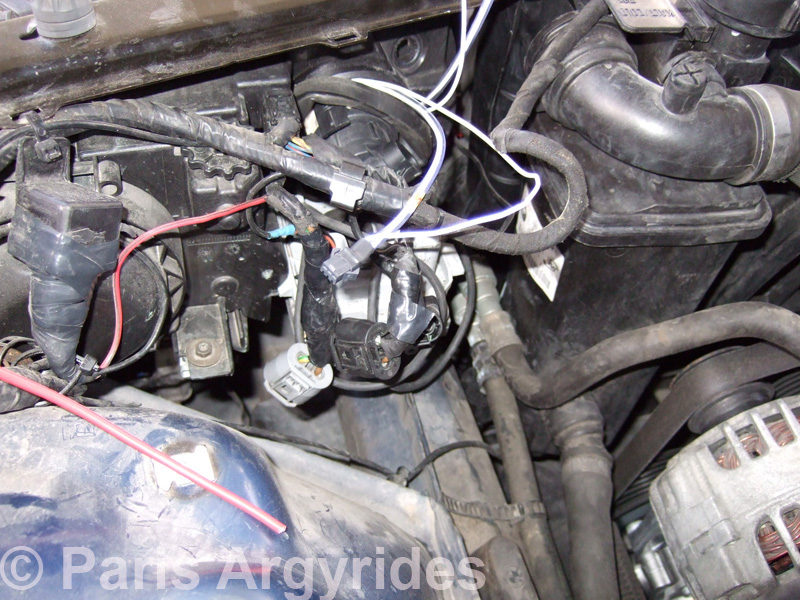
To work easily, remove the airbox. Gives you a lot of space
Placed the black trim back
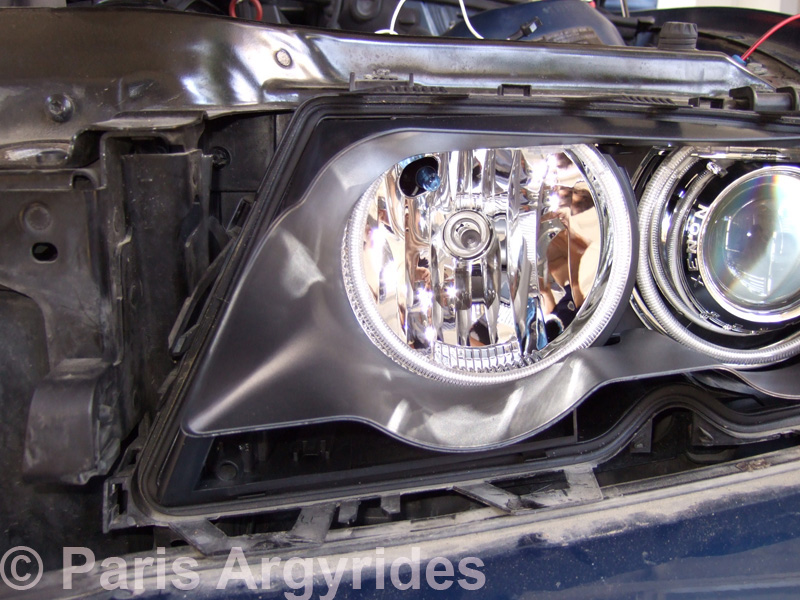
Place headlight cover back on, again watch the clips!
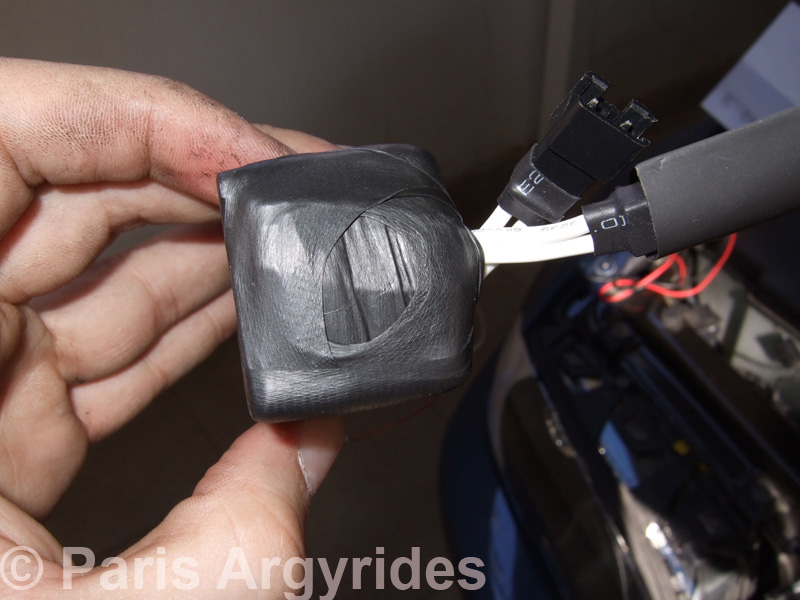
I wrapped the inverters with self-amalgamating tape.
Ok, here I used high-temp silicone (not necessary but that's what I
had) to seal the small gap between the rubber boot and the headlight
where the cables come out.
Connected all cables now, placed heatshrink, then self-amalgamating
tape, and then water resistant pvc tape.
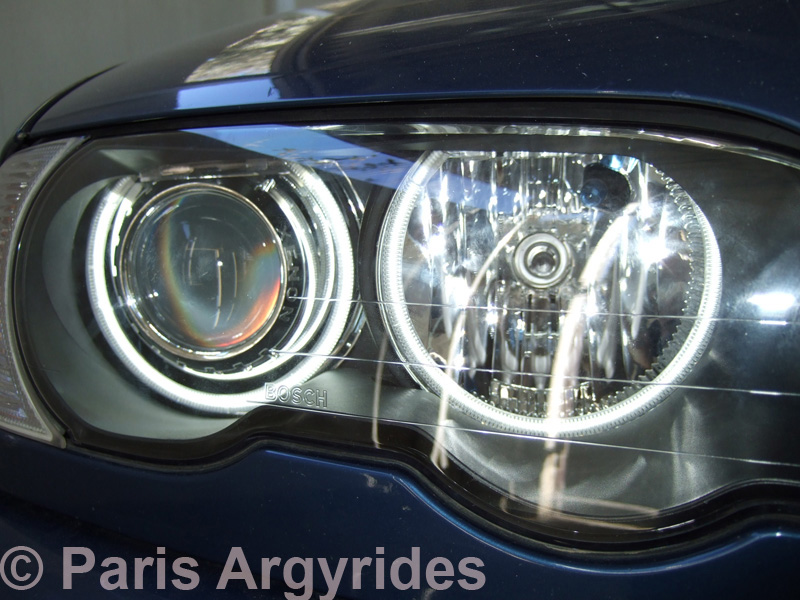
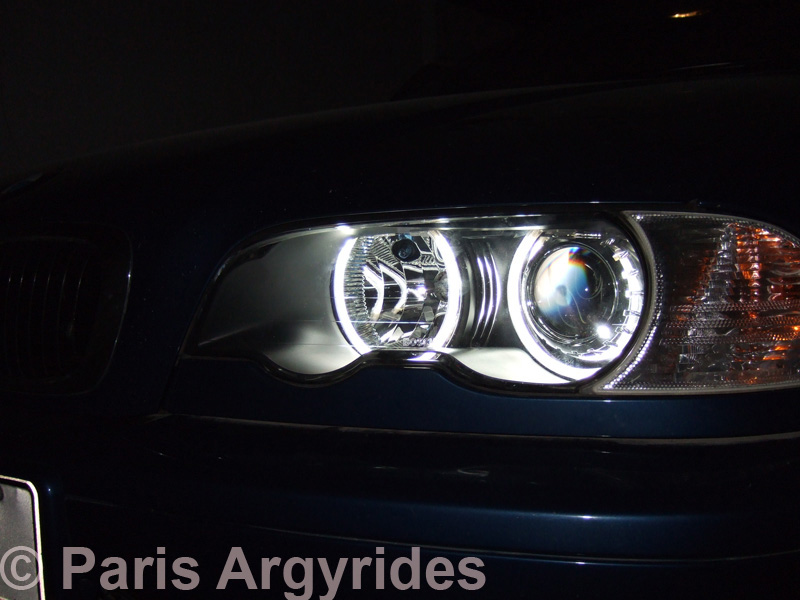
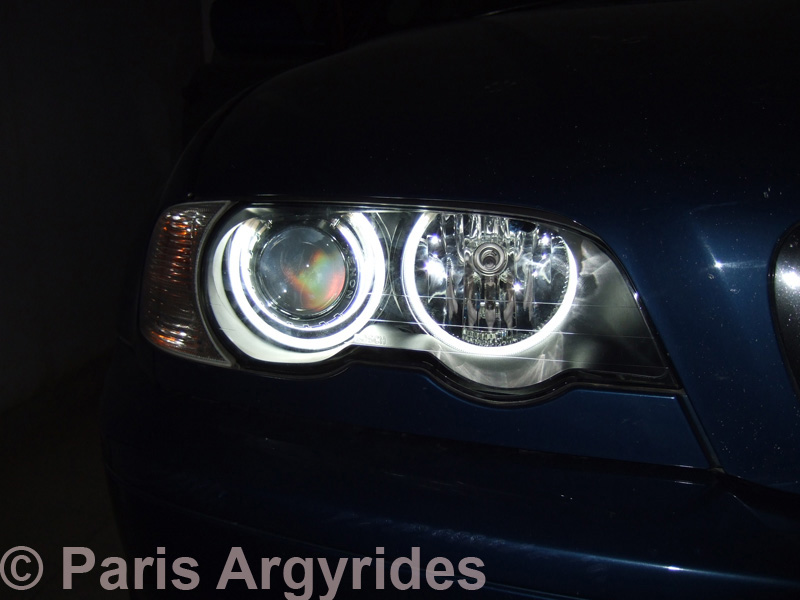
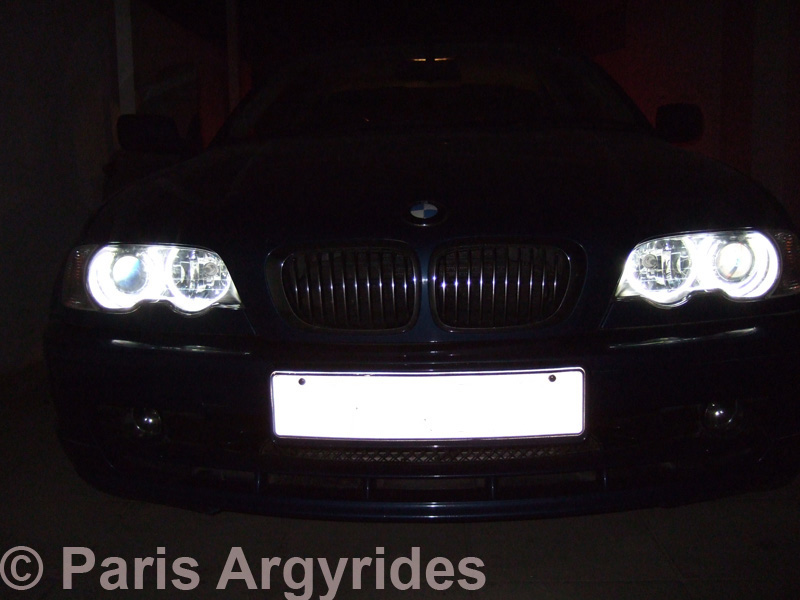
Final Results
More photos
 |