|
Trunk Light Mod |
|
I never liked the orientation of the trunk lights; light is only good for the surround area, the rear parts of the trunk remain unlit and if it's dark it's hard to find anything. So I decided to use 2 extra vanity lights I had which I got from eBay for around $2.00. The idea is to connect these lights with the existing ones but place them in the rear part of the trunk. The trunk lining is easily cut with a utility knife and has enough clearance from the body to mount the lights safely. Pictures speak from themselves.
First thing, remove both linings of the trunk. Left lining: remove warning triangle push/lock pin, another push/lock pin on the top and another push/lock pin behind the rear left seatbelt Right lining: remove push/lock pin on top of the lining, gas cap pin (green), and another push/lock pin behind the rear right seatbelt. After all pins are removed, just pull the lining and it will come out. Pretty flexible.
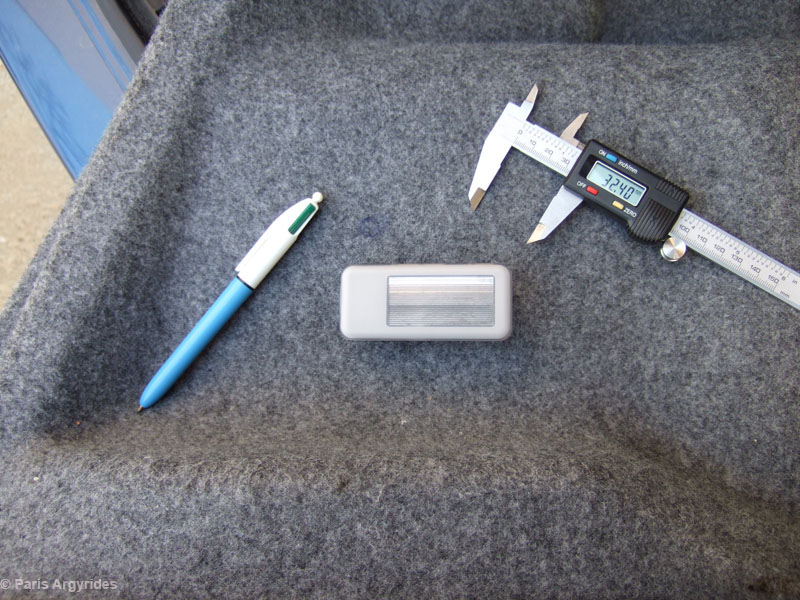
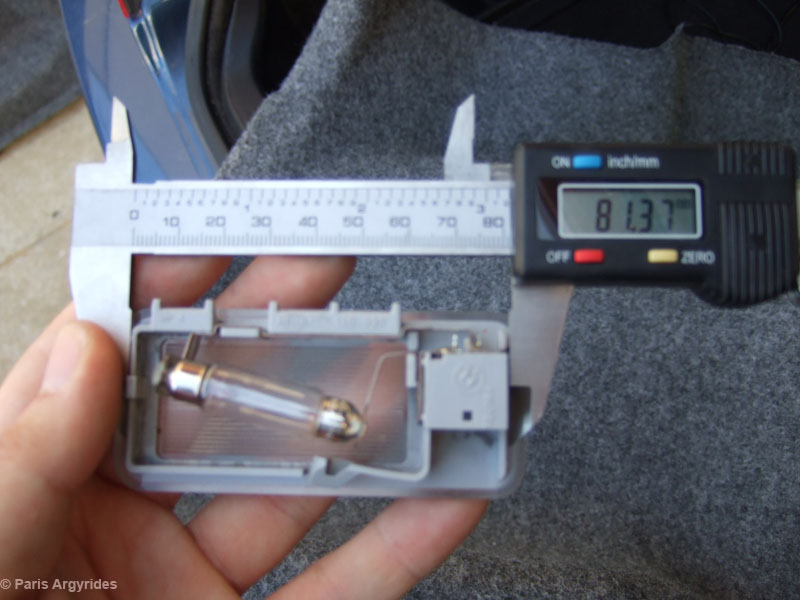
Next measure the internal distances of the light so you can mark the lining
Mark the cutting area on the lining.
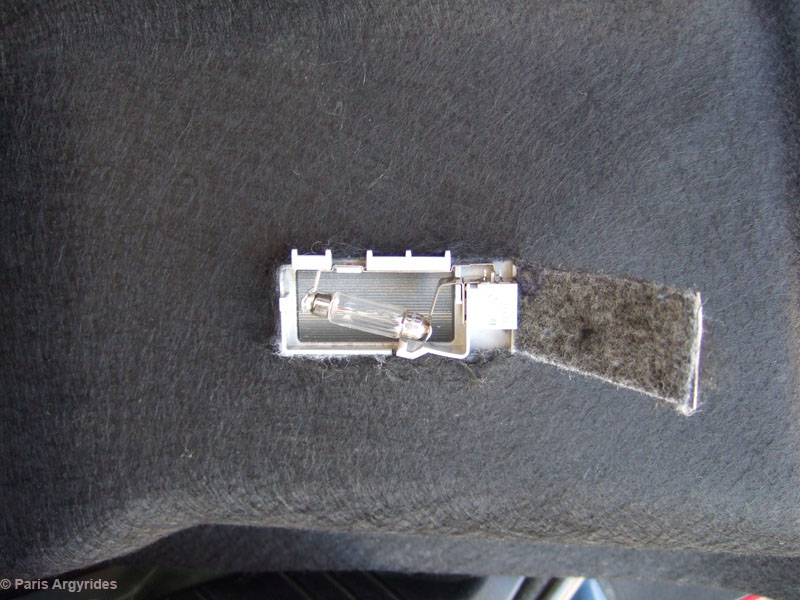
Using a utility knife I cut 3 sides of the lining and left one uncut. Maybe in the future I will want to remove lights and restore the lining.
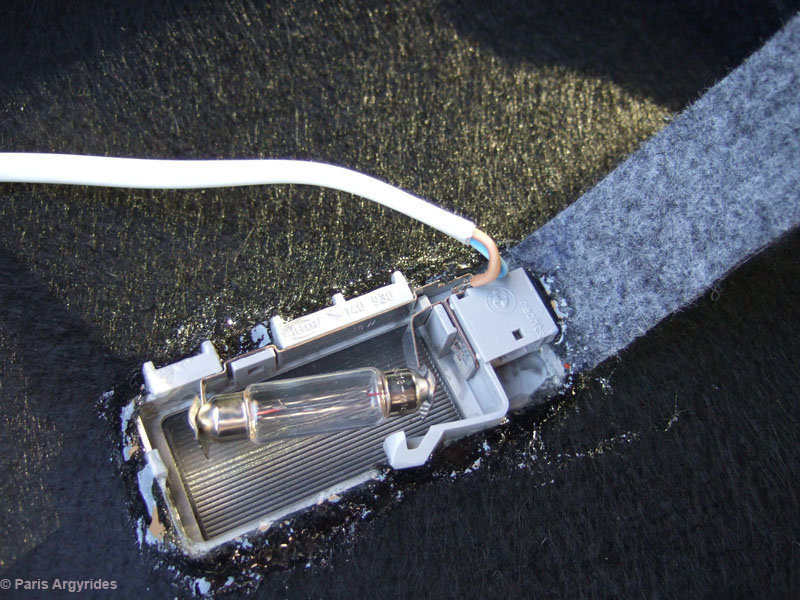
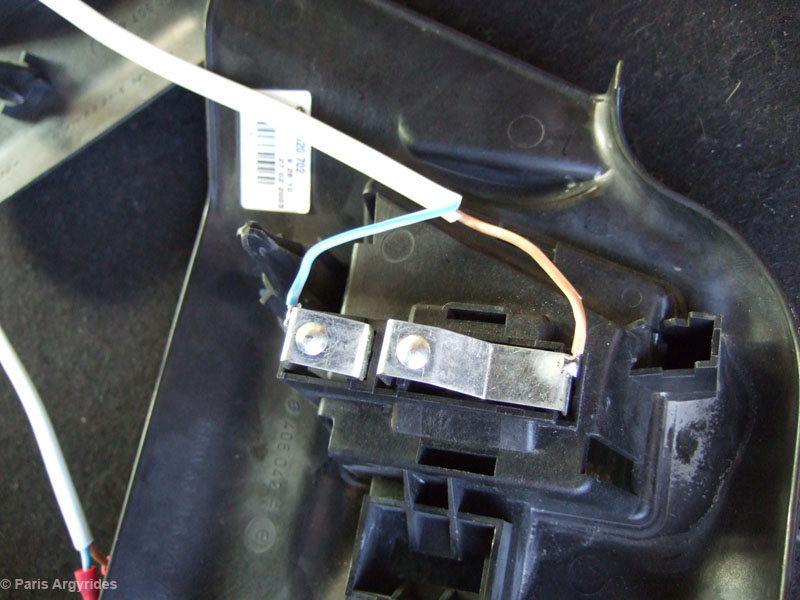
I used some Bison Liquid Rubber glue to secure the lights on the lining, although they seem to clipped pretty good. I then soldered 2 wires on the lights. Solder is already there at those points seen below so it was very easy. Doesn't matter which is positive and negative, filament bulbs don't care about polarity.
Next I soldered the wires on the existing trunk lights as seen below. I used connectors between the wires so that I can remove the existing lights if I want without messing the moded trunk lights. Connectors are shown on the bottom/left part part of the pic.
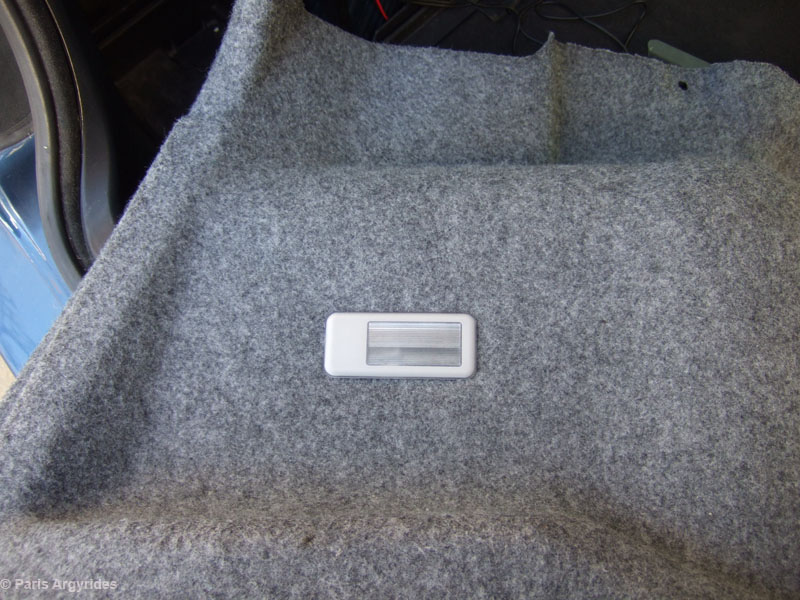
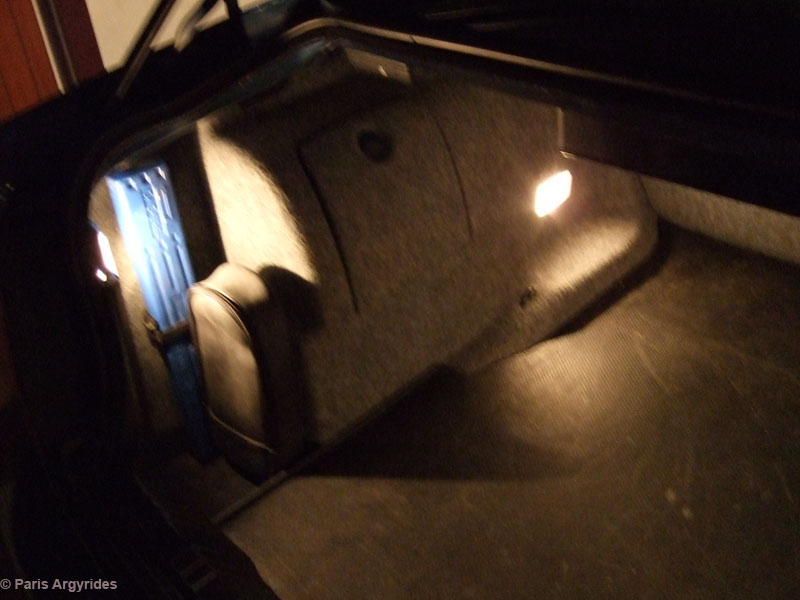
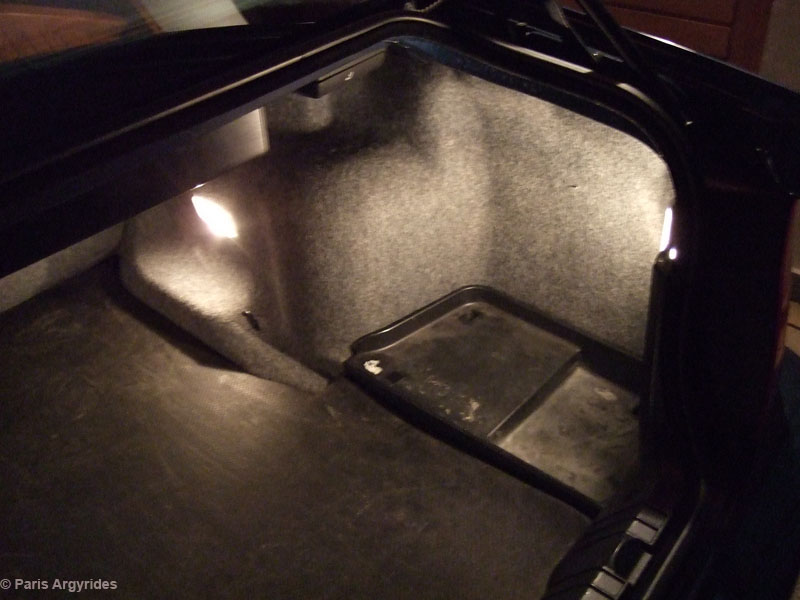
This is how it looks almost finished
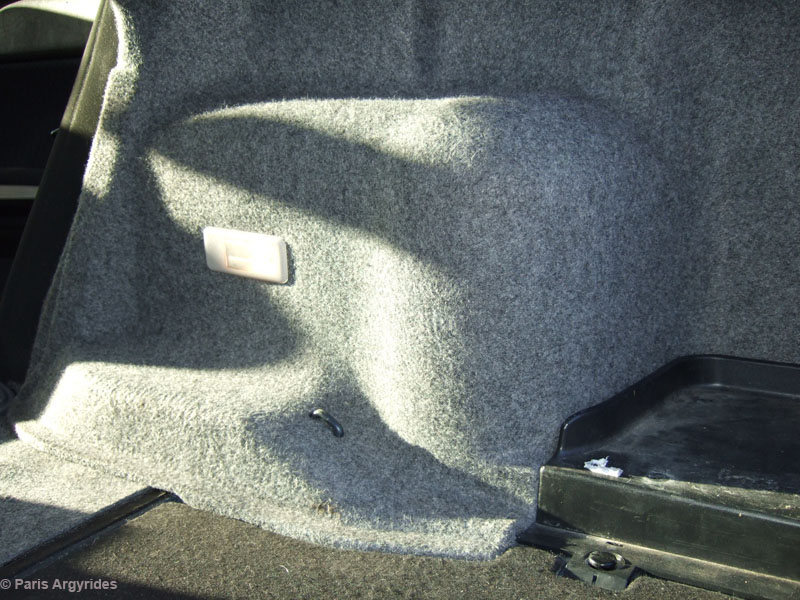
Secured the wires with some tape on the back and re-inserted the lining back in place.
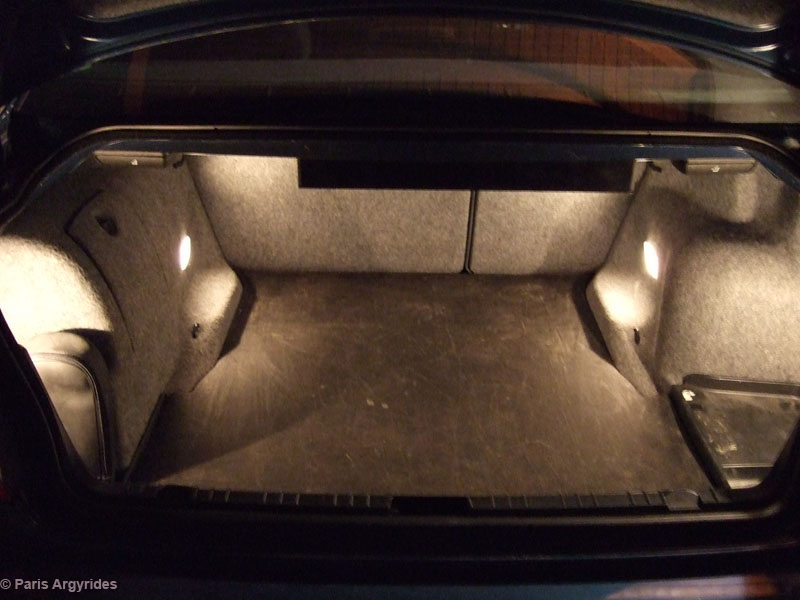
That's all. Enjoy much better lighting in the trunk during night
|