|
DIY A-B-C PILLARS |
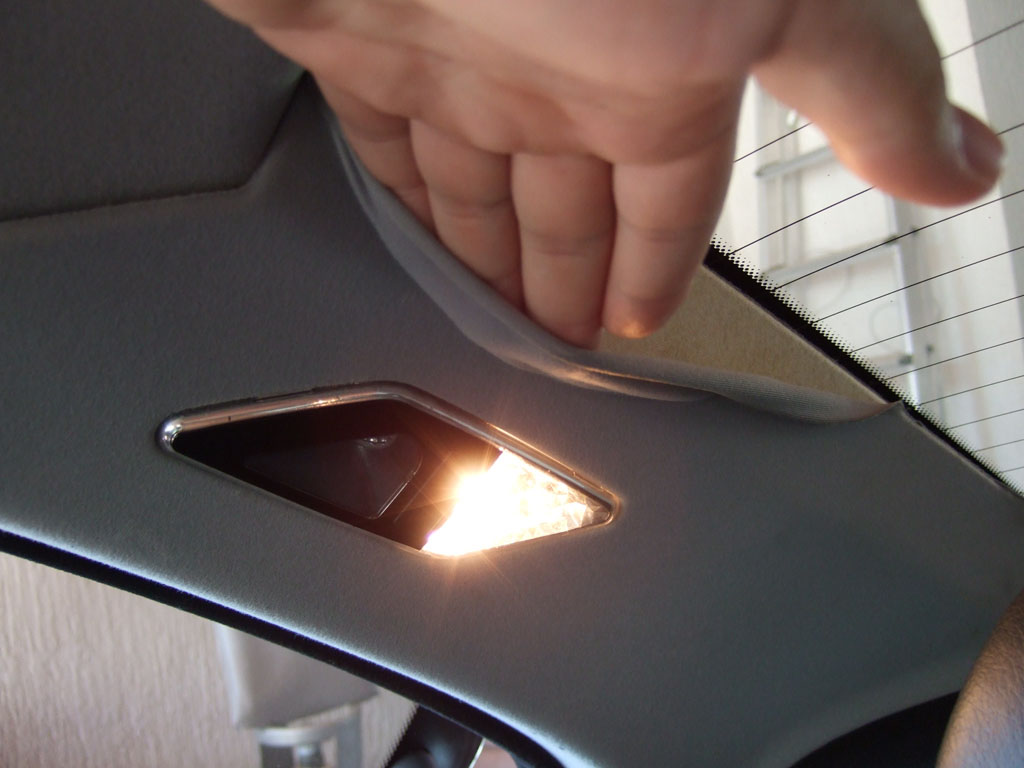
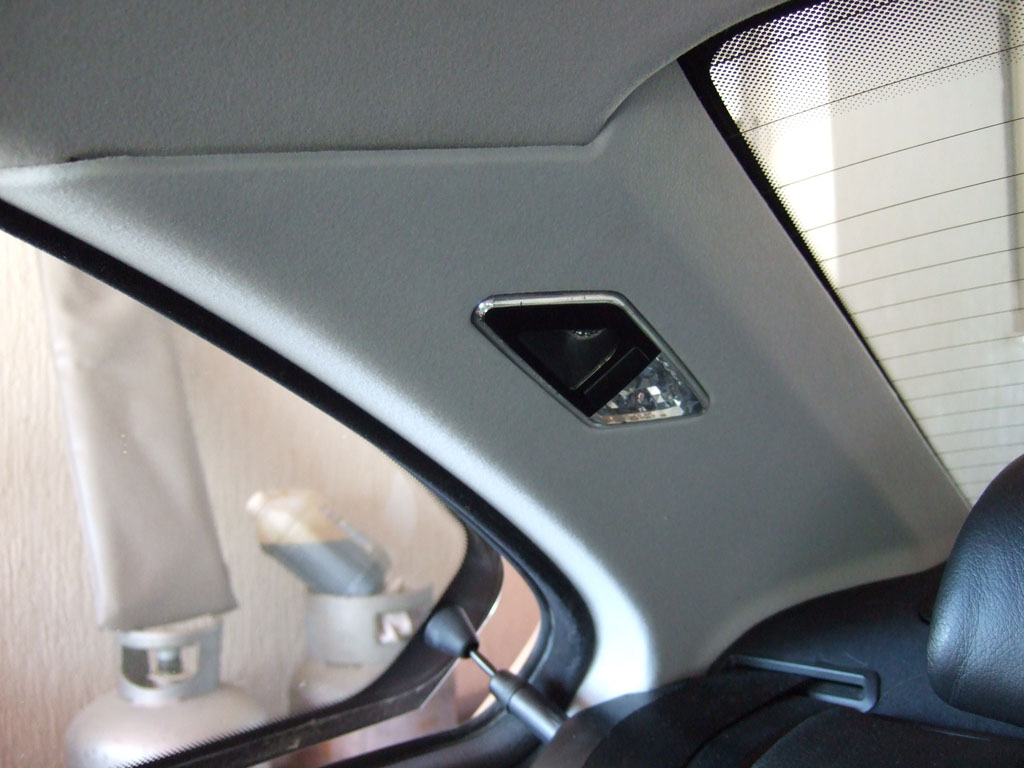
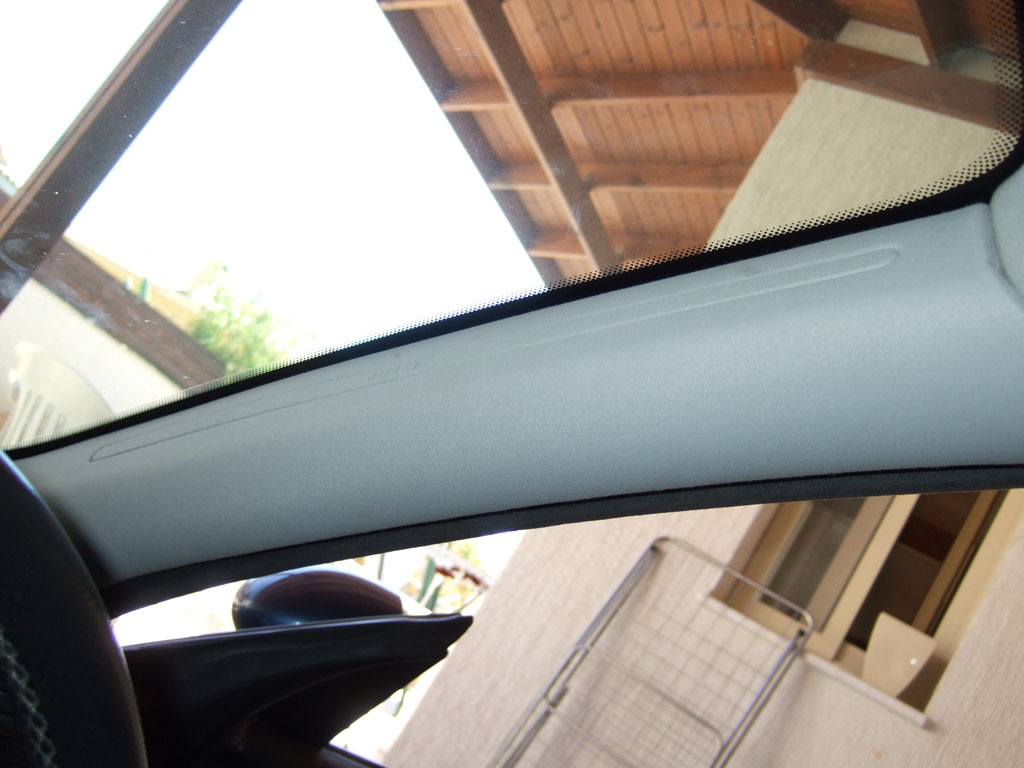
After 11 years of constant usage, the 6 in total headliner pillar covers on my E46 gave up. Sunlight, worn fabric peeling, dirt were enough to make me replace all of them. I prefered this method over wrapping because I didn't want to experiment with glues and fabrics and I also wanted an OEM look anyway. All 6 pillars (3 per side) took around 2 hours, mainly because I took my time to do everything and was extra carefull when installing the new ones not to get them dirty. Tools needed: Flathead screwdriver (to remove C-Pillar lights) T25 and T50 Torx Lots of headliner clips from dealership In this DIY I am showing photos from one side only, no need for the other side as the process is the same. C-Pillar peeling & dirty
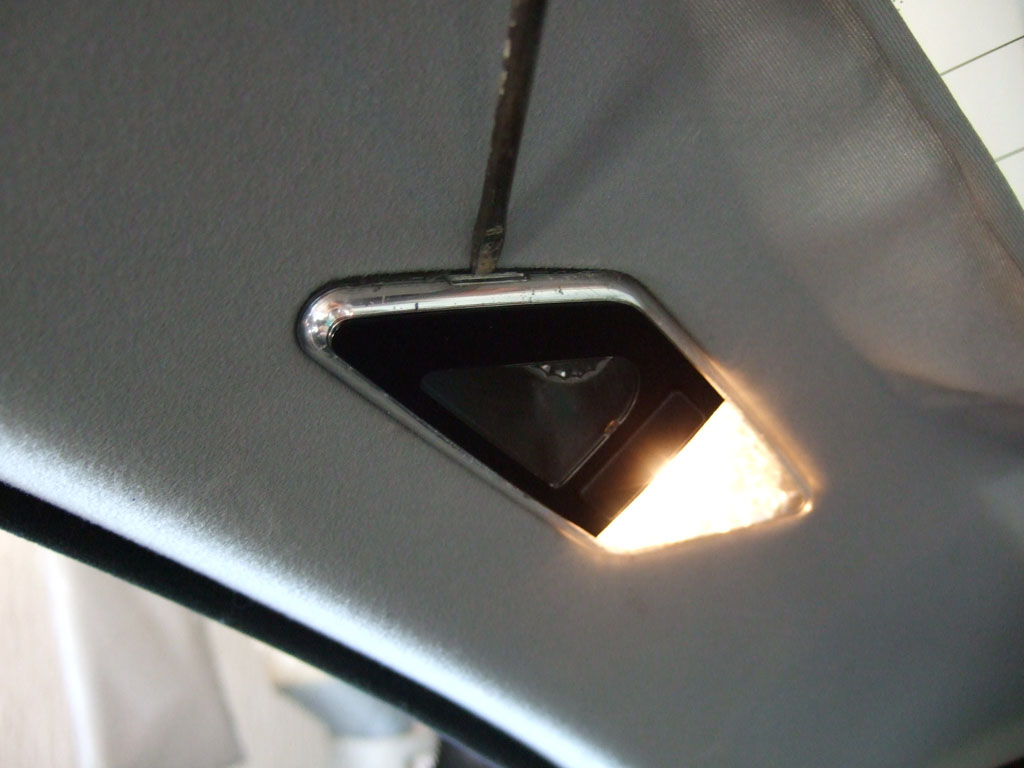
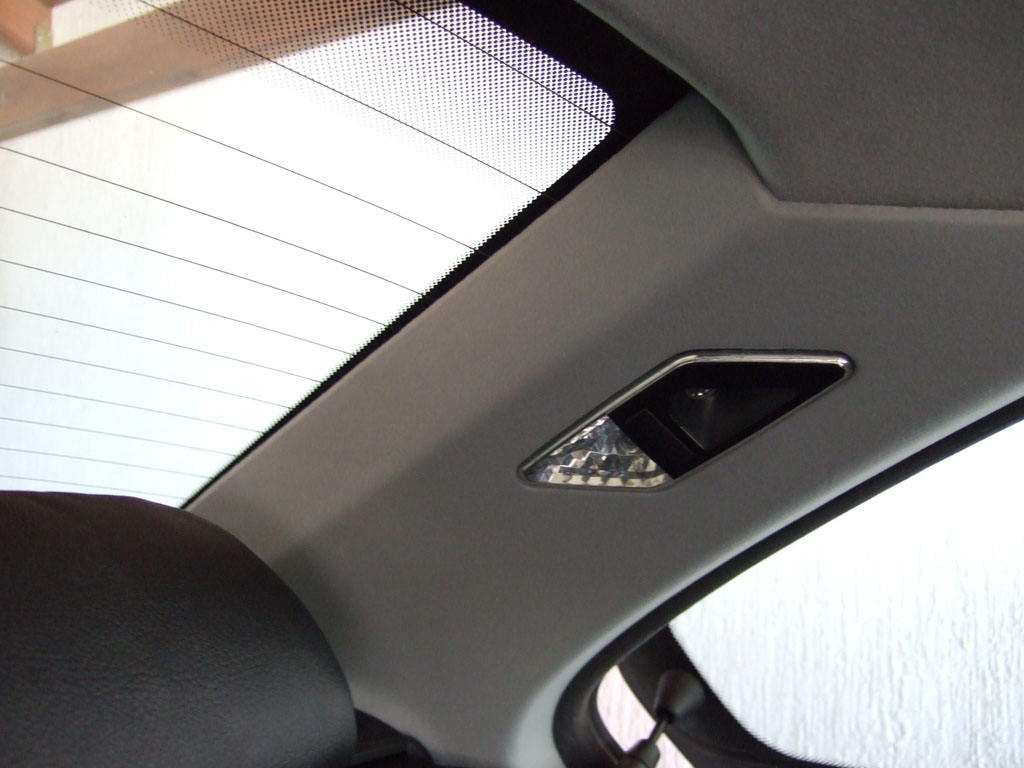
Remove the reading light by prying upwards with the screwdriver. Gently pull and disconnect the plug. Set aside
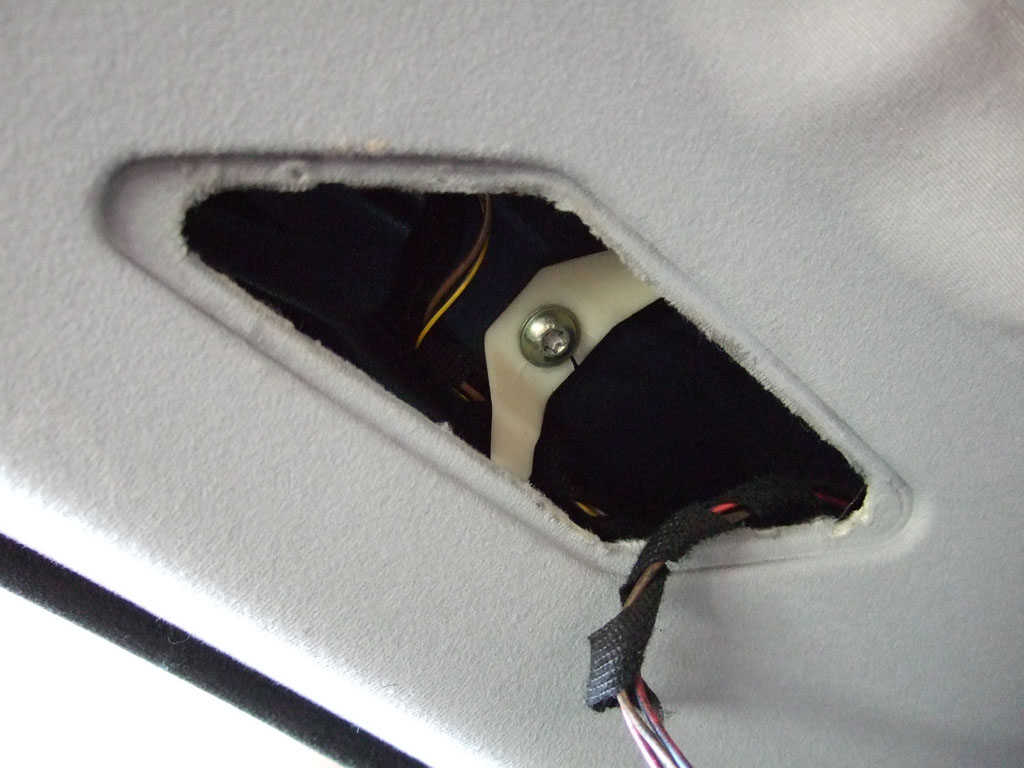
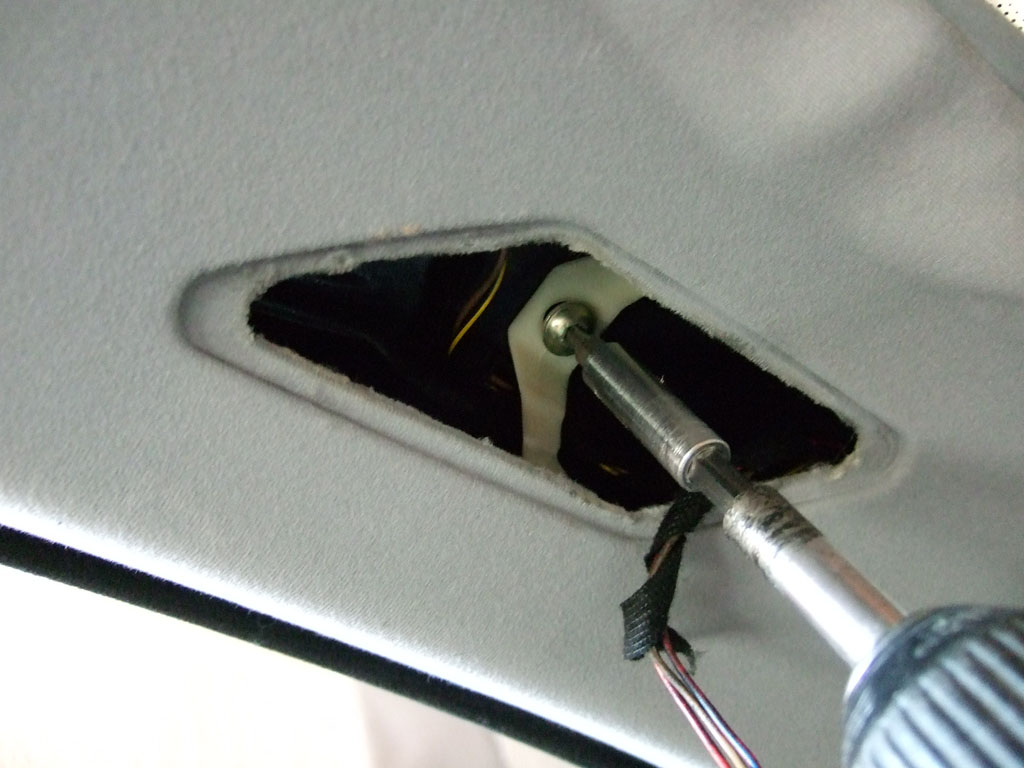
Remove the T25 screw
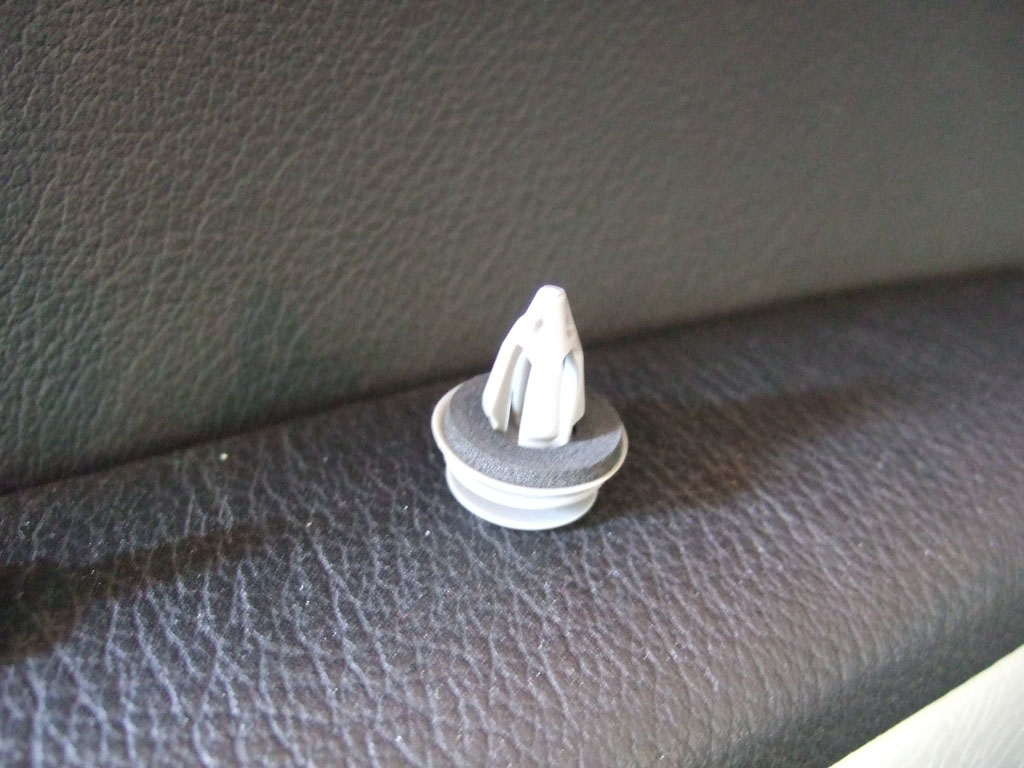
Get lots of these as they tend to break when removing covering parts. These have a foam like washer on them probably for less rattling.
Pull cover until it unclips from 2 points and remove.
Install the clips on the new cover, reverse the procedure and plug it/screw it back in place. Connect the reading lights and snap back in place.
Other side done:
Moving on to middle (B) pillar cover.
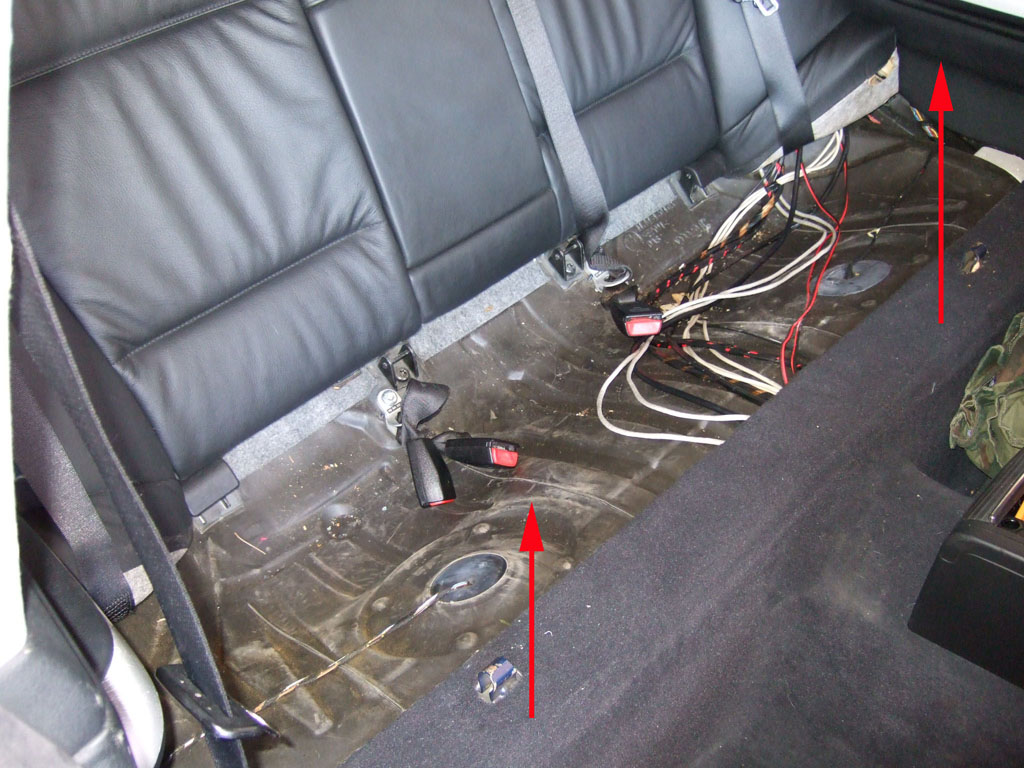
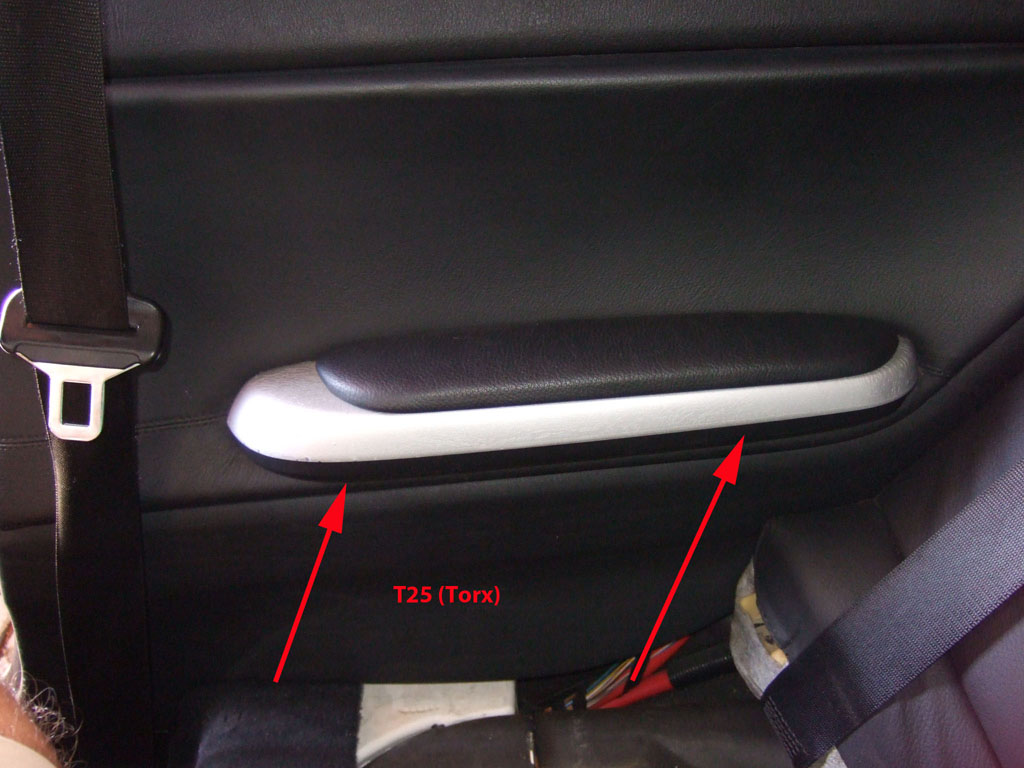
Pop the rear seat by pulling upwards as the red arrows indicate. Set aside
Remove the 2xT25 torx screws that hold the rear cover in place to allow some flexibility of the cover to access the b-pillar securing rivets.
Once you pull the cover a bit you will notice 2 push/lock pins. Pry them out and remove
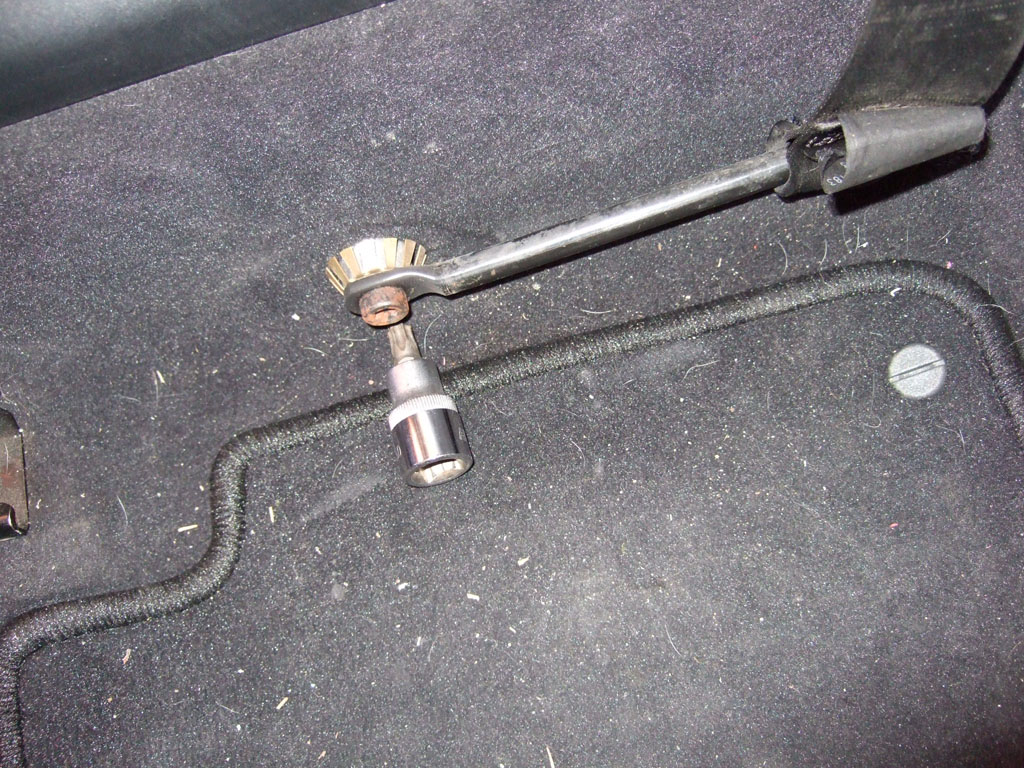
Pop the cover of the lower seat belt bar as seen below and use a T50 bit to remove the bolt. This will allow the bar to rotate and release the belt. Once this is done, push the cover downwards to release it from the guide on the roof, then pull from the top to remove it by sliding it out from the bottom part (where the 2 push/lock clips located)
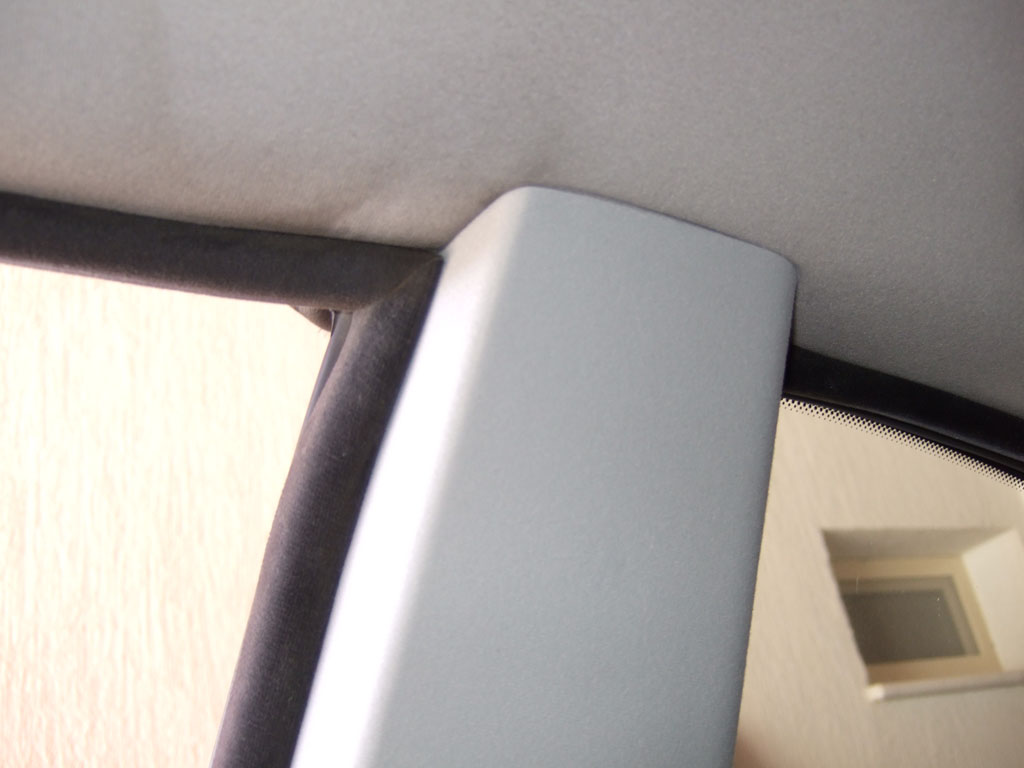
Reverse install for the new cover! The seatbelt rail behind must be aligned with the seat belt adjustor on the cover in order to be installed properly.
The top section of the cover, slides on 2 metal plates to secure itself on the roof, no clips. Therefore the step before was to slide it downwards to remove it.
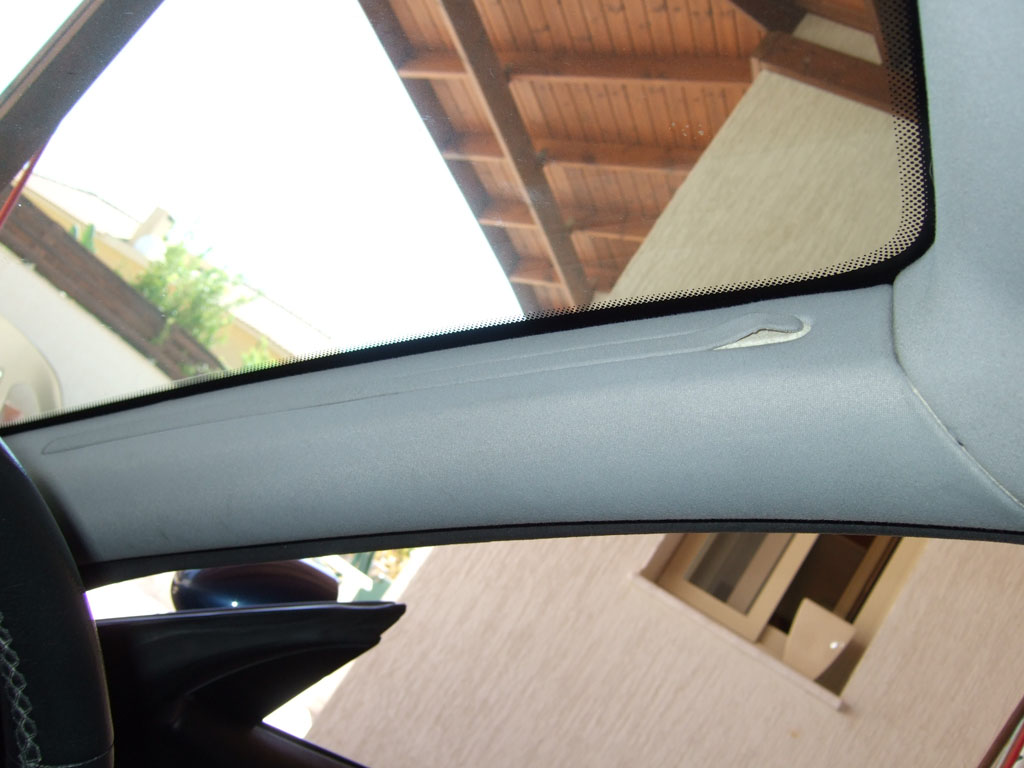
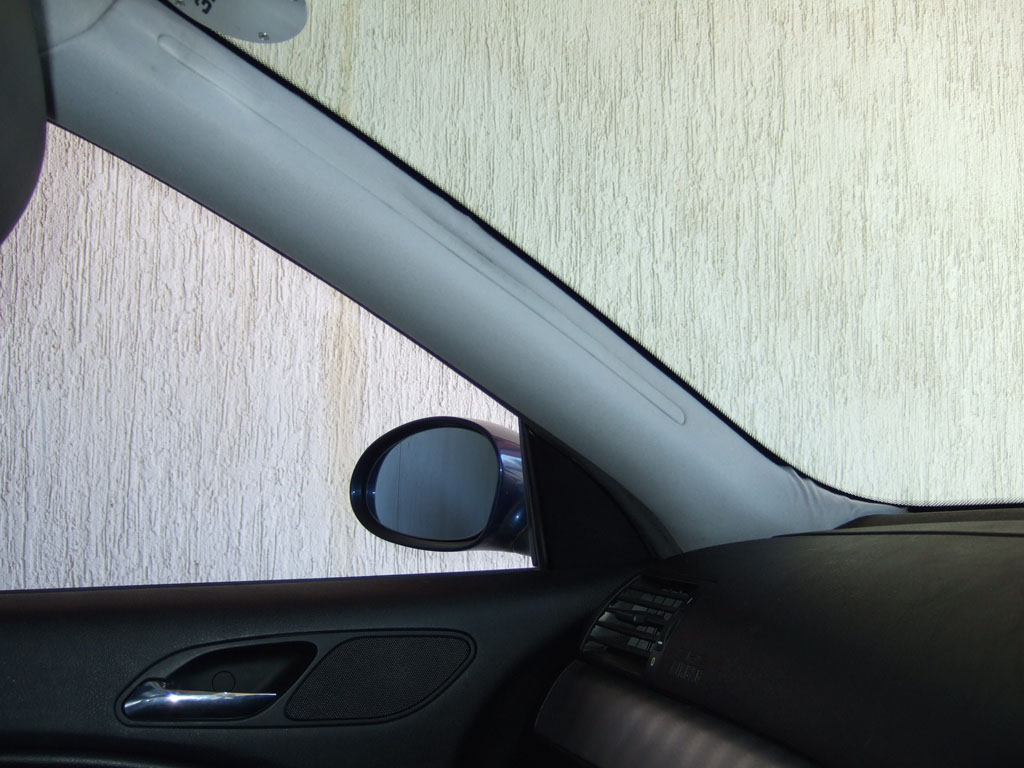
A-Pillars. Easy but before proceeding, disconnect battery as there are airbags located behind these 2 covers.
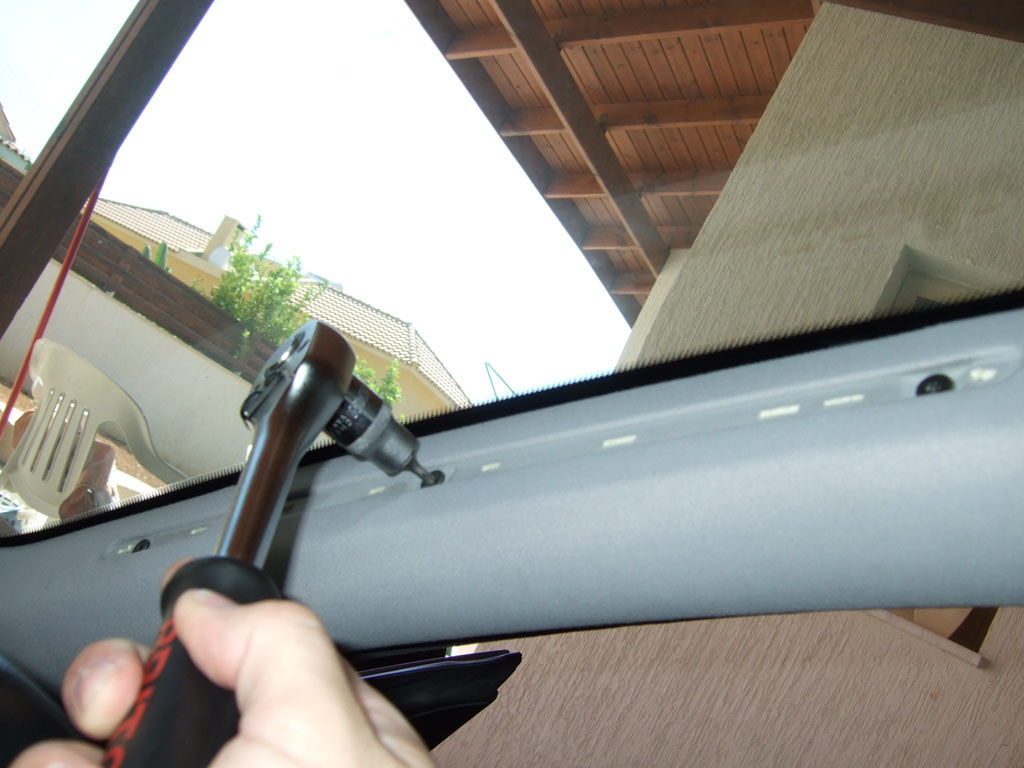
Pry the airbag strip away to reveal 3xT25 screws. Use an angled bit or whatever suitable screwdriver/power tool to remove them
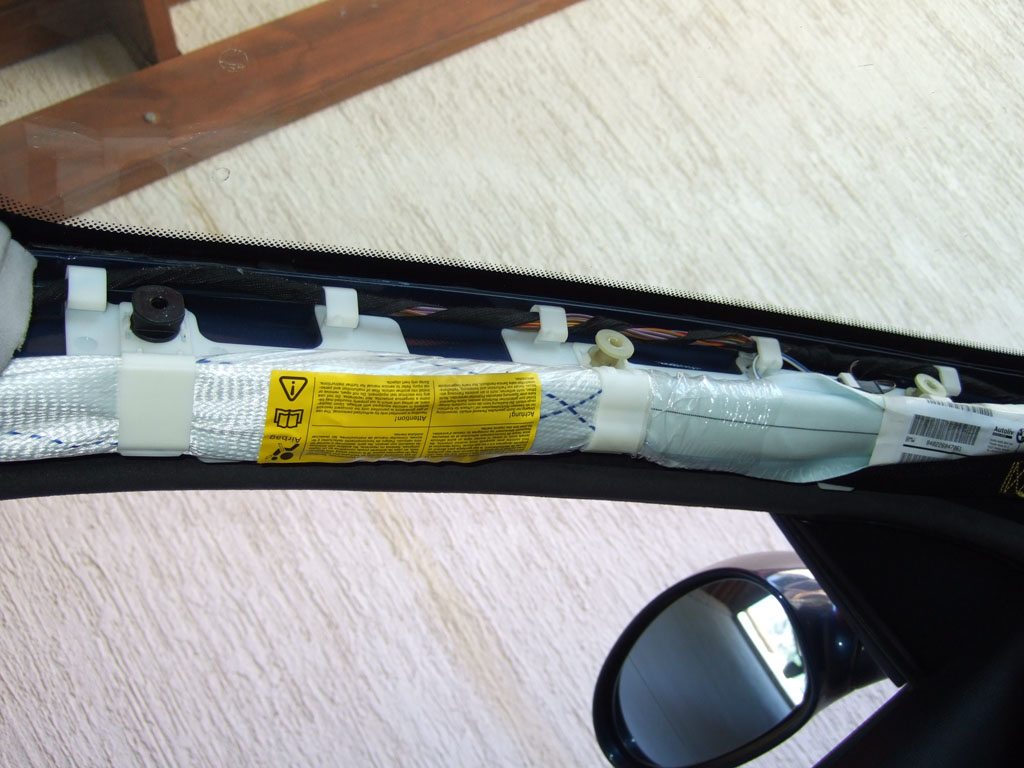
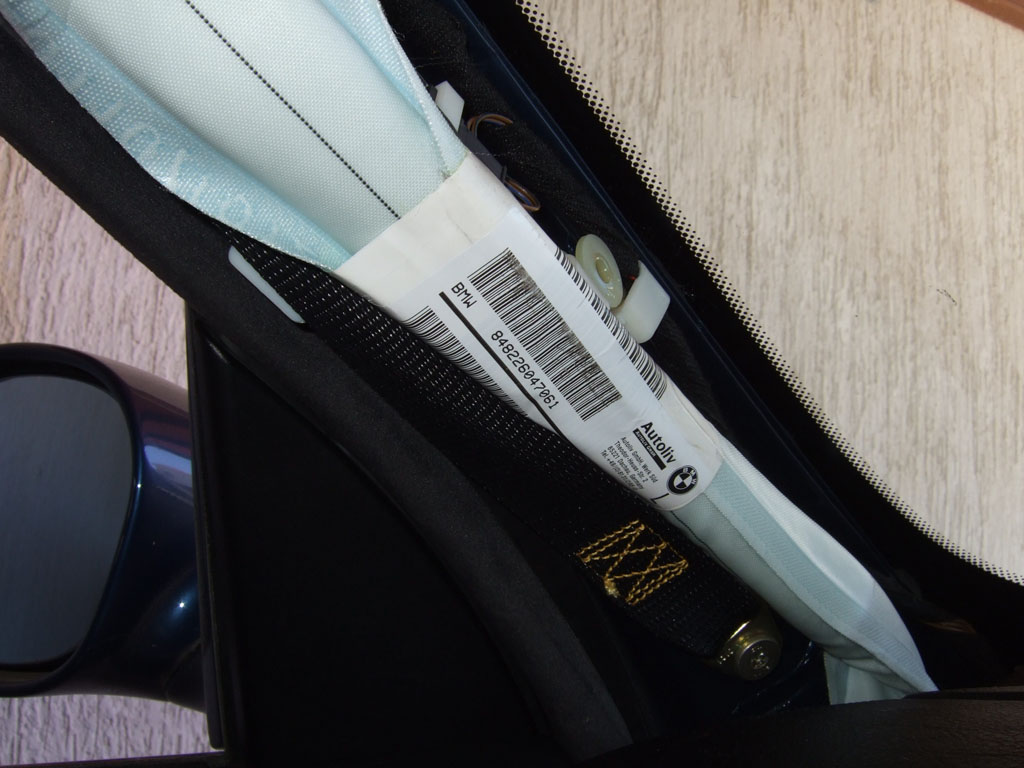
Cover removed:
Reverse installation for the brand new cover:
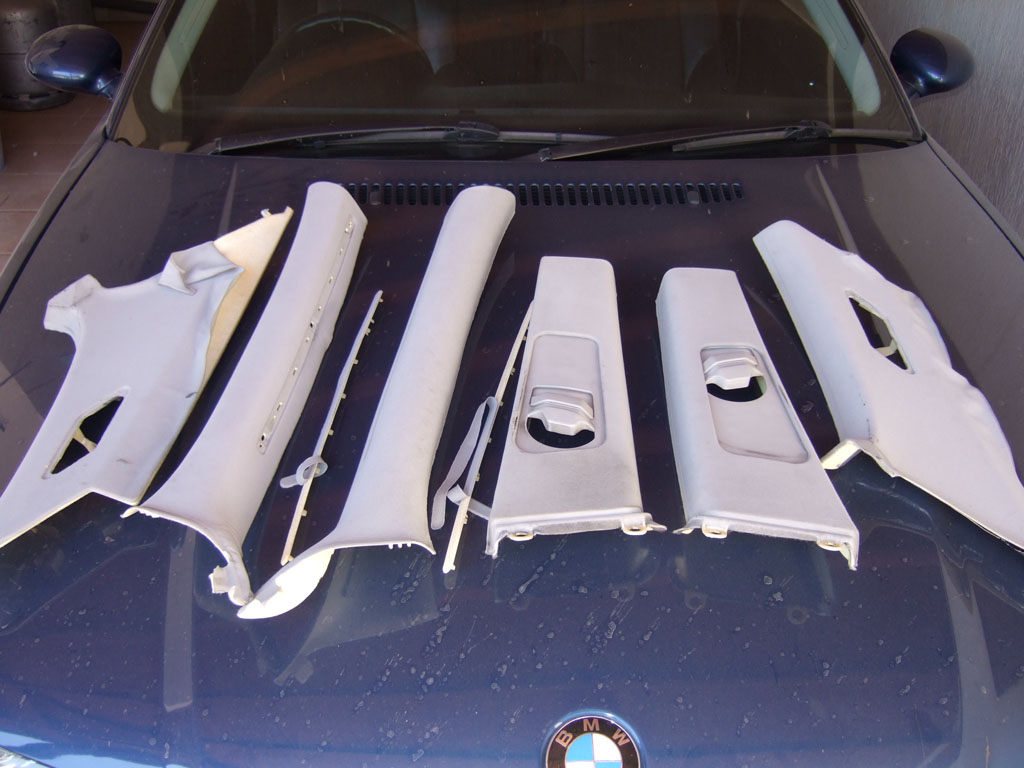
What should I do with these now?
|