| Axxis ULT Brake Pads DIY |
|
This DIY is just a small part of the Stoptech Stage 1 kit I got in the mail after a couple of weeks waiting and wrong parts arriving. The Stoptech kit consisted of 4 x Axxis ULT Ceramic brake pads, front and rear stainless steel brake lines and finally, 3 bottles of Motul RBF600 brake fluid.
I had my mechanic install the stainless steel brake lines because I didn't want to get involved bleeding the braking system and accidentally creating air pockets, requiring bleeding again and again. The SS brake line was fairly straightforward. Remove existing ones from both ends and install new ones.
Now, the brake pad DIY.
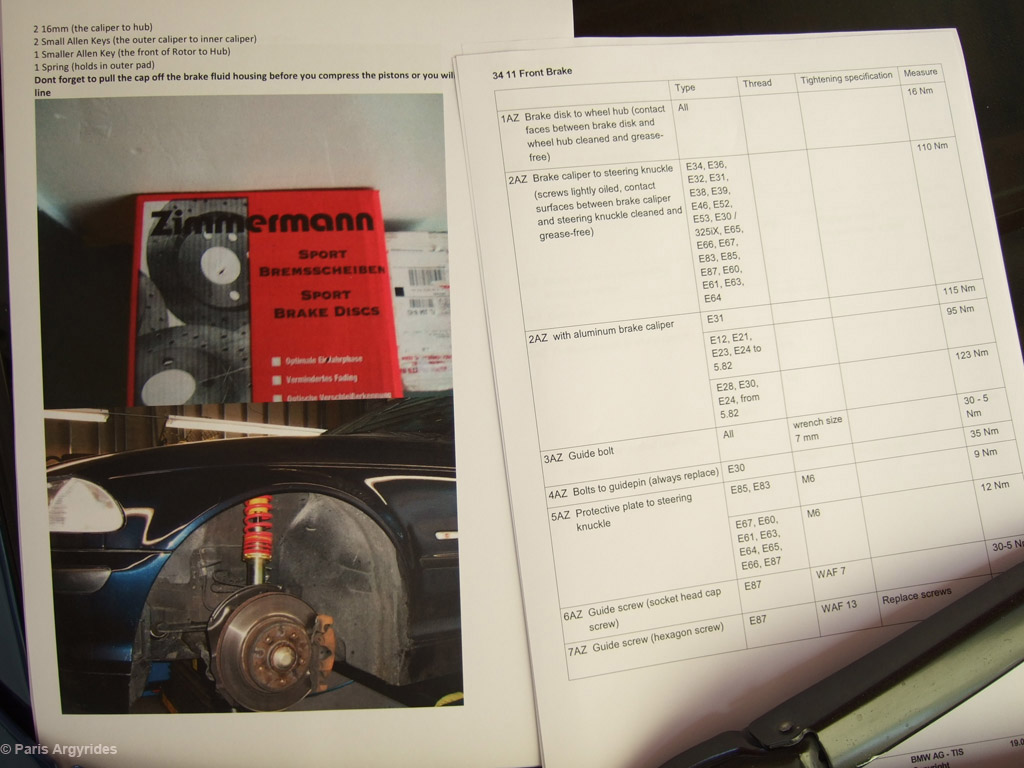
A DIY I found for key sizes and next the official BMW torque settings taken from TIS.
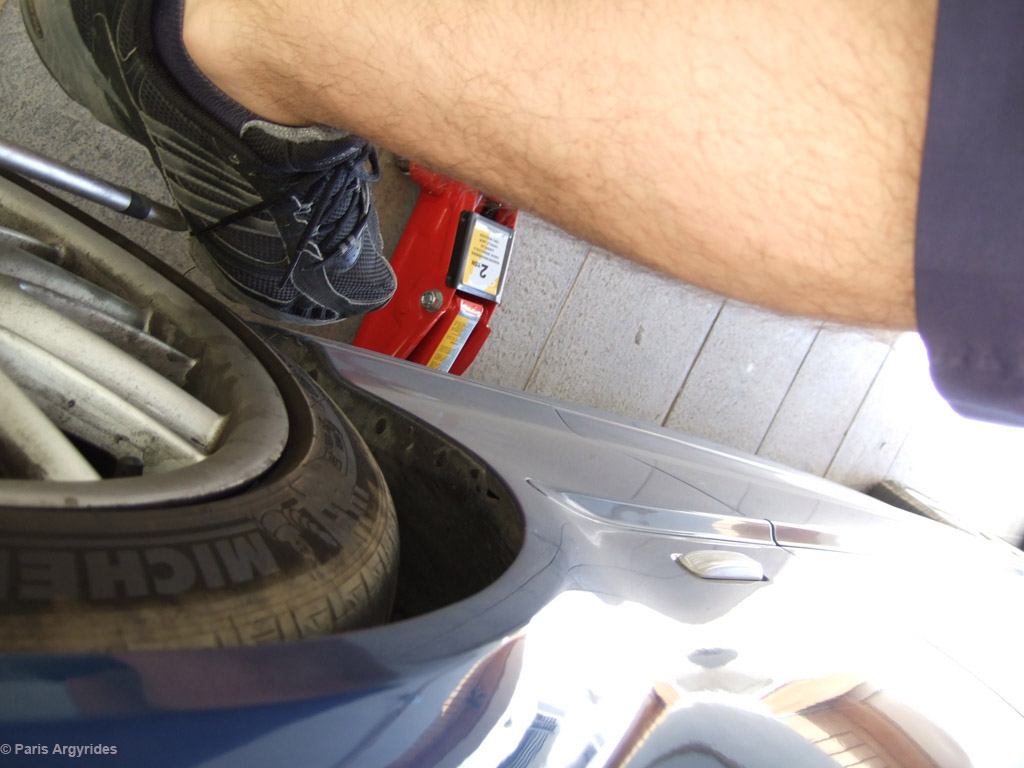
My jack is too tall to get under the car so I had to drive on a piece of wood to gain some height
This is why I hate it when tire shop guys use air impact wrenches to tighten wheels. I literally had to jump on the BMW wrench to get the wheel bolt moving. I did that before jacking up the car. I estimate the lugs were torqued above 250Nm where the recommended is 120Nm.
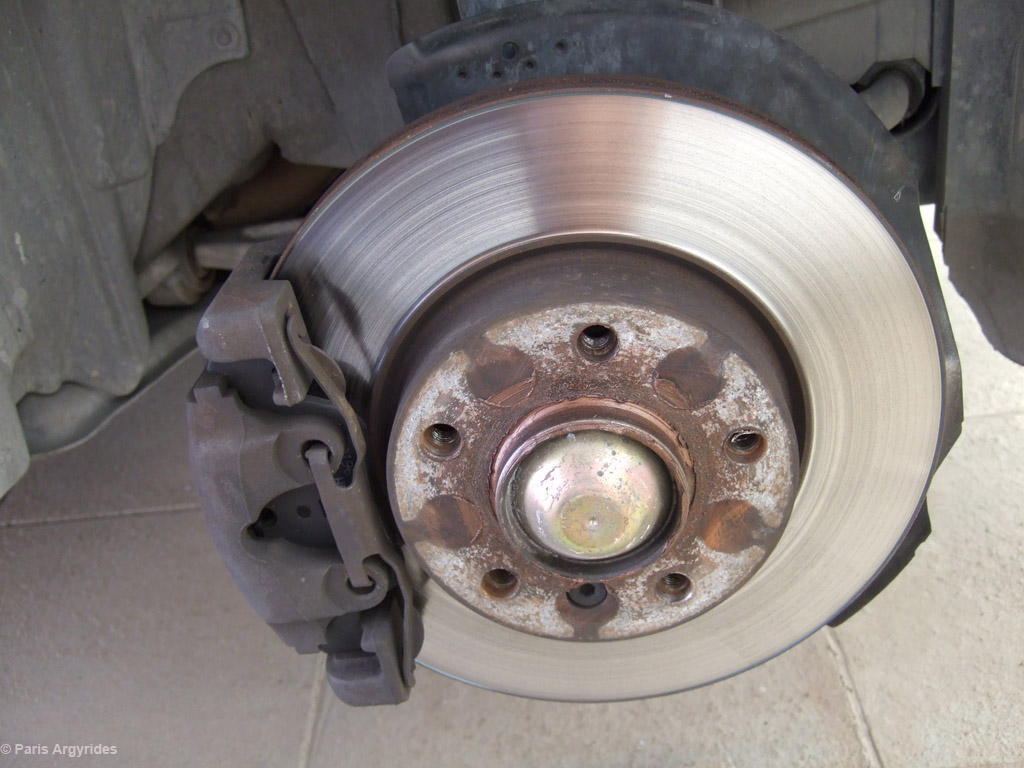
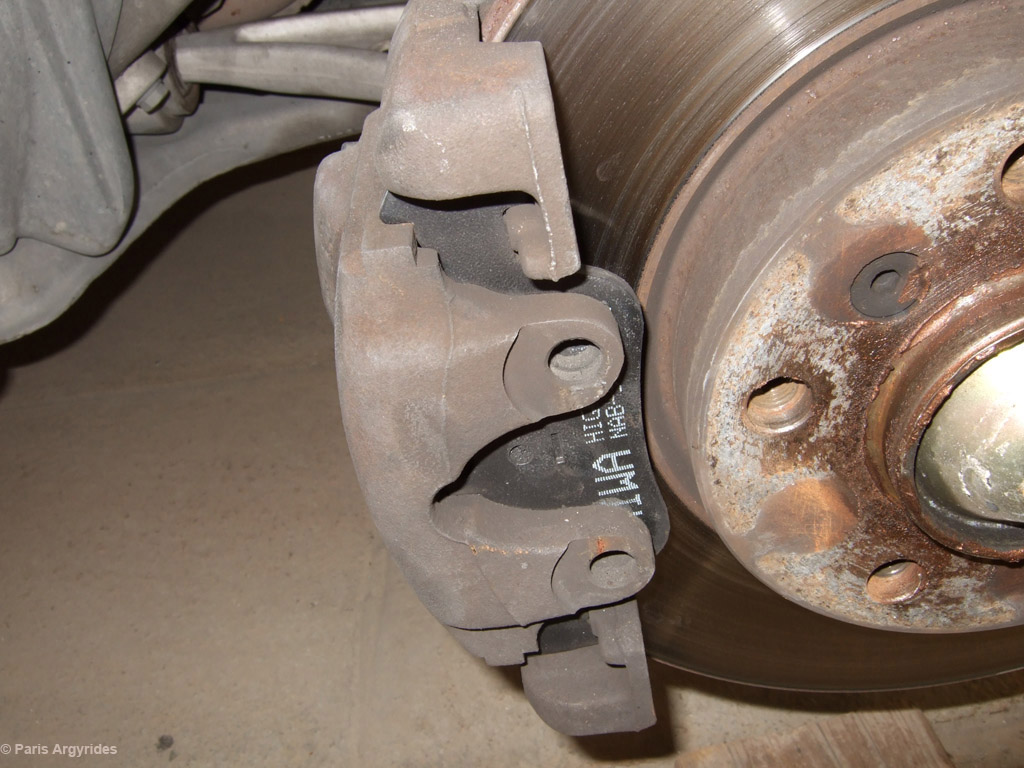
After removing the wheel I saw the caliper and rotor exposed. In order to remove the brake pads, the caliper must come out first along with the anti-rattle spring thing. If there's a pad sensor it must be removed as well. Now this is a good opportunity to change the disks as well, since the only thing extra to remove is that small allen bolt.
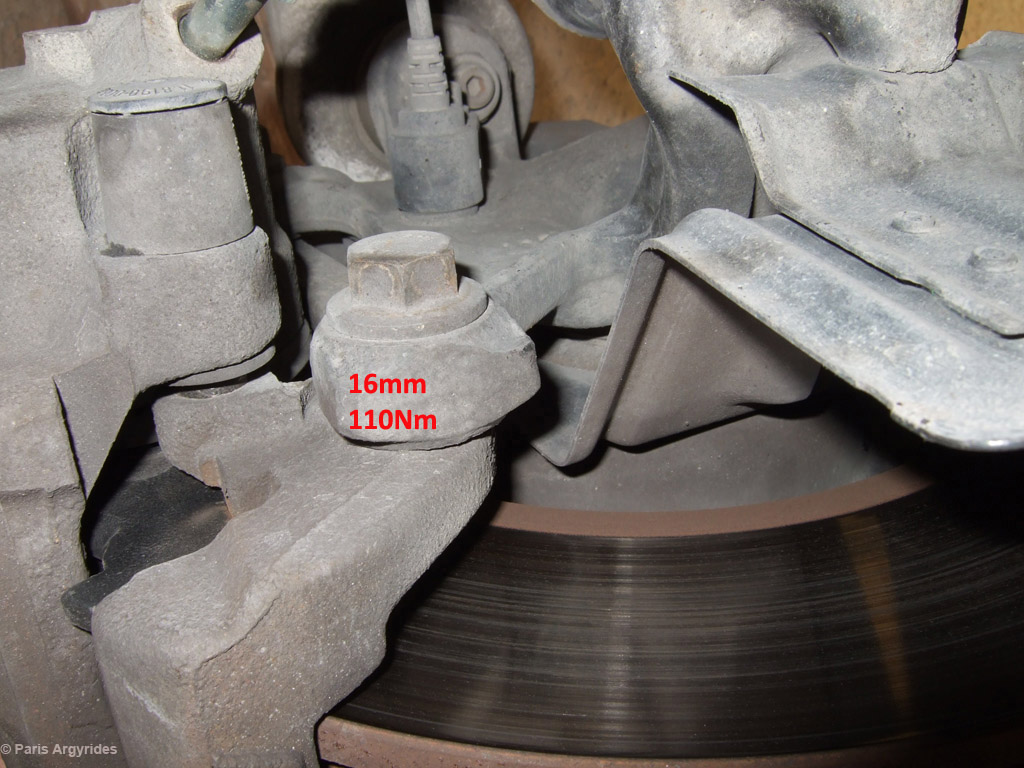
To get the caliper out, there are 2 16mm bolts that must be removed. This proved to be a real challenge for me since they were so over tightened that I had to use my MacGyver skills to get them out. WD-40 did nothing to help.
The anti rattle spring is very easy to remove on the other hand, just pry it out with a flat screw driver or a pair of pliers.
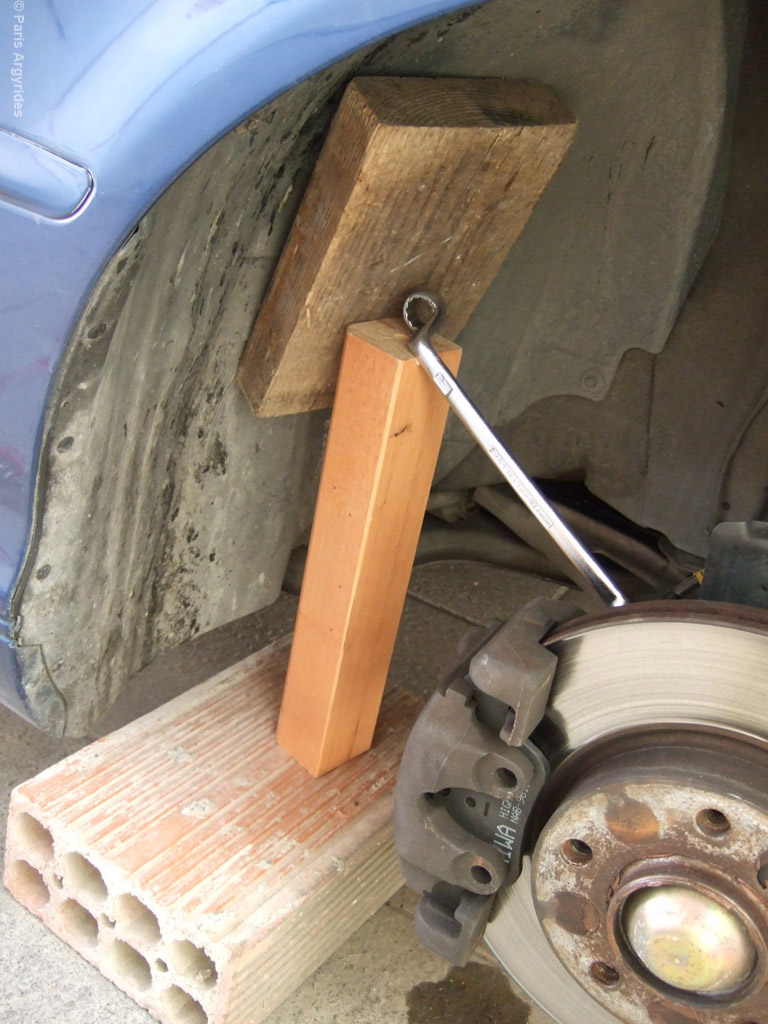
This is what I did to remove the first caliper bolt. I secured the 16mm key on the bolt, then used 2 pieces of wood and a brick to get the correct height, and after this, I released the hydraulic jack and let the car's weight move the 16mm key. After 2 tries, the bolt finally got loose. I can't say the same for the other side since it seems that even the car's weight was not enough to undo the bolt! The left side of the car was actually standing on the 16mm key and the caliper bolt! I used a similar process to remove the lower bolt as well. After both bolts were out, I could wiggle the caliper out of the rotor's area. If there's a significant lip on the rotor, you have to use a big pair of pliers to compress the caliper piston just a bit back to gain clearance but at the same time watching the brake fluid reservoir from spilling fluid everywhere.
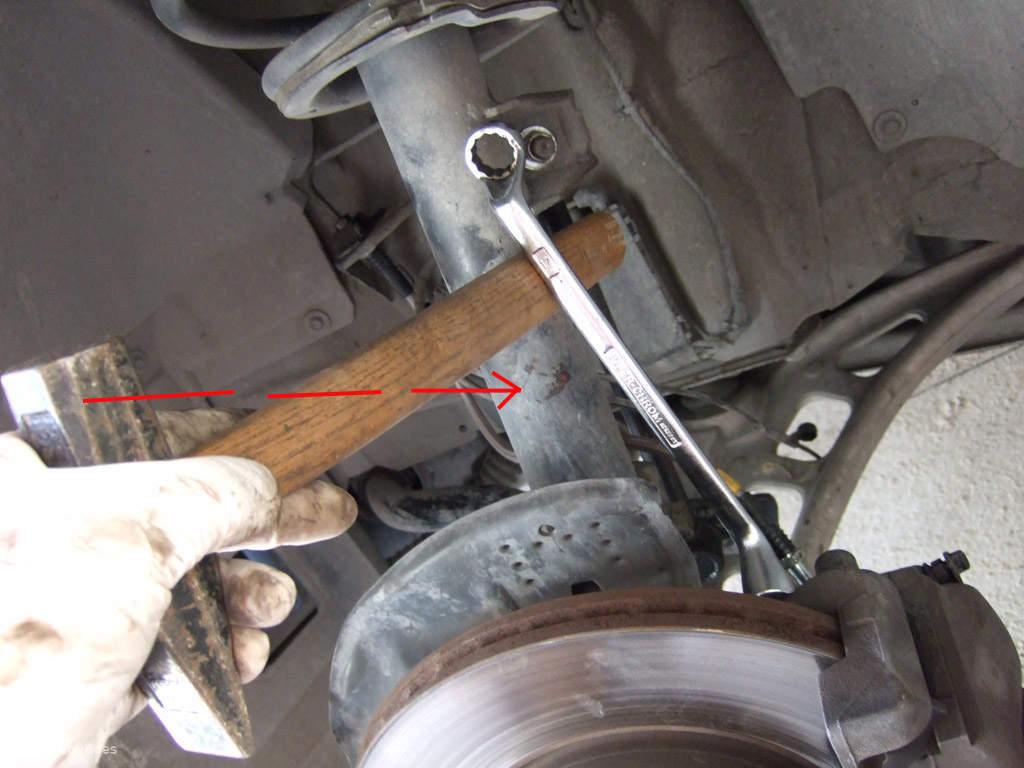
For the other side though, I could not use the car's weight to undo the bolt so I used the handle of a hammer against the strut as a lever to push the 16mm key to undo the bolt.
Outer pad just slides out, the inner part is held by a clip to the piston so it needs a bit of pulling to get it out. Be careful not to tear the rubber piston seal. It's also a good idea to hang the caliper from somewhere to release one extra hand. This is it basically, snap the new pads in place, put the caliper back, torque the bolts to the factory set 110Nm so that the next lucky bastard (probably me) who is probably going to change them will not be forced to use my methods above.
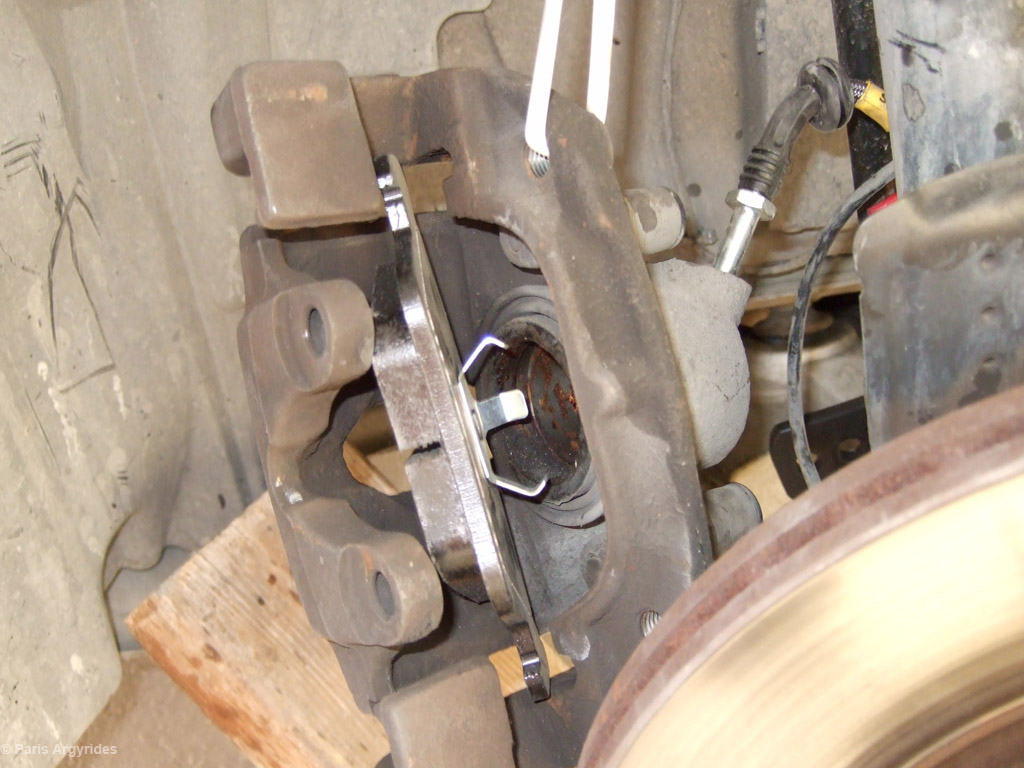
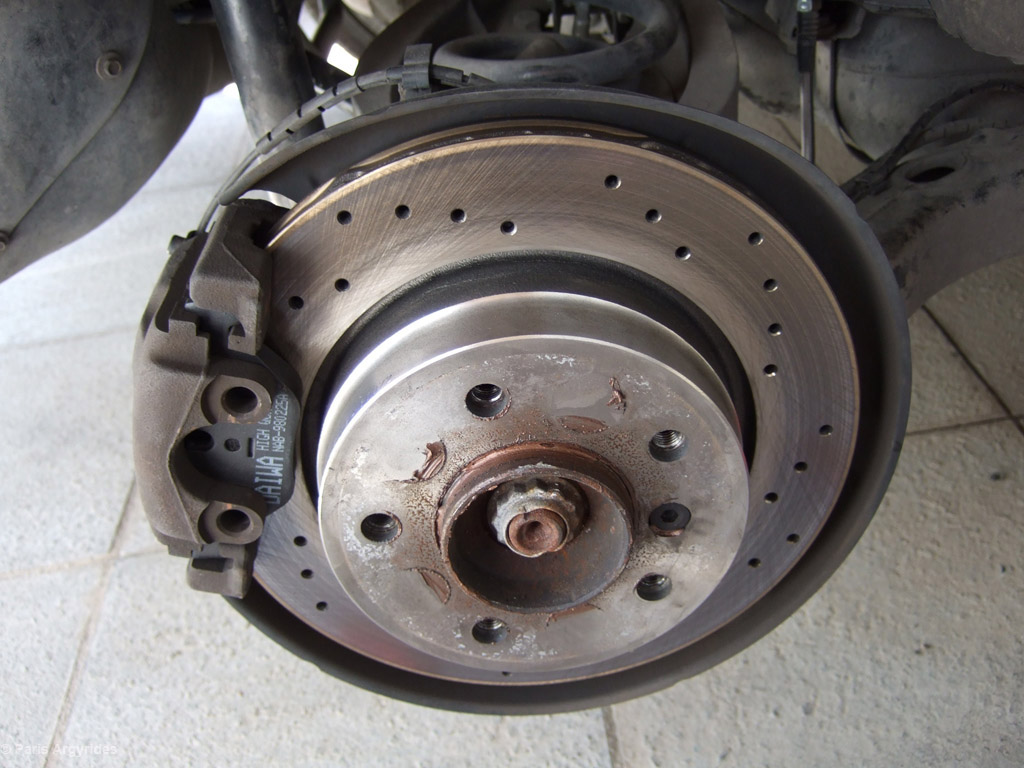
The rear pads are exactly the same process. I had to remove the brake pad sensor as well from the driver's side pads. For my rear brakes, I also installed a pair of Zimmernann sport drilled disks. The picture below is after the disk was installed, right before the pads.
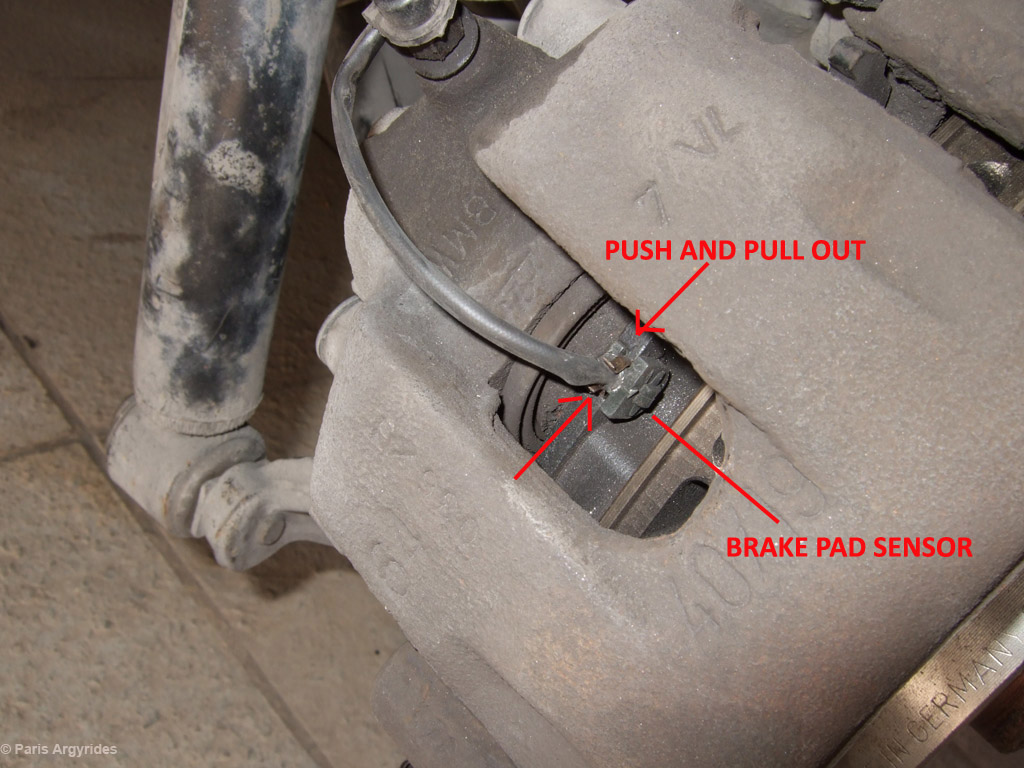
To get the brake pad sensor out in one piece, just grab both its sides and gently pull
That's it basically, after re-installing everything, I went for a ride to bed the new pads & disks. Amazingly the grip is so much improved and I am happy with the results. |