|
Amplifier + Carputer/HU Relocation + Speaker Installation |
|
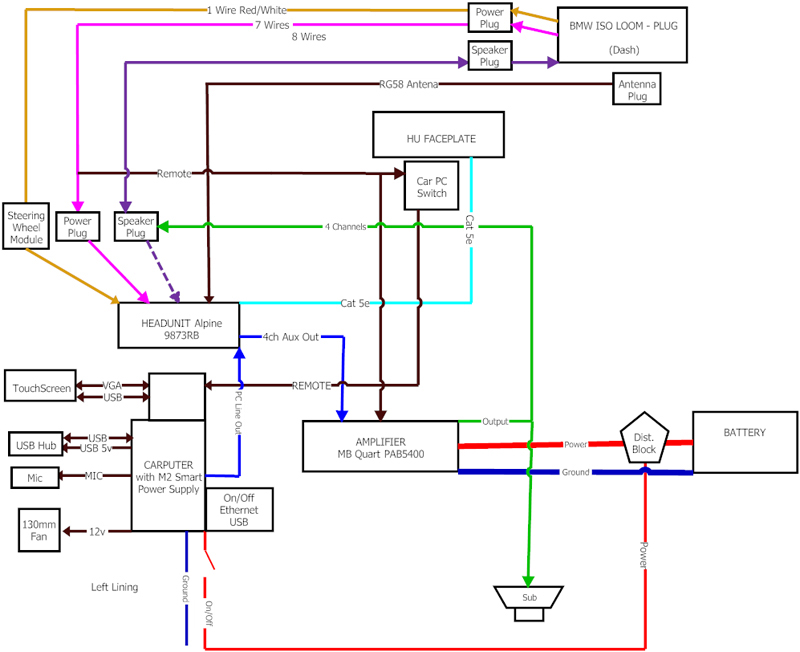
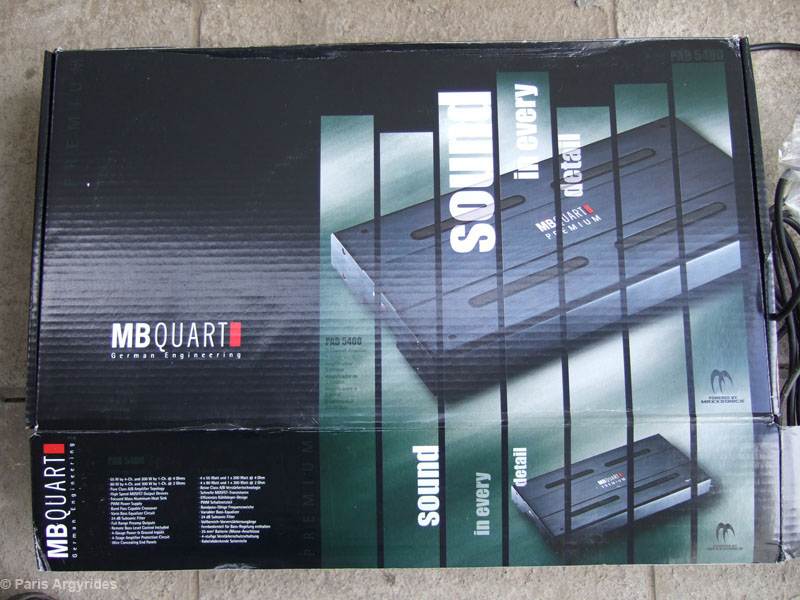
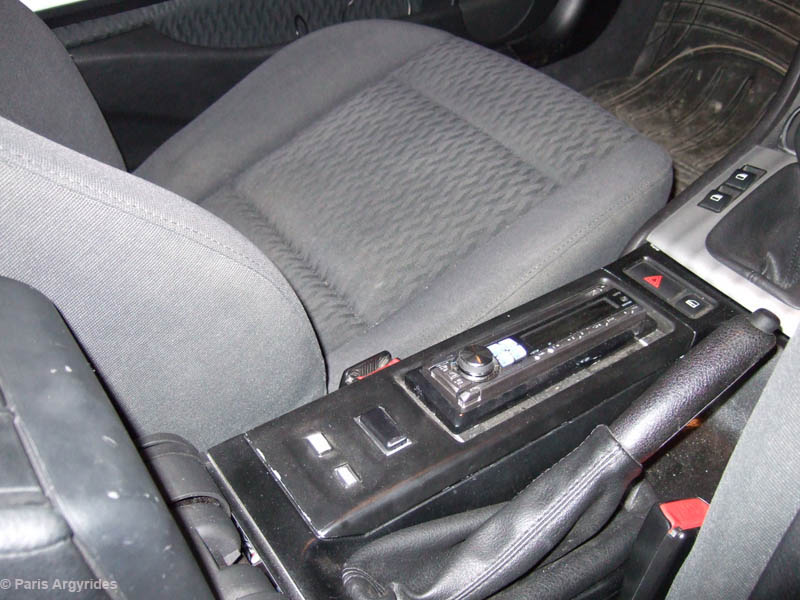
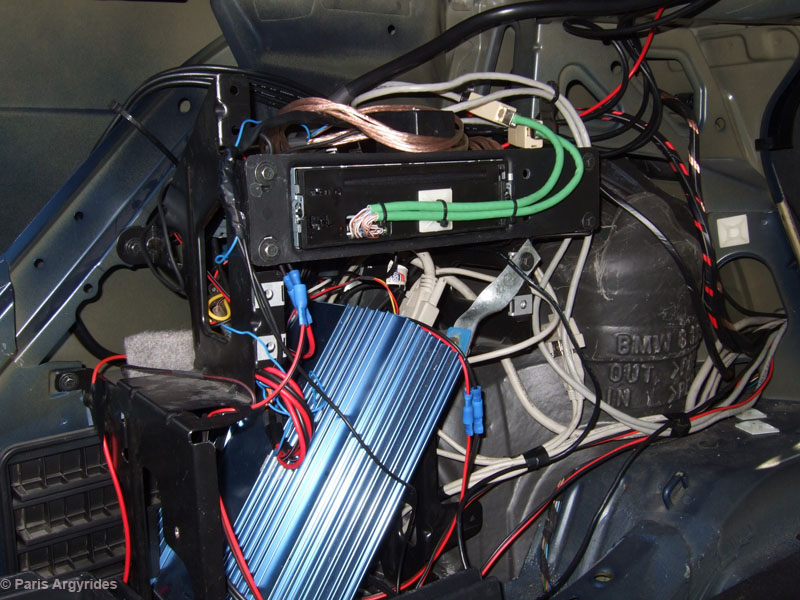
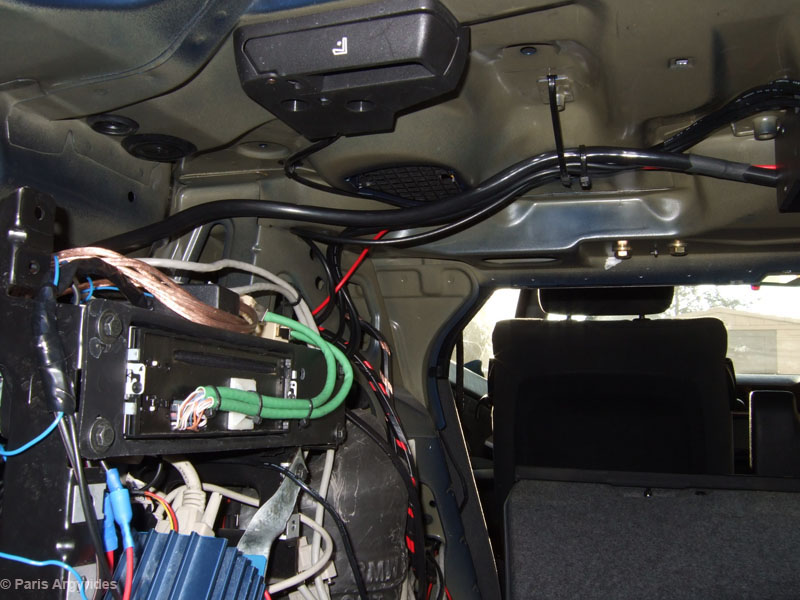
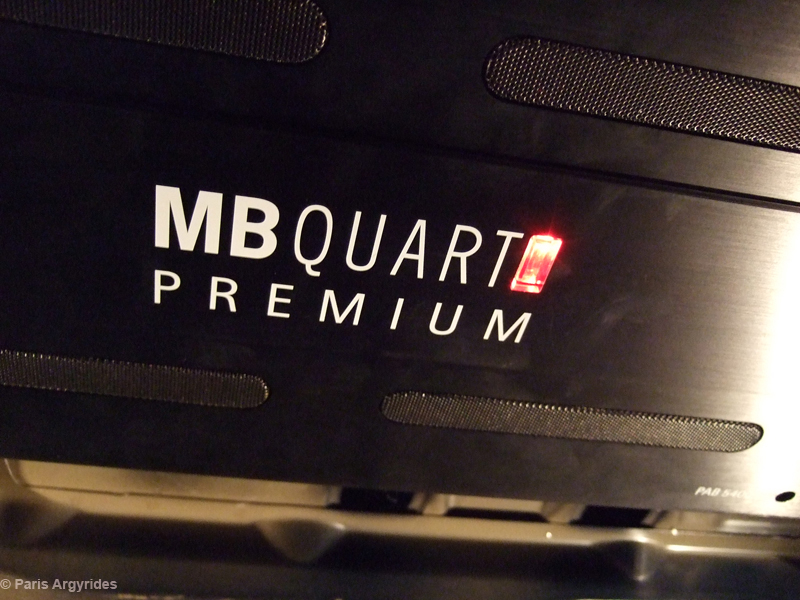
After the carputer installation, I decided to add an amp to my system. To my surprise, the setup with the amp installed was full of interference. So bad music was inaudible. Filters did nothing to solve the problem so I moved to drastic measures. First thing was to move the entire carputer/HU installation to the left side of the car's lining, right there where satnav drives are mounted. The Kenwood headunit was also replaced with an Alpine 9873RB model and the amp was replaced with an MB-QUART PAB5400 Premium 5Ch (Instead of an old Legacy amp I had laying around). The new headunit also required a compatible steering wheel control module which I purchased as well (genuine Alpine).
To make the installation as good as possible, I replaced all wiring from trunk to dash with high quality thick power wires and high quality speaker wires. Since at the trunk I have an ISO plug for the speakers, I connected the amp's high power output speaker wires to the plug, therefore eliminating the need to run new wires to the speaker network.
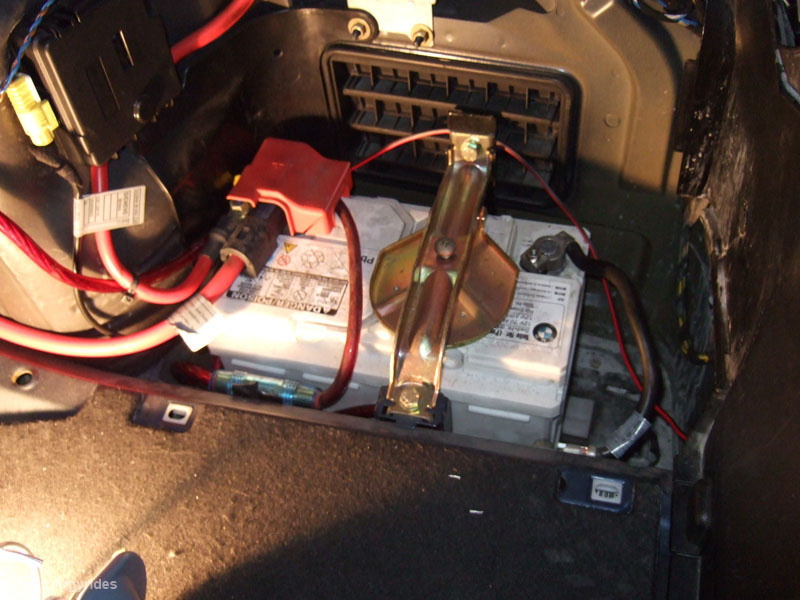
The amp was grounded using 4AWG wire to a grounding point and the power was drawn directly from battery, with an 80A Rockford Fosgate fuse inline.
The RCA outputs from the headunit were connected with the amp using RG58 shielded cable with gold plated RCA plugs.
Result: Crystal clear sound without interference even with the BMW speakers. Next step is to find a good set of speakers!
Electrical Drawing
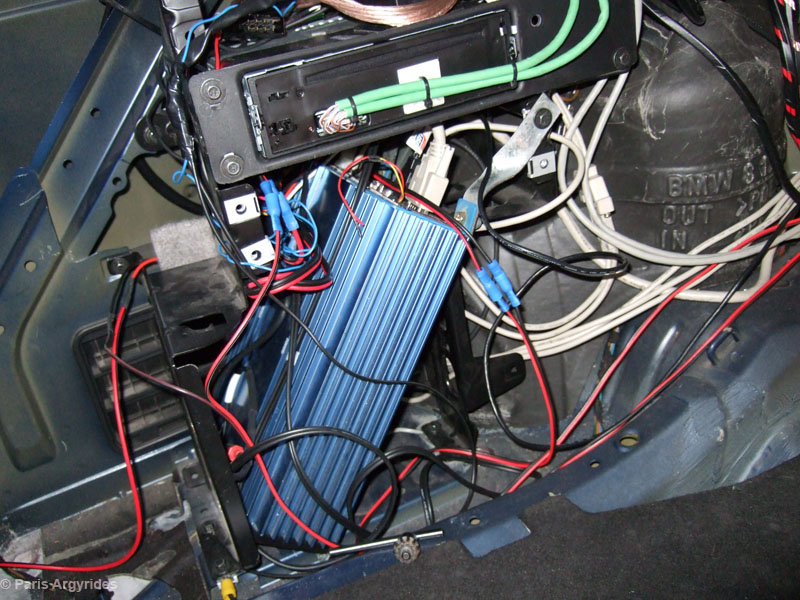
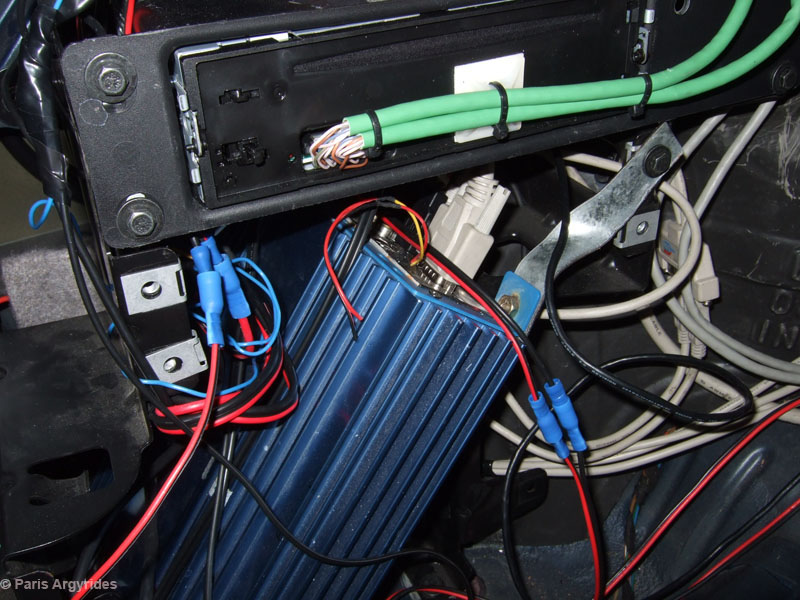
The amp in the box
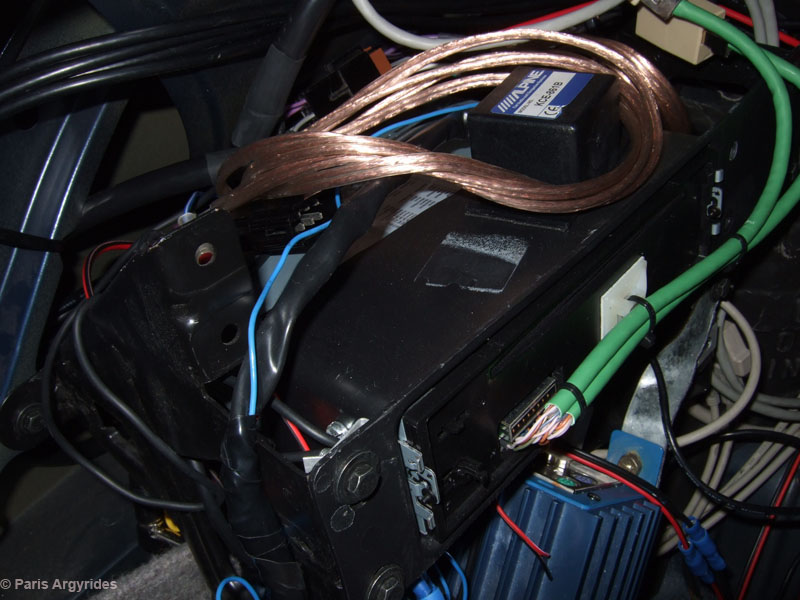
Kenwood Out - Alpine Faceplate connected using cat5e network cable and RJ45 plugs (instead of parallel plugs, as seen on the carputer project)
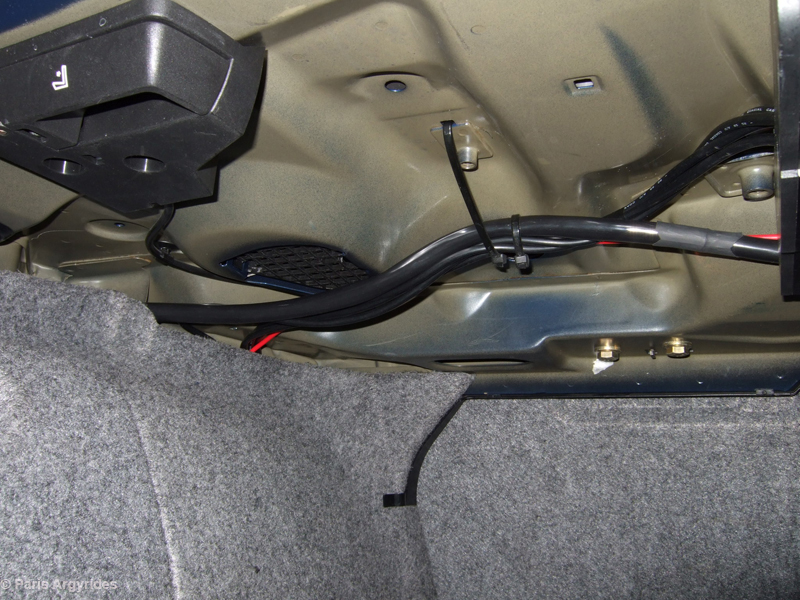
Good to disconnect battery's negative before doing any kind of electrical work on the system. The 4AWG amp wiring is seen and the power wire for the carpc is the thinner one running along the rear part of the trunk.
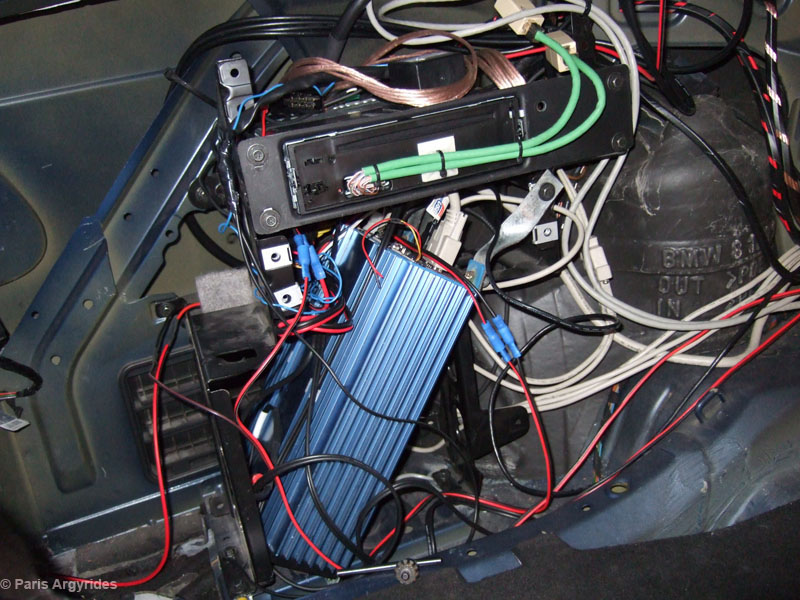
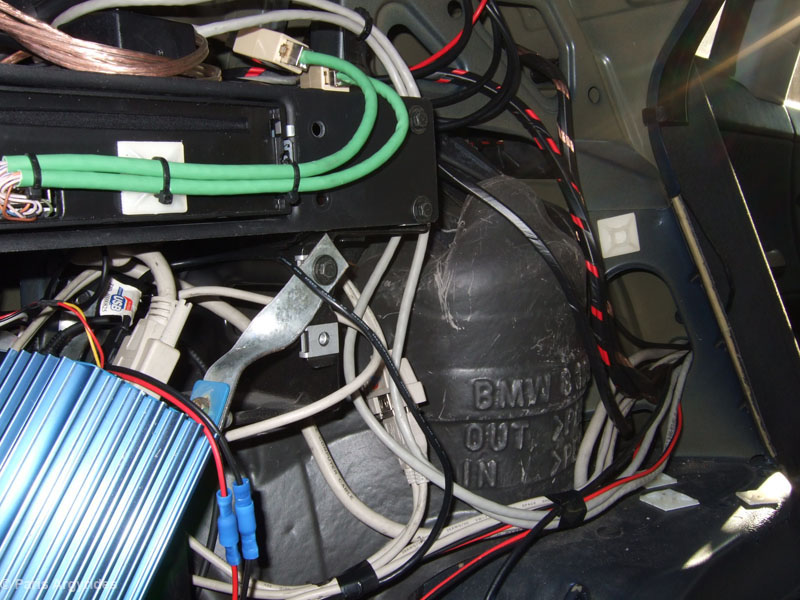
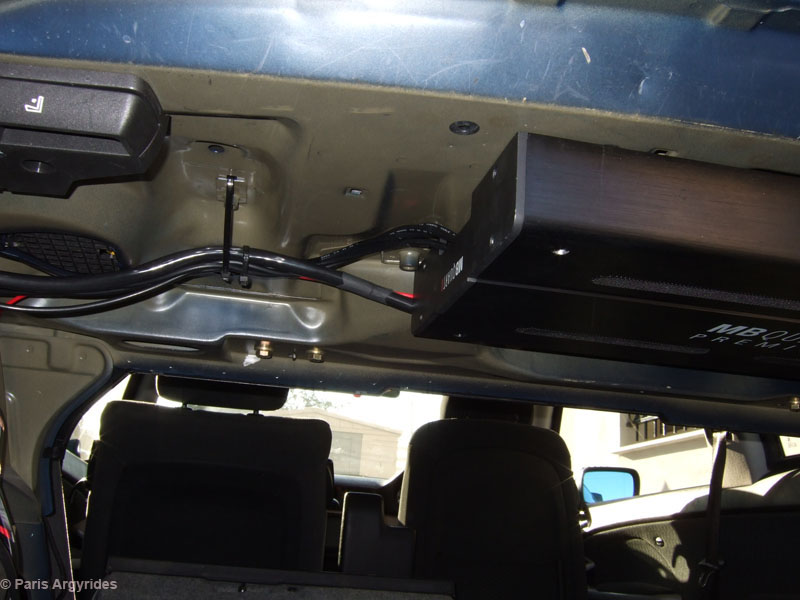
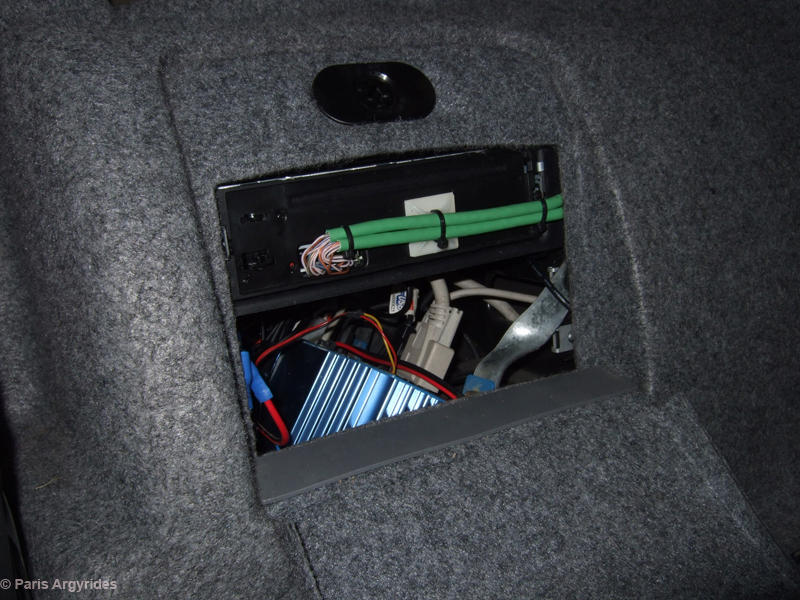
This is how it looks in the left lining: A bit messy but once cables are tidy, it looks really clean.
The alpine steering wheel control module.
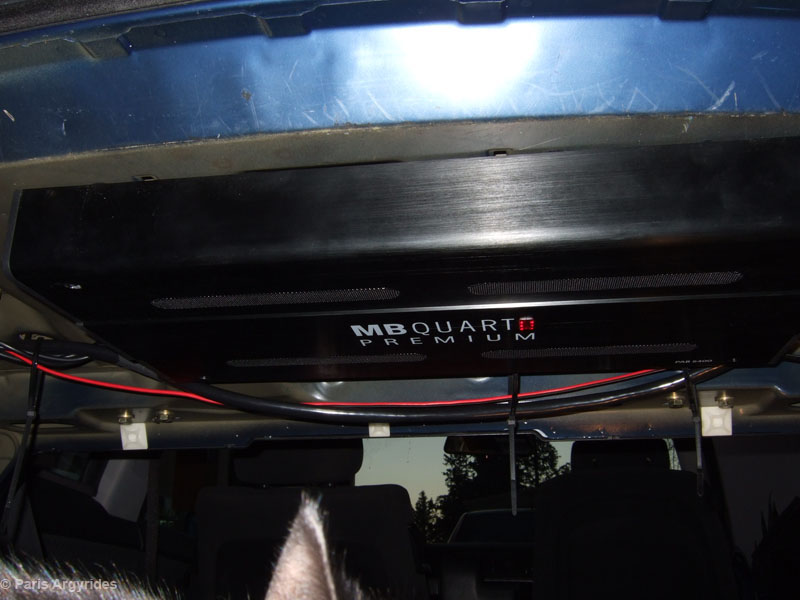
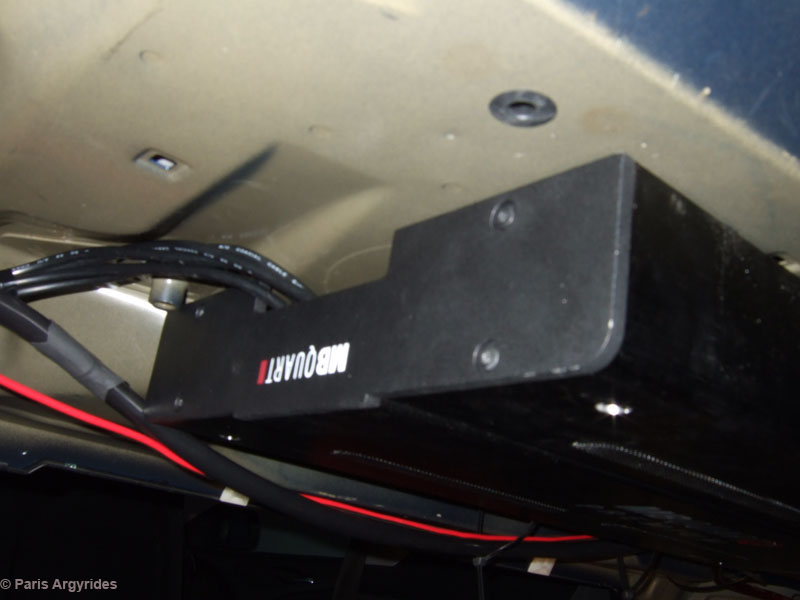
The amp installed.
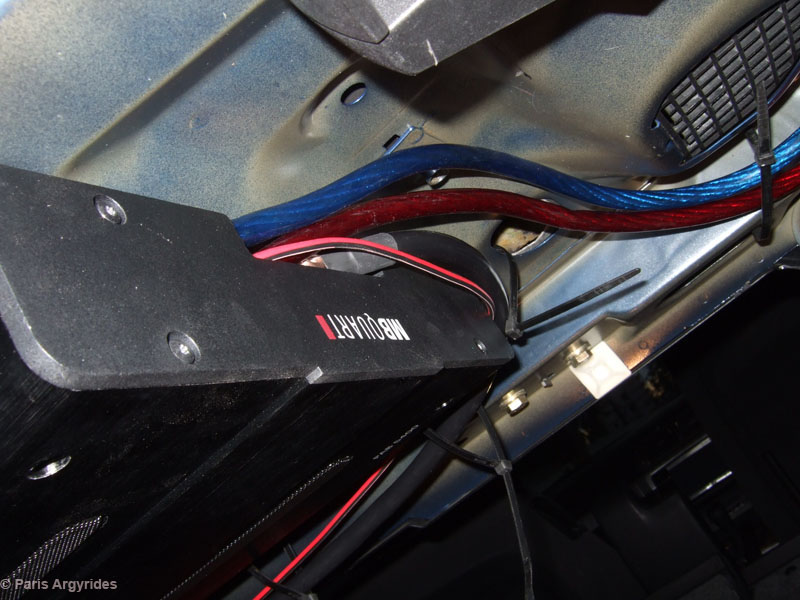
Remote/output/power/ground from one side
Signal input from other side.
I grouped the amp's output wires in a thick black rubber tube for good looking purposes.
Left lining back in place
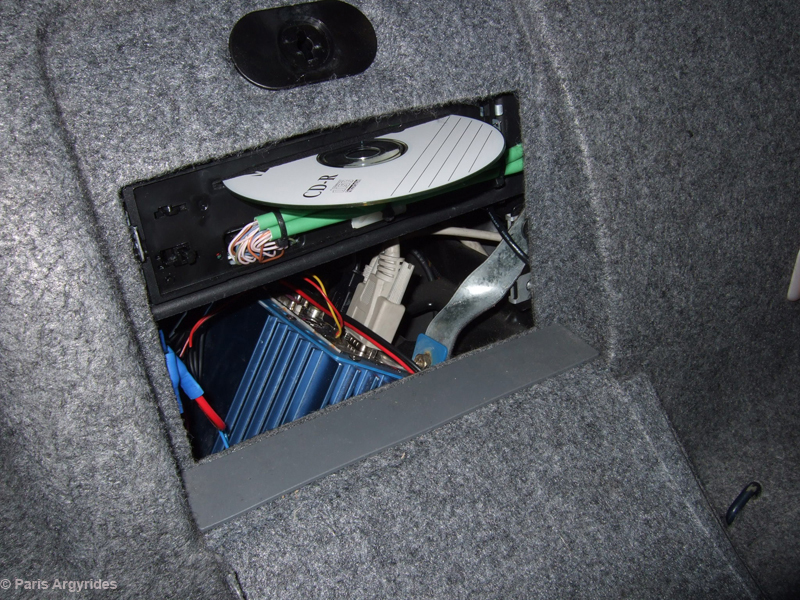
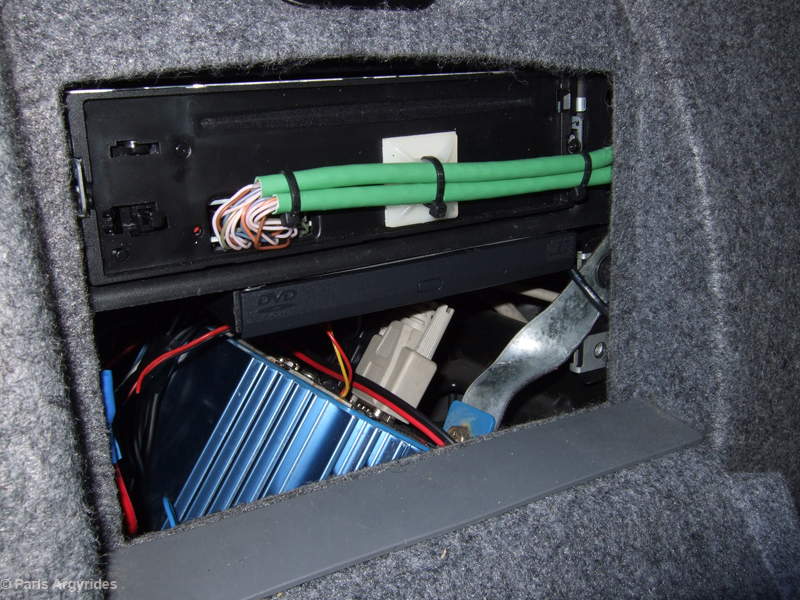
The head unit appears once satnav cover is opened. For the space below the head unit I will install a DVD drive, on/off switch for the carputer (cutting direct power from battery) at least 15A capable, ethernet port to upload new media on the carputer's hard drive, a usb/card reader on a custom faceplate covered with the same grey fabric.
And of course I have the headunit's drive to listen to audio/mp3 cd in case a passenger hates my techno/trance/house music taste.
The thick tube contains the amplified signal wires and the 4 thinner wires the HU's aux out. Cable ties will be replaced with something more neat.
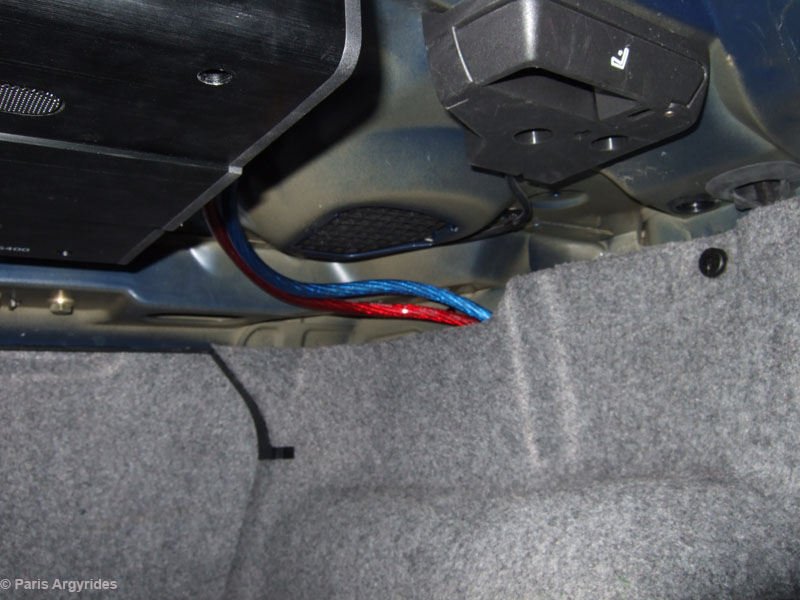
Not much on the other side, only power and ground. There's a ground terminal already present behind the lining.
The amplifier in operation. Doesn't get hot all, not even warm! I was worried that the upside down orientation would create heat issues but everything seems fine for now!
Continuing the ICE installation:
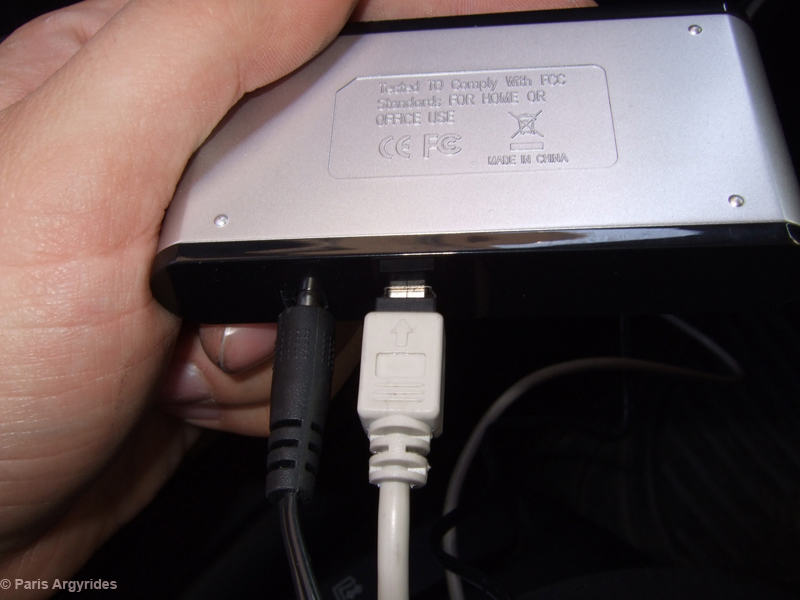
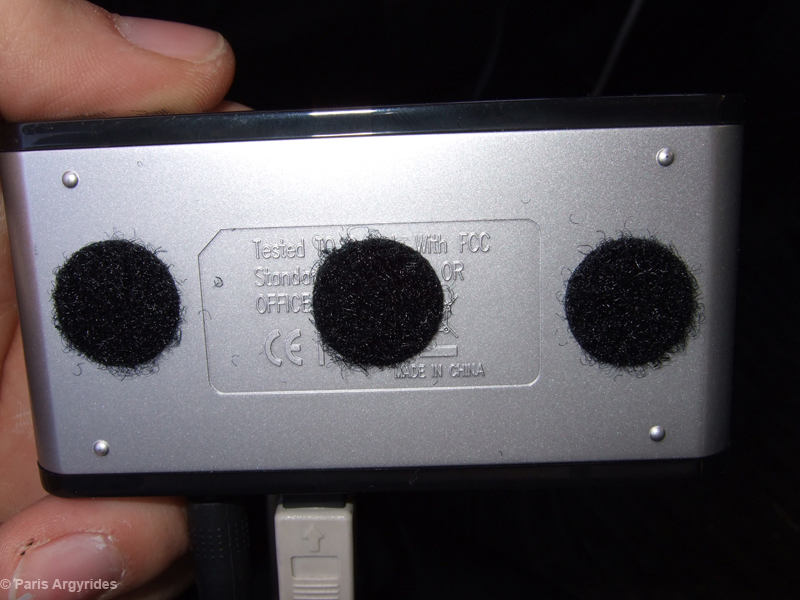
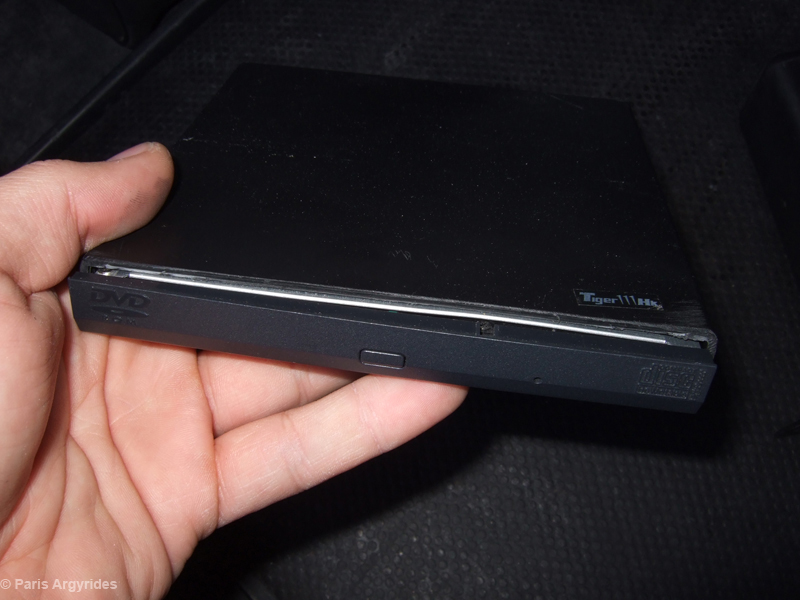
4-Port powered USB 2.0 Hub Slim-line DVD ROM drive in a usb enclosure
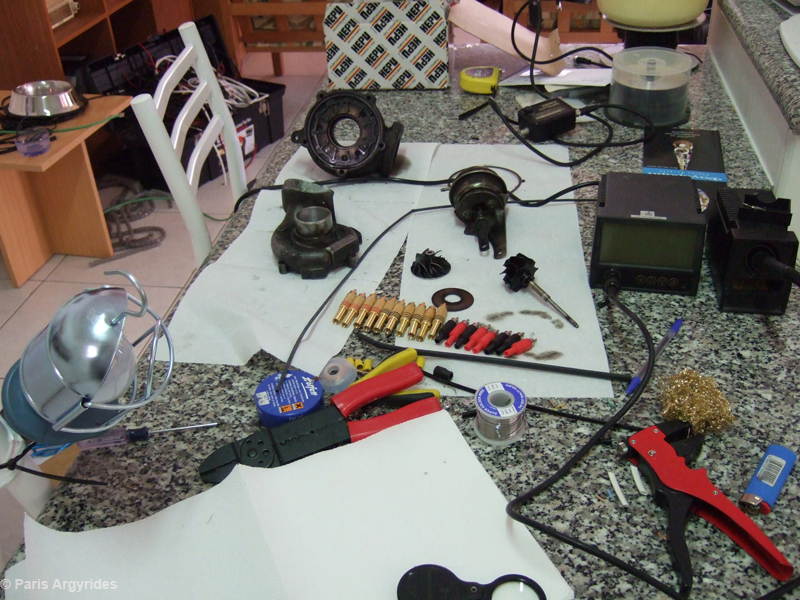
Workbench
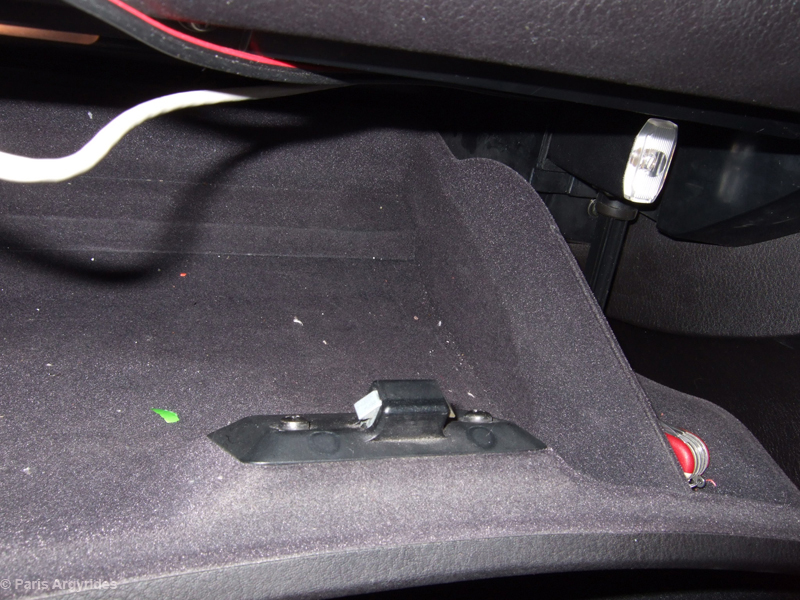
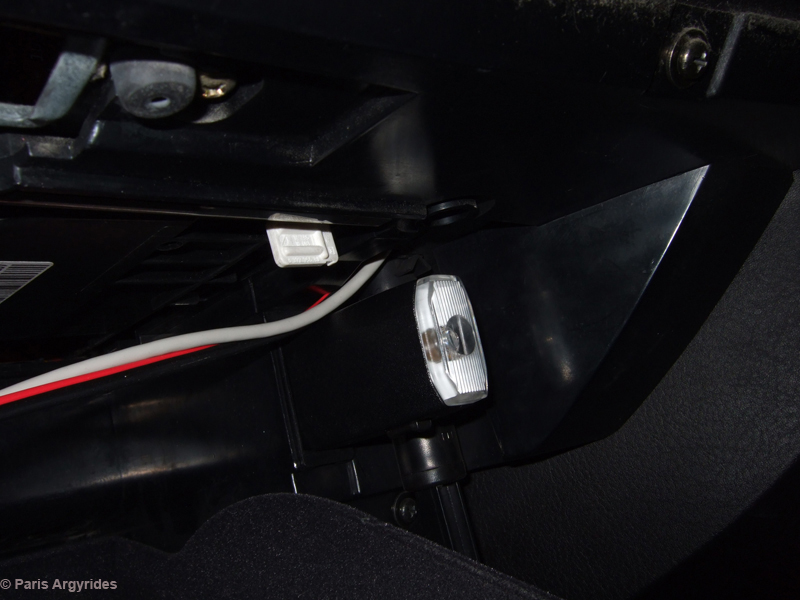
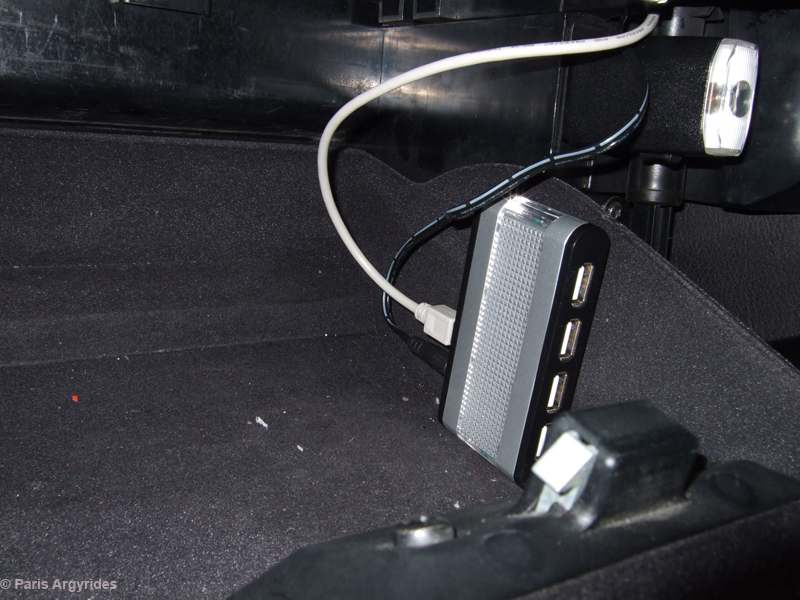
Emptied glovebox. I had 2 ideas about where to mount the hub. One was on the sideway below the BMW torch and the other one on the top of the glovebox, fusebox cover. I eventually mounted it sideways next to the torch.
They grey cable is the USB 2.0 coming from the trunk where the carputer is located. The other is a 5V/Ground line, coming from the 5v out of the carputer's smart power supply. The power supply is capable of delivering over 150W of power from 7V up to 27V without altering output voltage; 3.3V, 5V, 12V.
The usb hub
Rear part
For this mod I used velcro with 3M self adjessive. With this way, the hub is easily removed from the glovebox for other uses.
The hub in place
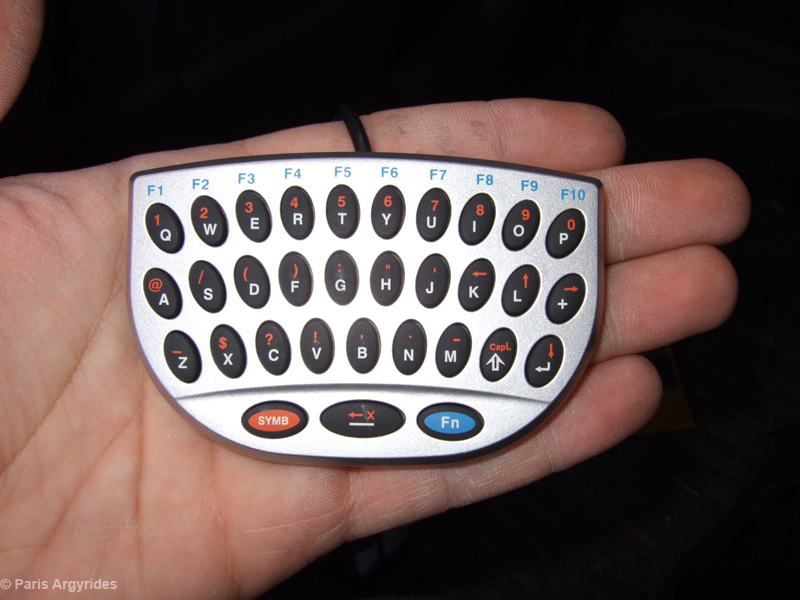
I also have this min keyboard which I will mount next to the LCM.
The carpc software automatically detects inserted media from usb sticks, dvd/cd rom, and generates playlist. The DVD Drive: Laptop drive and USB enclosure.
I noticed while testing that the drive would not operate when I connected the 2 wires: USB and Power from USB. Was drawing too much amperes from the USB host, so I threw another powered hub in the car pc area. Didn't want to damage the motherboard by drawing too much current.
The drive is mounted just below the Headunit.
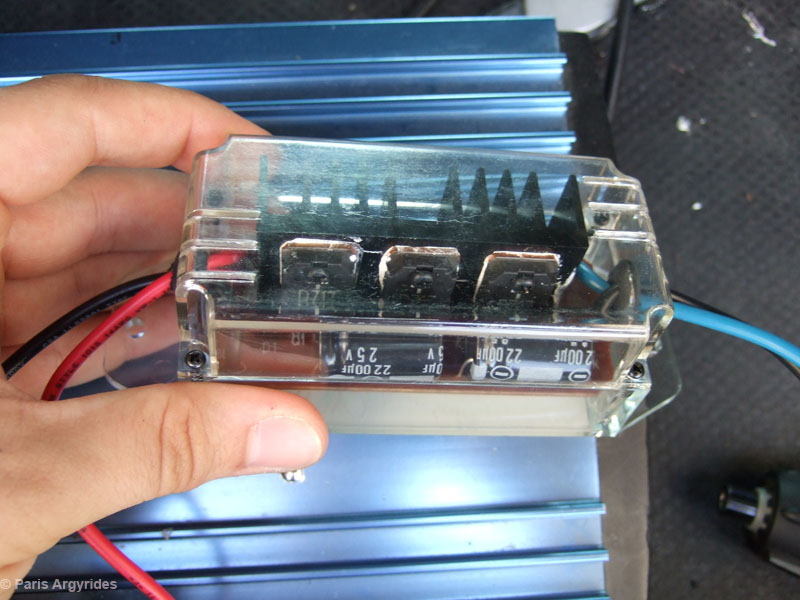
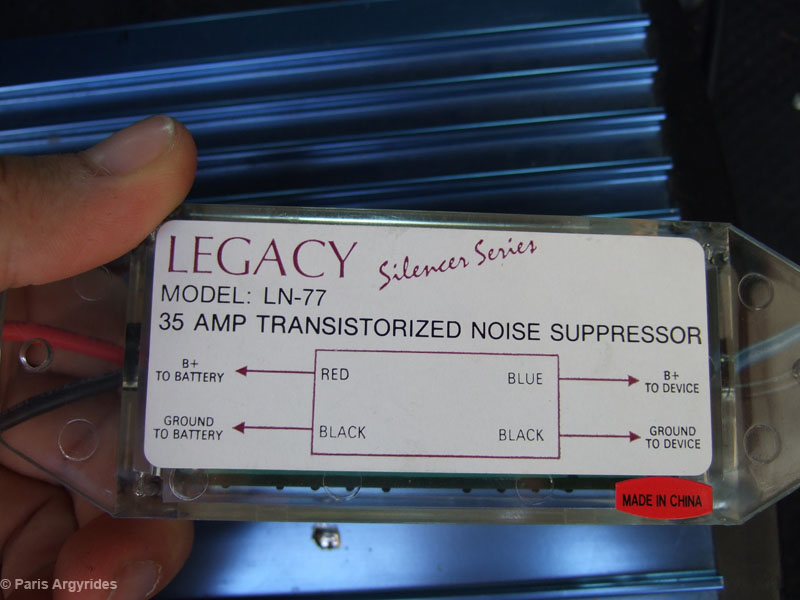
Power filter installed to fix the interference issue that the car pc was feeding to the amp! 80% of noise gone! Now I ordered some ferrite core to try fix the remaining noise issue.
Black: Ground Red: Battery Blue: 12v Device Black: Ground
|