|
CDT Components Installation (Front) |
|
CDT Components 6.5" Speakers - 140W RMS Installation
Finally I found the time to install my components in the front doors. Removal of door card is easy and it's a 5 minute job. Look for the rattle fix to find out how to remove the door panel.
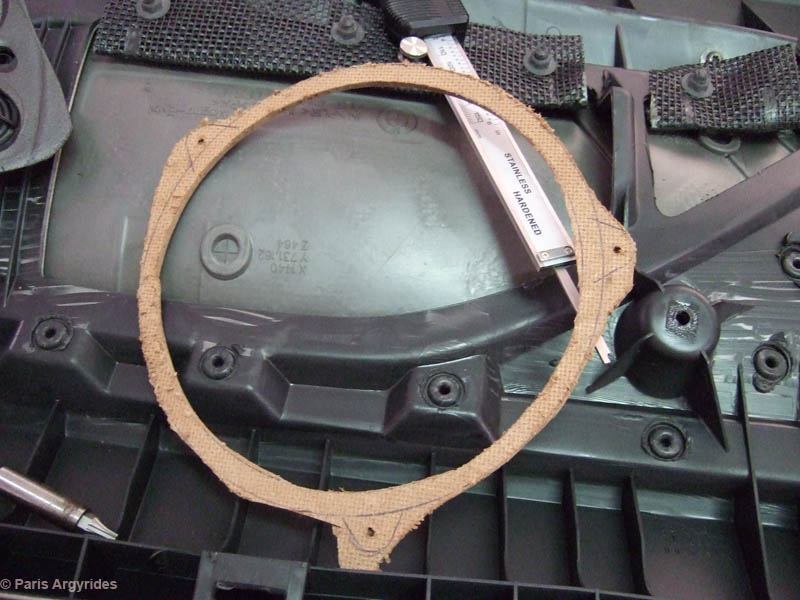
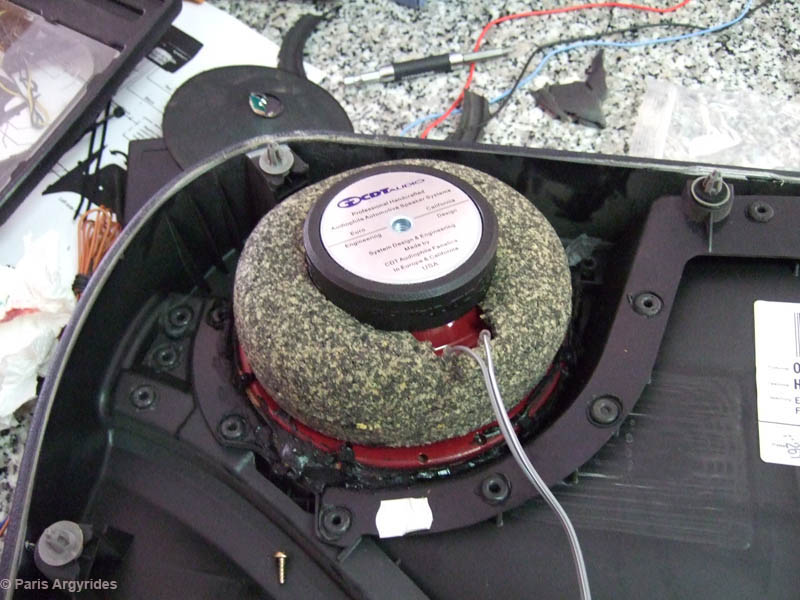
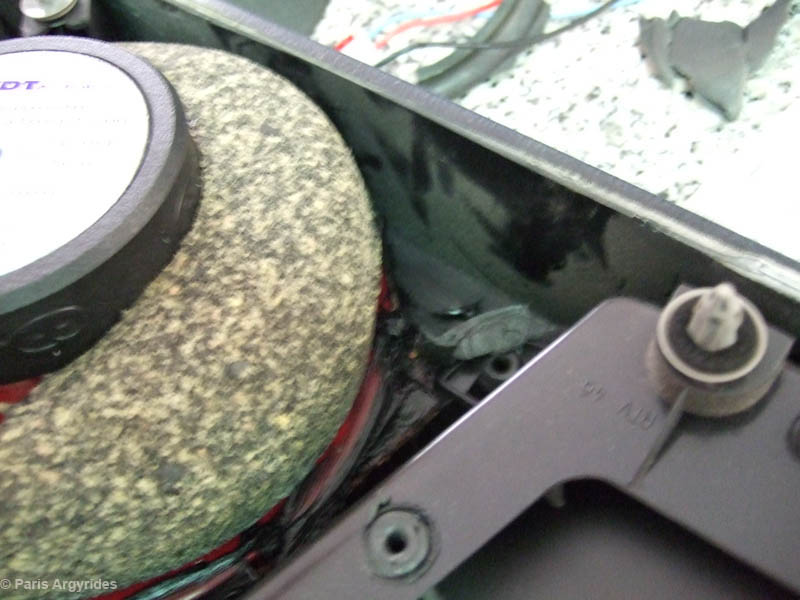
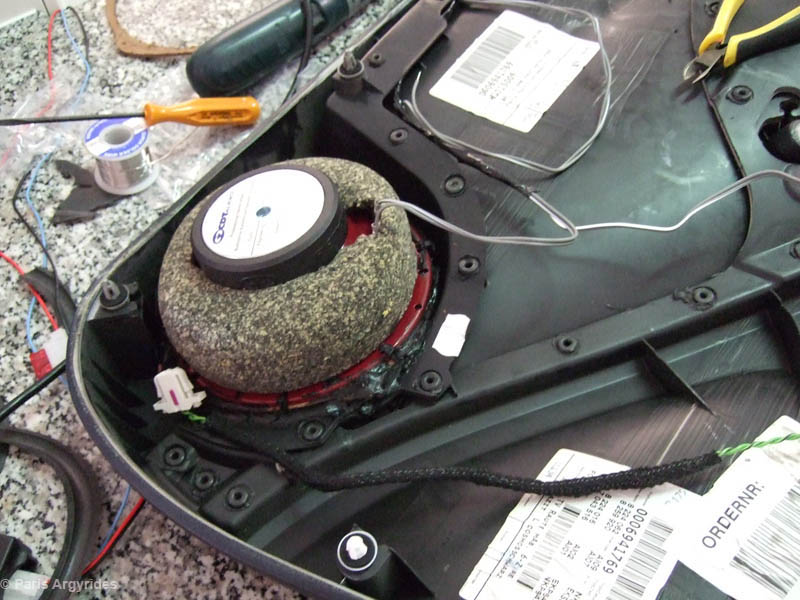
First I fabricated some adapters to fit a 6.5" speaker in the place of the stock 5.25". I used a thin piece of MDF because I did not want to add extra height to the installation. The CDT 6.5" speakers barely fit (height clearance). Then I secured the speaker on the adaptor using a lot of cable ties to avoid screws, because the adapter is thin and might break. Cable ties will do the job well. After securing the speaker on the adaptor, I screwed the adaptor on the door panel using the OEM screws. To add some strength, I sealed/glued the speaker frame to the door using silicone. It's a bit messy but once it dries, the speaker will never move/rattle.
The OEM foam seem to fit fairly well on the speaker.
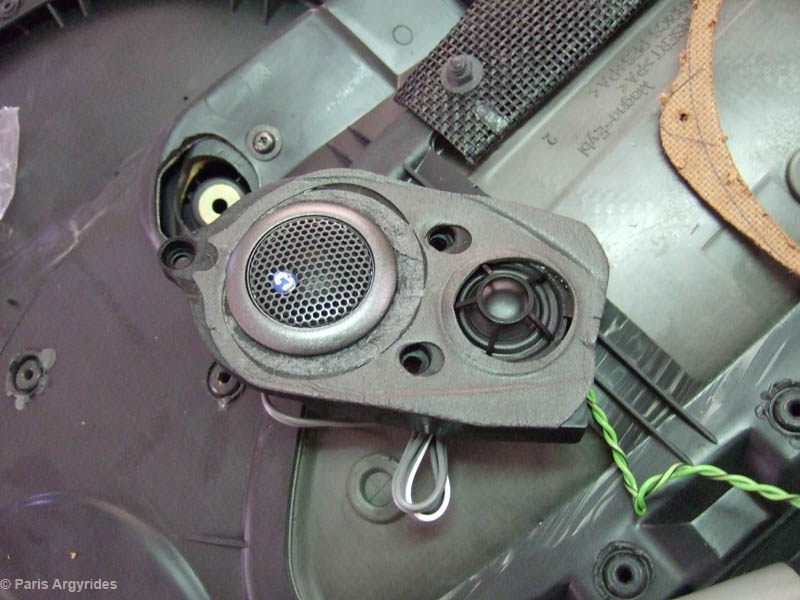
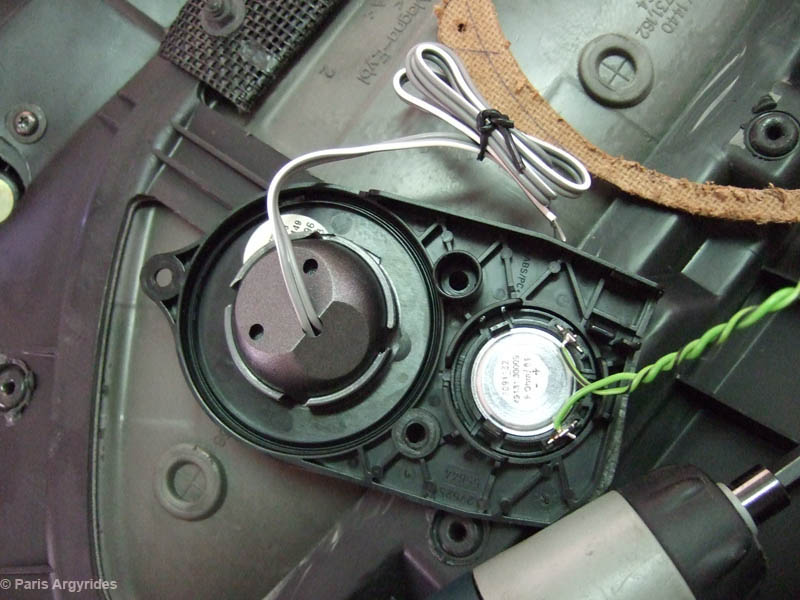
For the tweeter installation, I cut a hole of the appropriate diameter on the tweeter assembly. It seems that non HK cars have the 2nd tweeter hole covered. The plastic was cut using a utility knife. Very easy installation so far.
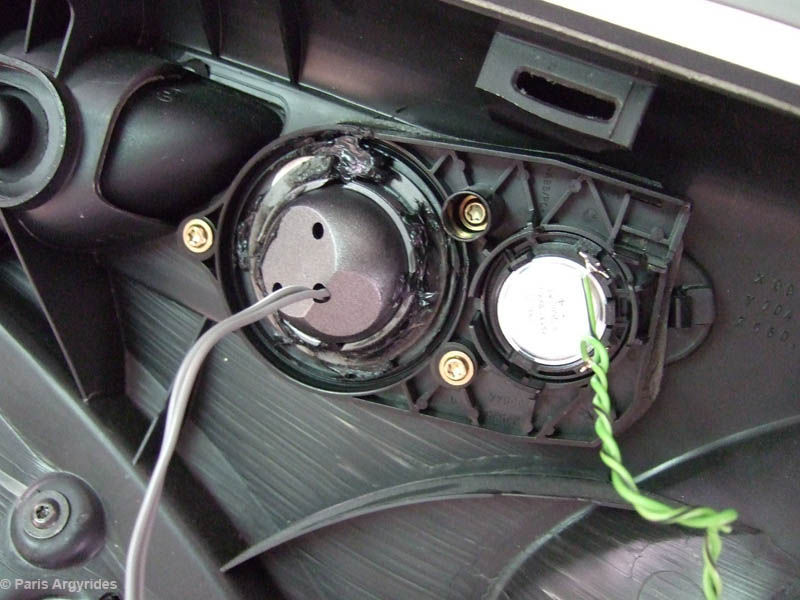
Again, securing with some silicone sealant to prevent rattling. I became obsessed with rattling in the doors.
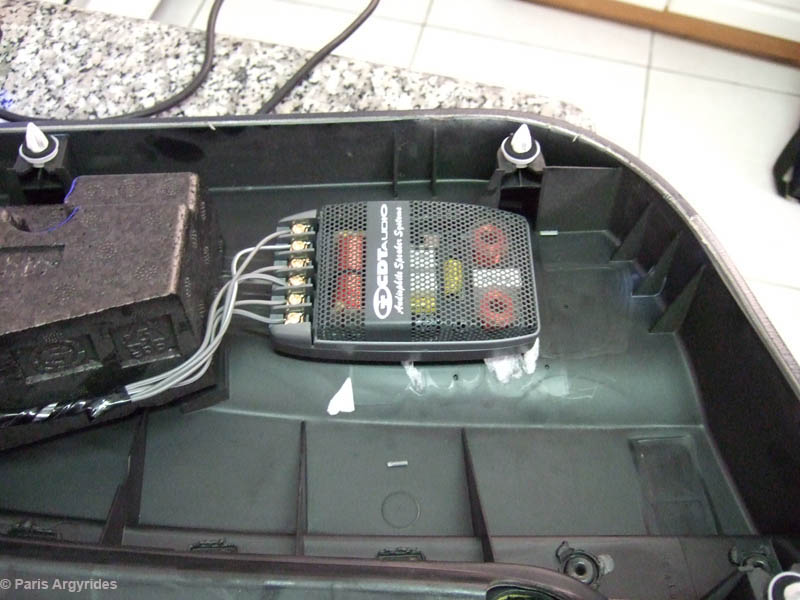
The crossover installed using extra strength double sided tape at the bottom right part of the door card. Connection to the stock wiring was easy too. I guessed the polarity of the OEM cables, the one with the brown stripe is the negative. I soldered all the connections this time to avoid issues with plugs.
Reassembly was the opposite of assembly and results are the expected: the CDT components are miles ahead from stock speakers. Sound quality is so natural and clarity is phenomenal. |