|
Hotchkis Front Adjustable Endlinks Review & Install |
|
It was interesting to find out that my order was delayed because Hotchkis was waiting for the materials to build the actual endlinks! After 7 days waiting time, my order was shipped from LFP using UPS. I got it in 3 days!
Tools Needed: 14mm Wrench 15mm Open Wrench 16mm Open Wrench 18mm Open Wrench
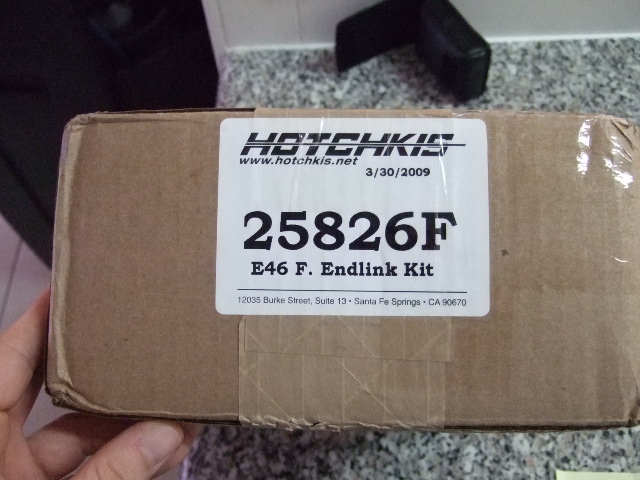
The box with the part number if anybody wants to order these!
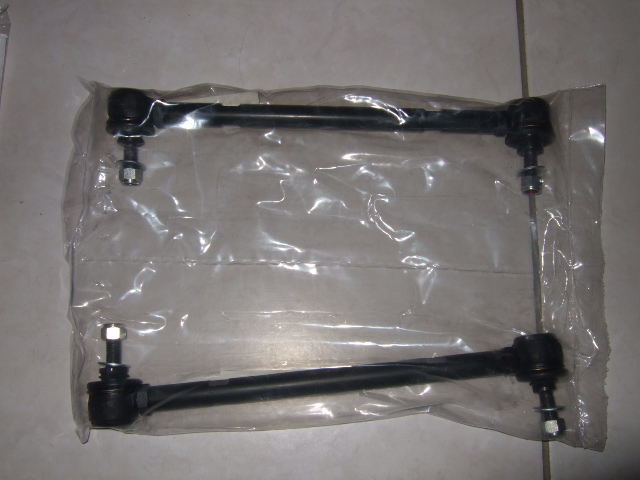
Packed really good in foam and bubble wrap
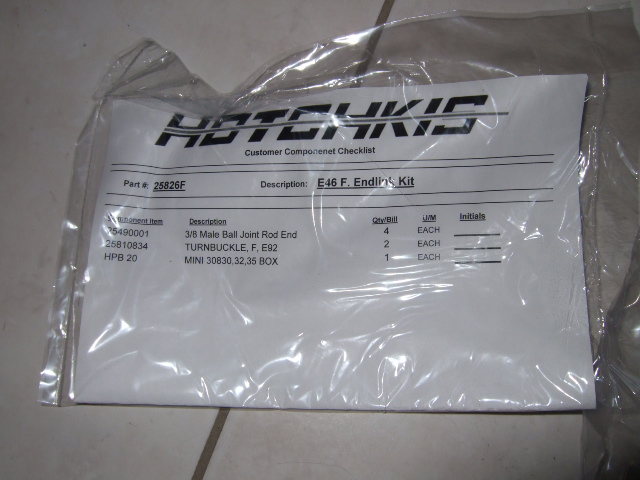
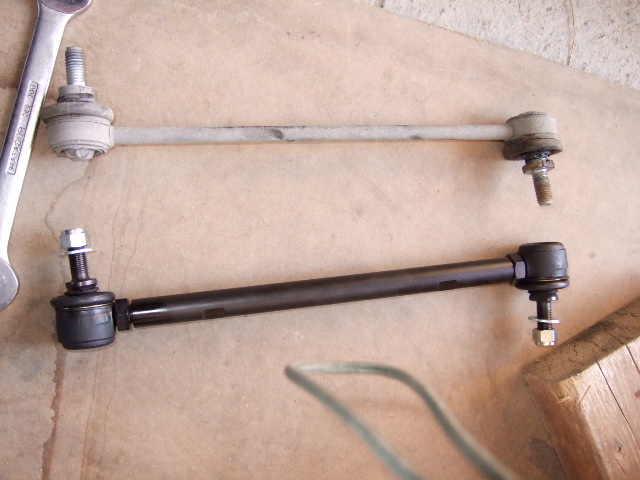
Parts List.
With self-locking nuts and washers (14mm).
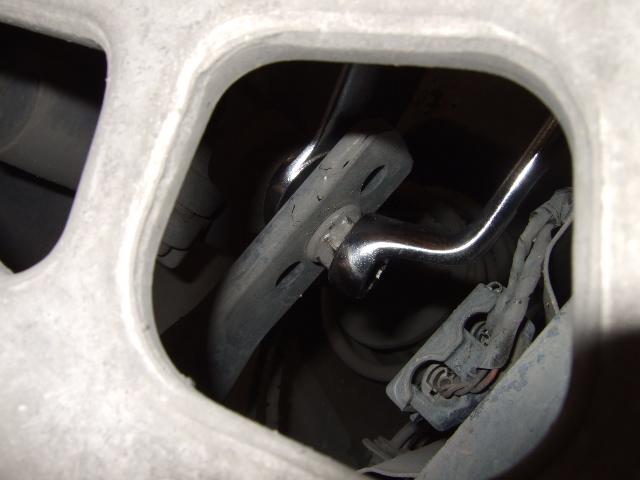
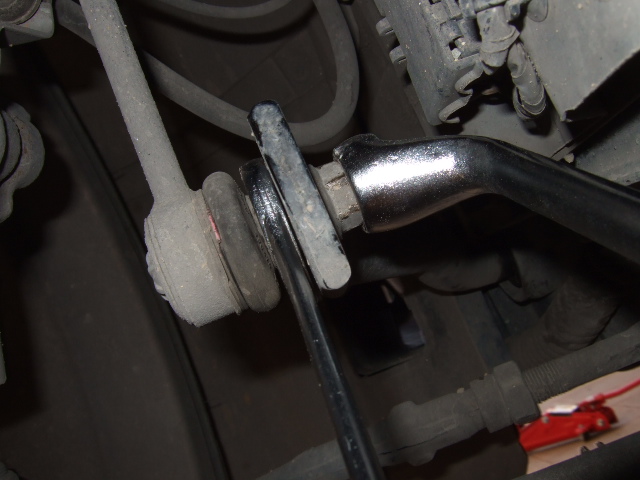
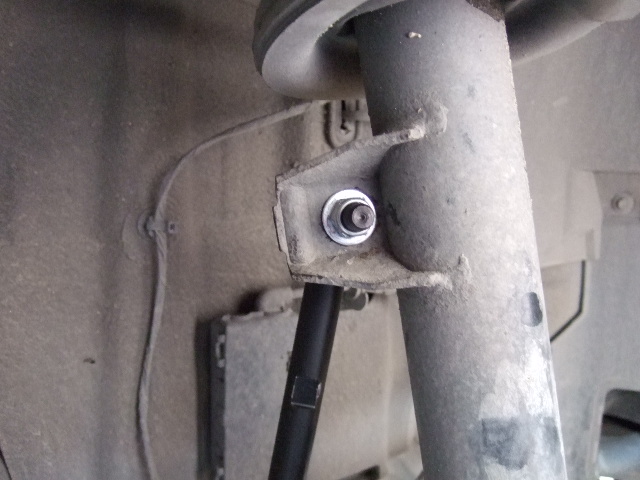
Removing the old ones: 1. Put the car on ramps or jackstands so that sway bar is not under load (both wheels same level) 2. With an open wrench hold the one side of the endlink bolt and with another one 16mm remove its nut.
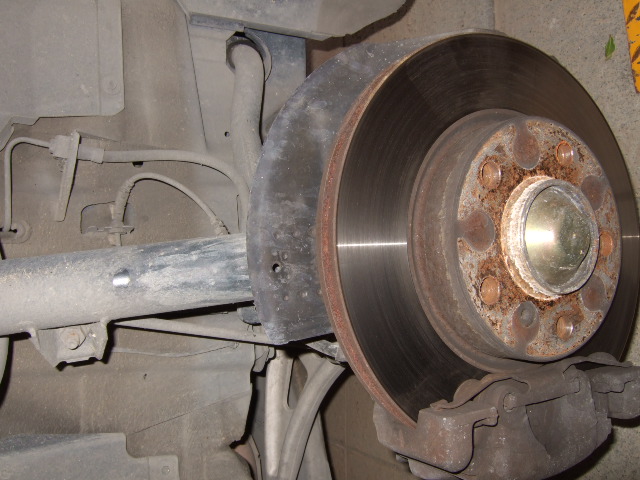
3. Remove wheels, I had to kick the wheels really hard to unbond them from the rotor. 4. With the same tools, remove the upper part of the endlink.
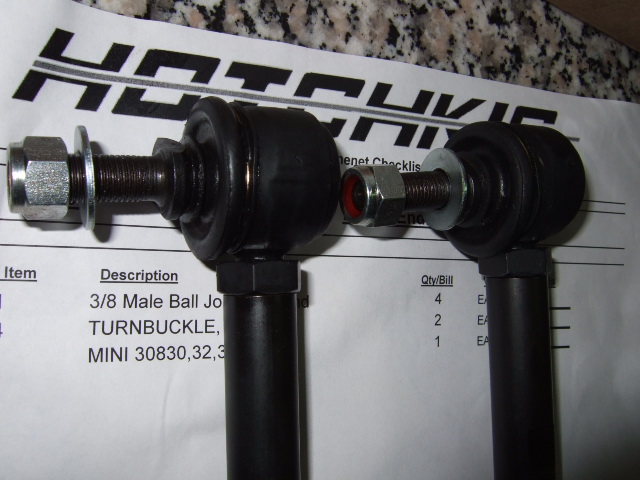
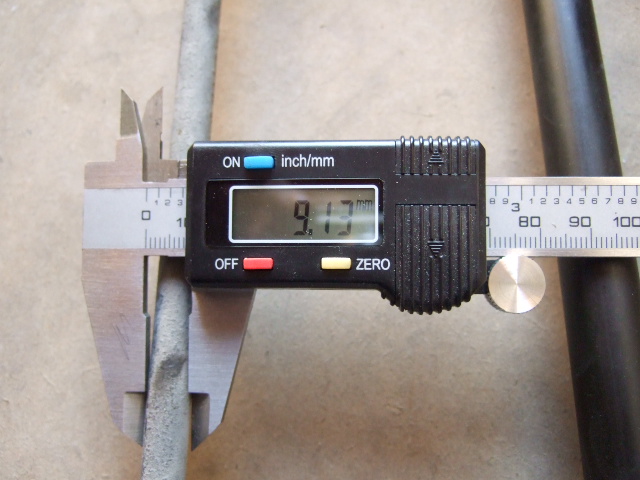
Now that's a difference!!!!
OEM: 9.13mm
Hotchkis: 16.06mm!!!!!!!
Installation is the reverse process with only difference the nut is now 14mm. When I tightened the nut, I also tightened the length adjustment lock nut. Same process for the bottom nuts.
I took the chance to go to the stiffest setting now and wow, the car handles unbelievably good!
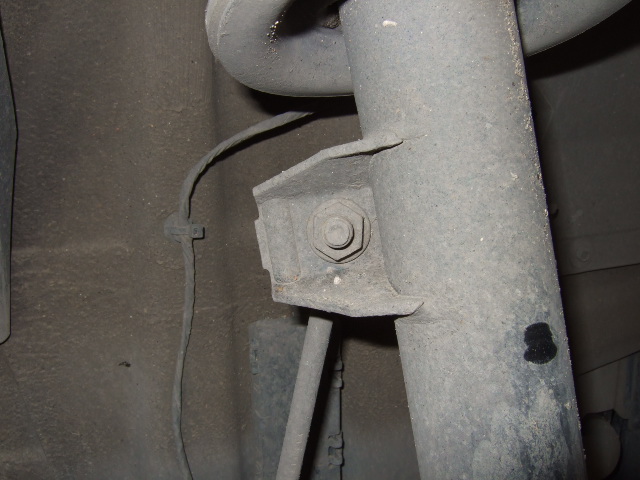
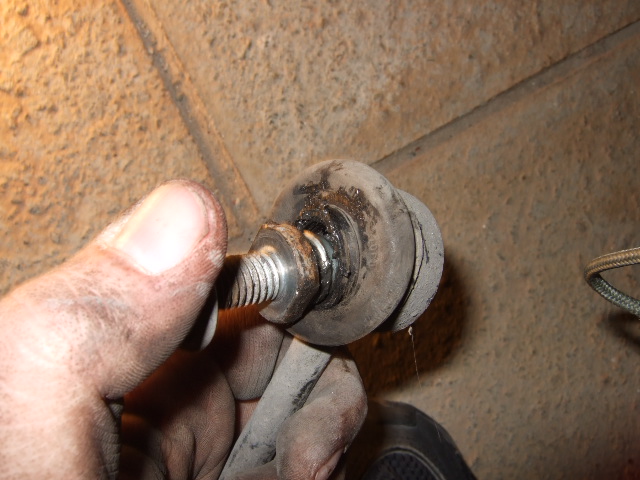
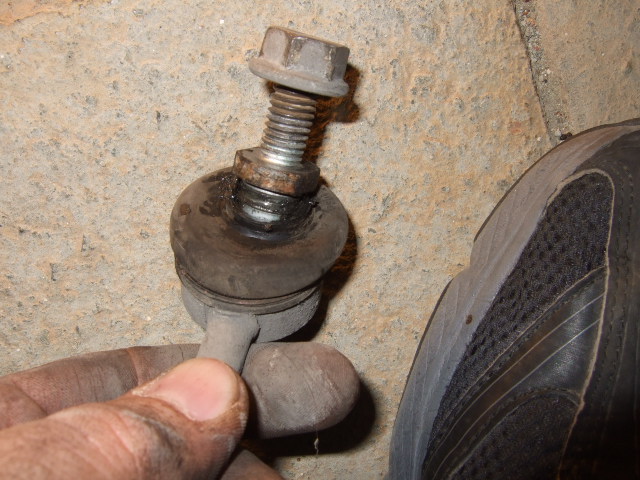
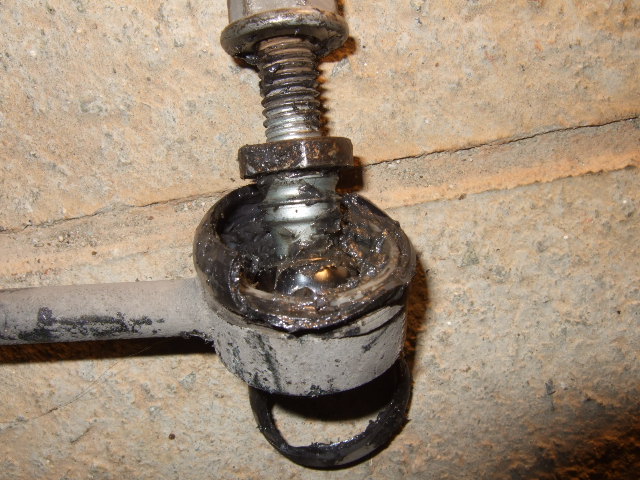
Here's the old endlink with the cause of its destruction. Contamination of the inner ball joint with sand etc because of torn rubber boot.
|