|
Hotchkis Sport ARB Install - Page 2 of 2 |
|
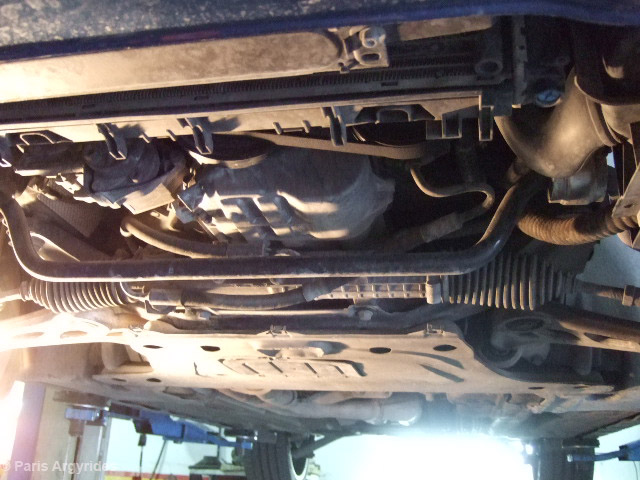
Front Stock ARB
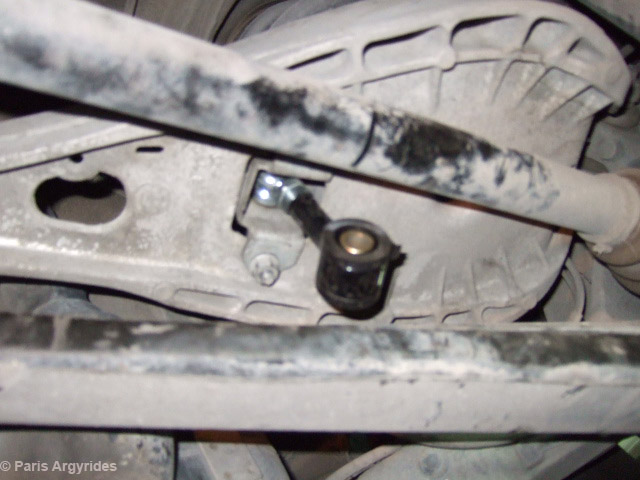
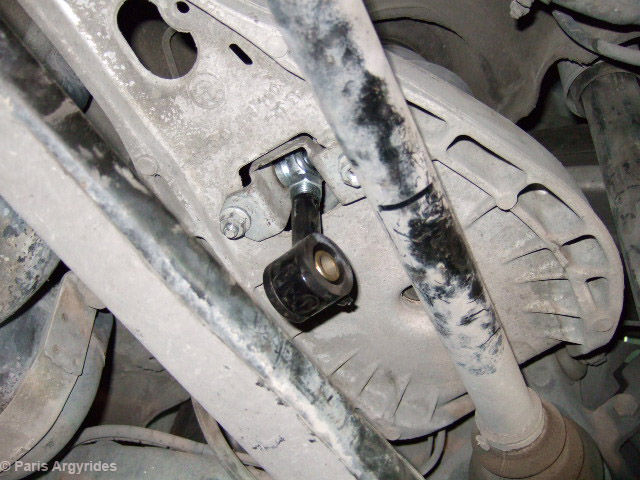
Endlink connection
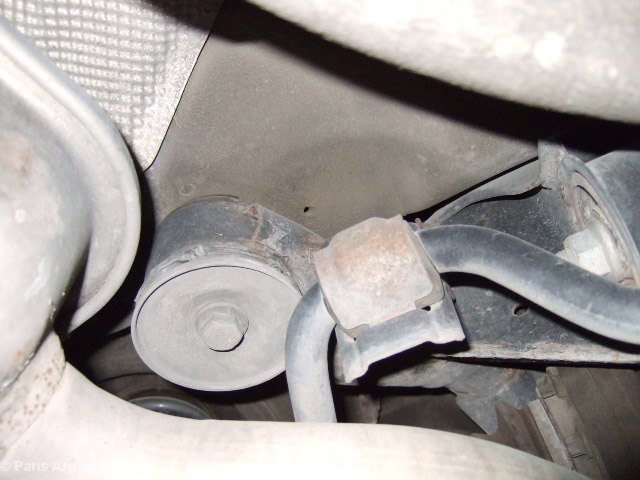
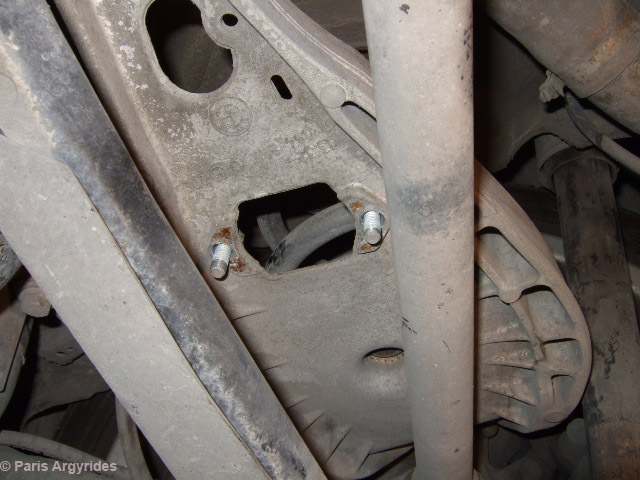
The dreaded brackets that break all the time with the -now gone- powerflex bushes
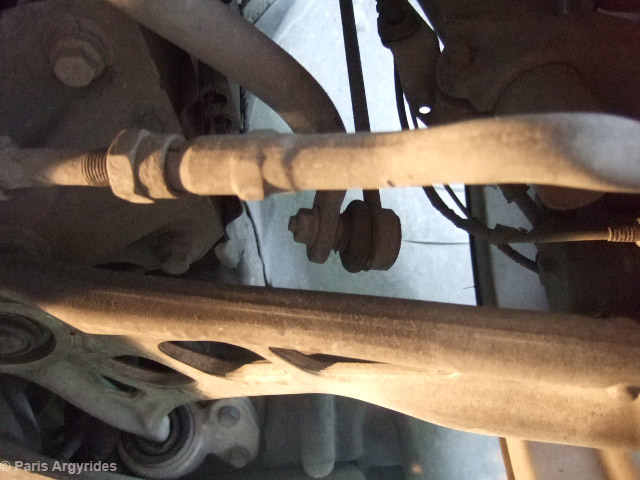
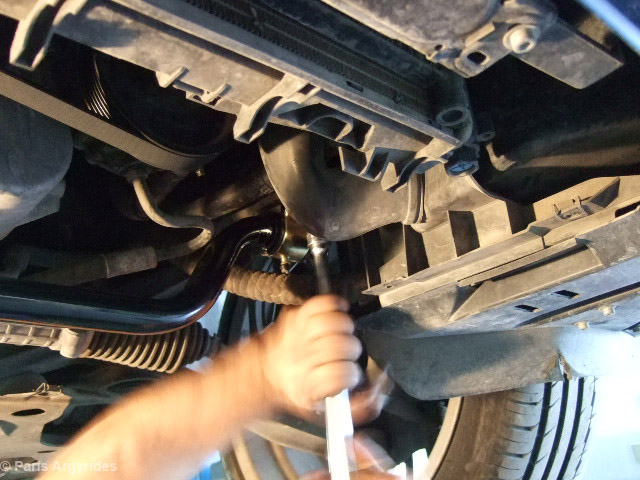
Install was very easy for the front one. Just remove the brackets, disconnect the endlinks and replace with new ARB. I set it to the softest mode as the manual suggests, but I will change it later on when I have time to test the handling characteristics.
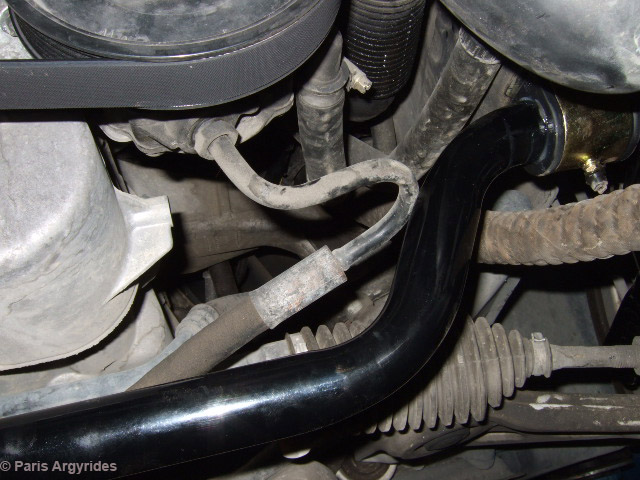
The PS hose was too close so we pushed it a bit out of the way.
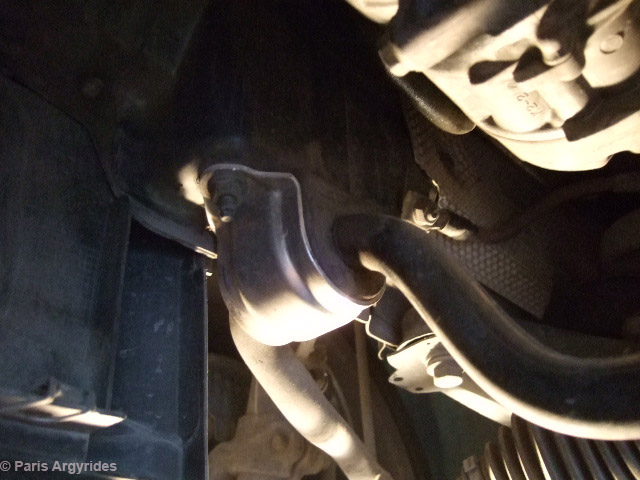
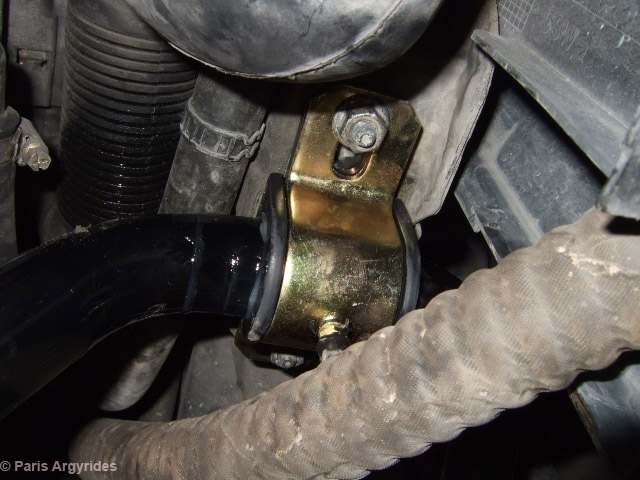
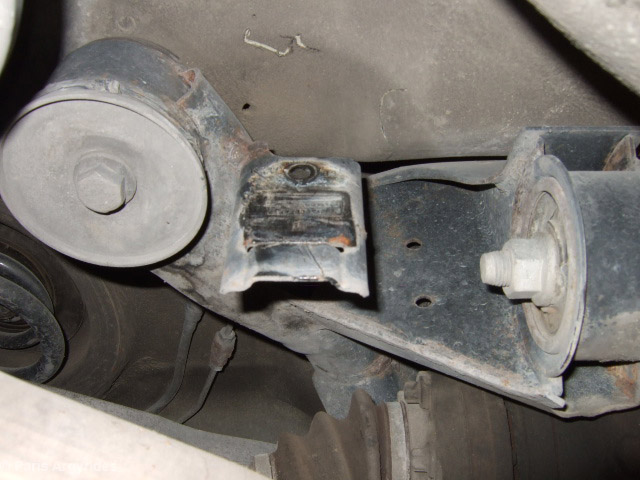
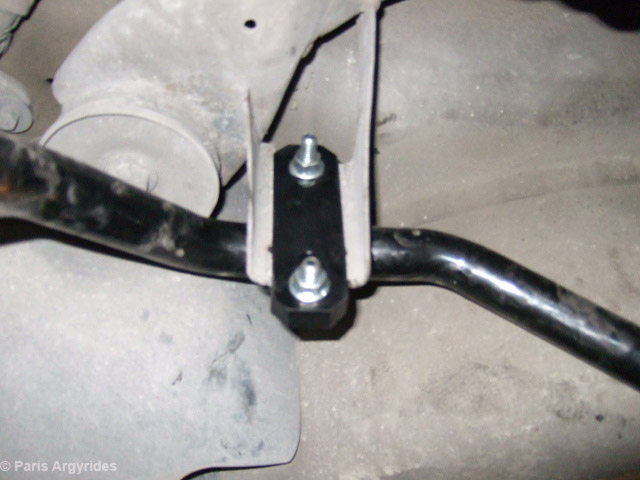
New bracket in place with greased bush
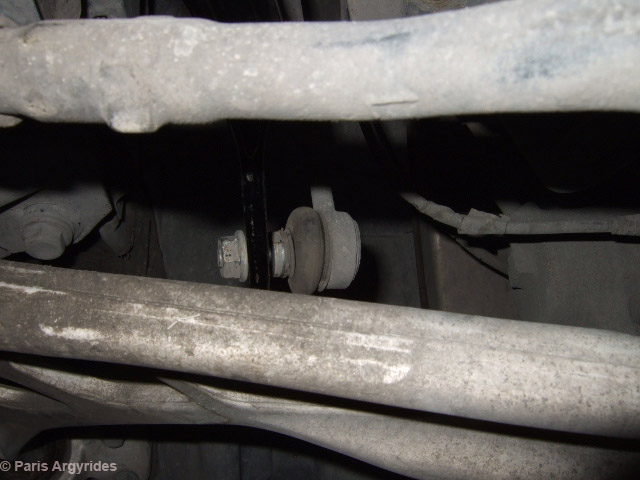
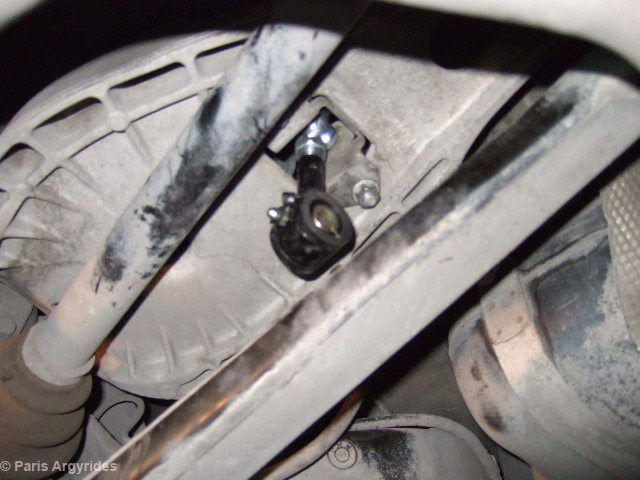
Endlink connected at softest setting
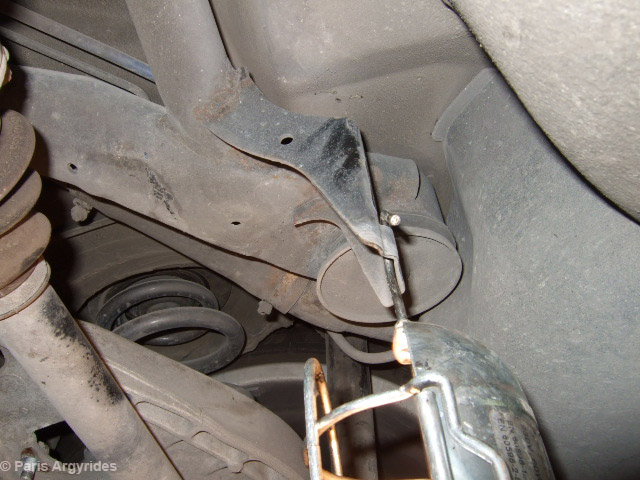
Now the rears were a bit more challenging to install. Had to drop the exhaust from the rear mounts to allow some extra space. Just a ratchet with an extension did the job.
YESSSS No subframe damage!!!!
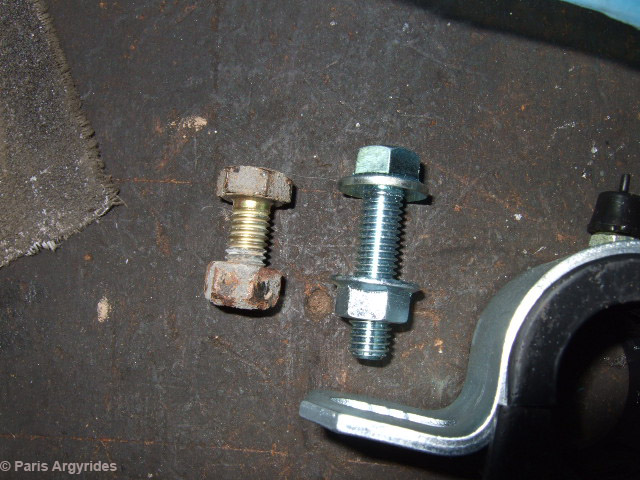
All bolts were 10.8 grade Stainless Steel. Left are OEM
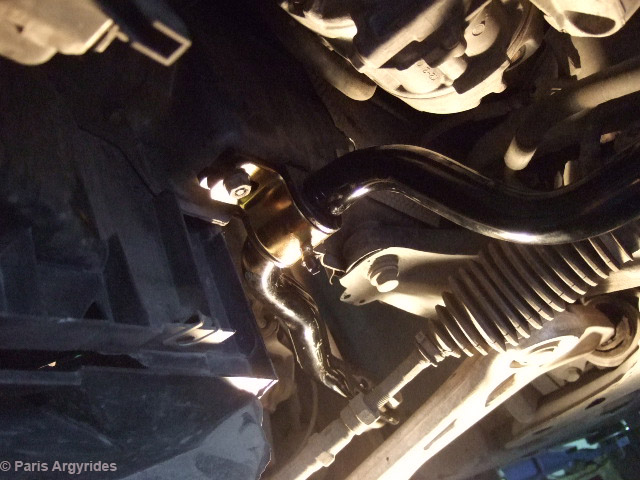
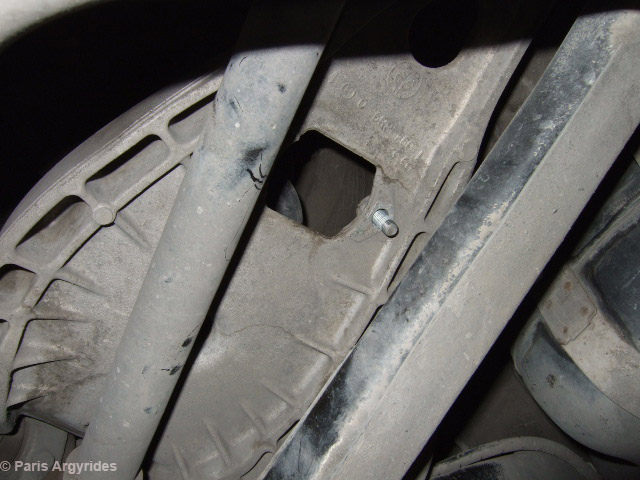
Rear ARB brackets removed
Rear ARB removed with the endlinks & brackets still attached to it. A 17mm open wrench was needed to hold the bolt's head on the upper side of the control arm.
Removing rear exhaust mounts to drop the exhaust a bit. Hotchkis doesn't mention this but my mechanic doesn't like following printed instructions blindly.
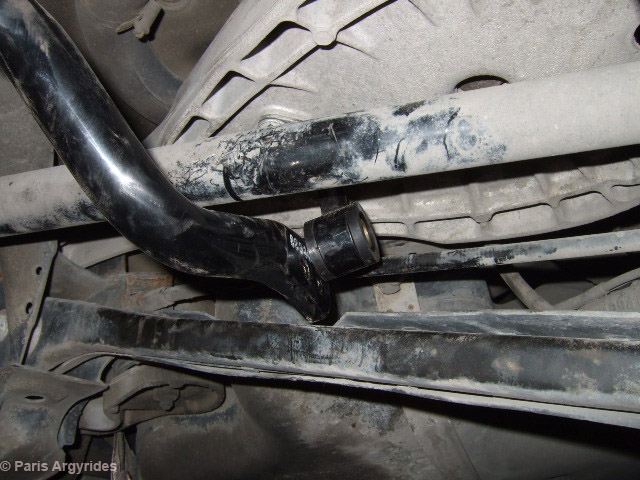
Testing the new endlinks with the OEM brackets
Securing them in place. We had to adjust the endlinks to lengthen a bit because the bar was touching the rear axles.
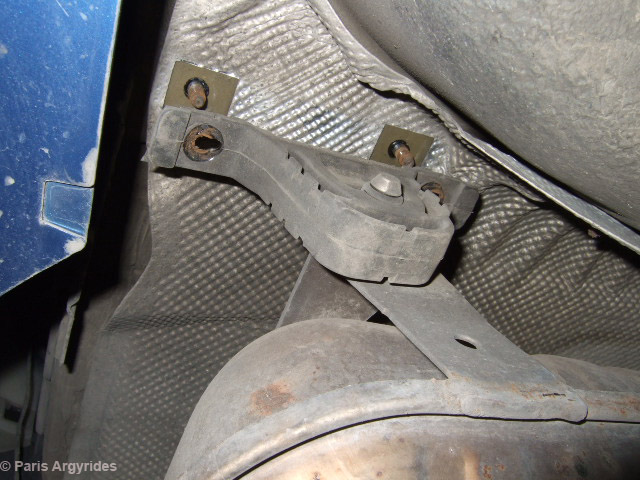
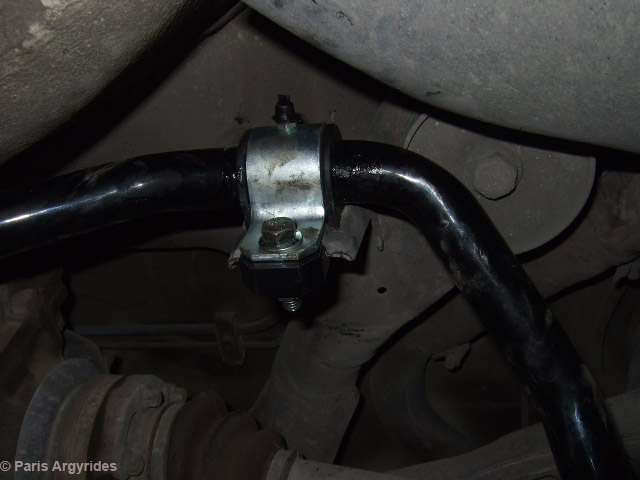
Installing the brackets with the PU bushes. The OEM brackets are held in place by a single bolt, the Hotchkis has 2 bolts and a massive aluminum reinforcement plate to hold the bar in place.
Adjusting endlinks to clear axle, screwing the exhaust back in place and DONE. Total time around 2 hours (10 minutes for fronts and 110 minutes for rear)
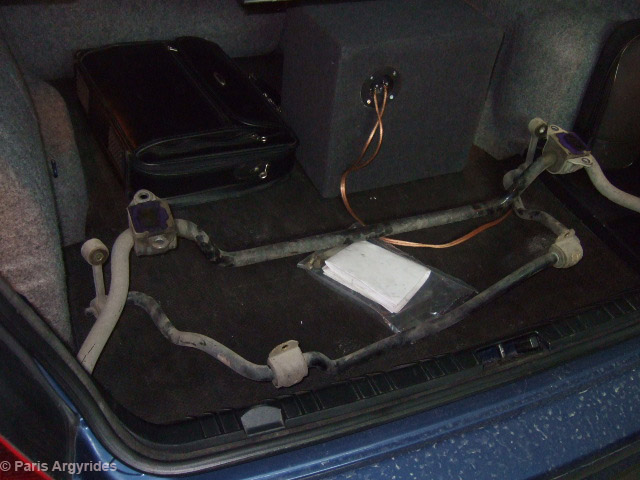
Old stuff in trunk to go in storage
Now, from the second the car touched the floor, the difference was noticeable. I will reserve my opinions once I manage to test the new setup in varying roads/conditions. |