|
E46 330 Brake Conversion DIY |
|
After a long wait I finally managed to get a pair of front E46 brake calipers and carriers out of a 330. Arrived well packed from USA with almost new pads on them. I was not going to reuse those pads so I got a set of Axxis ULT Pads CA-Auto (UK) since I was very happy with these pads. The existing stoptech stainless steel brake lines are 100% interchangeable too!
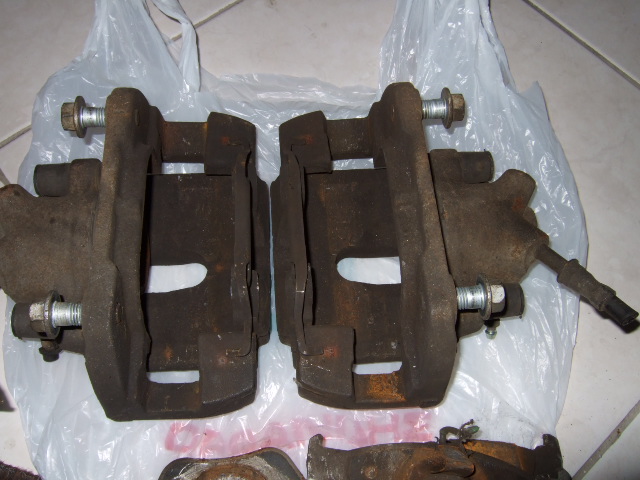
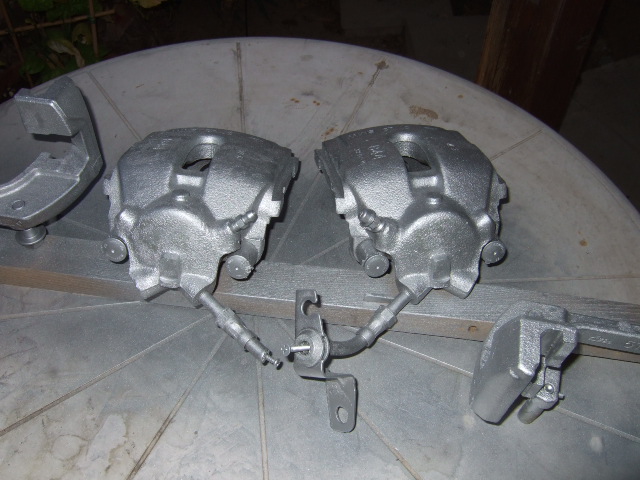
This is the condition of the calipers out of the box. Unfortunately the brake pad sensor was cut so I couldn't keep it for spare. The brake lines were cut too.
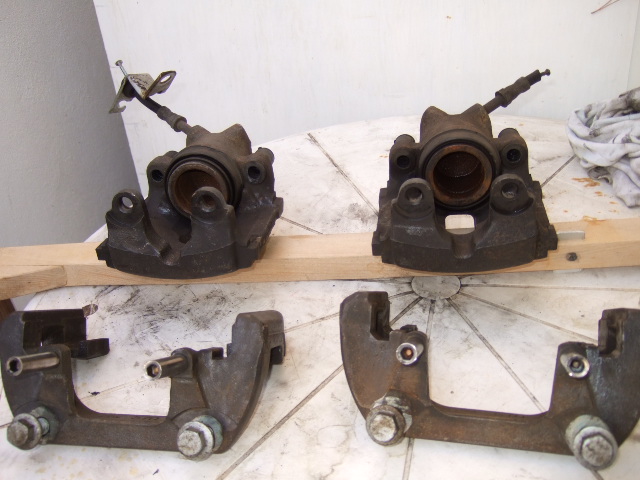
Took them apart and with my dremel I thoroughly cleaned them from brake dust and rust. Took them apart and prepared them for painting.
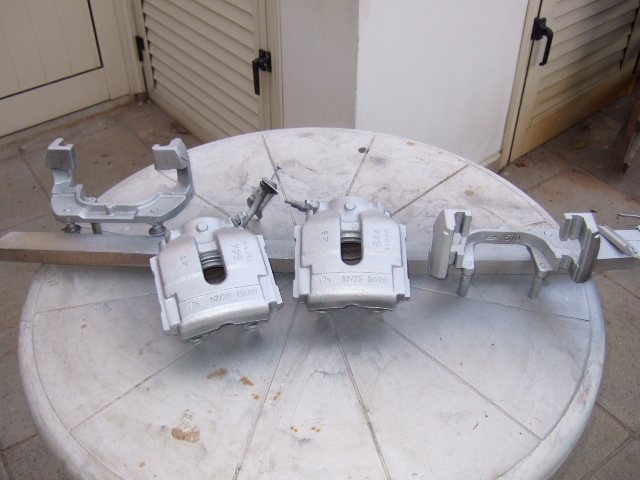
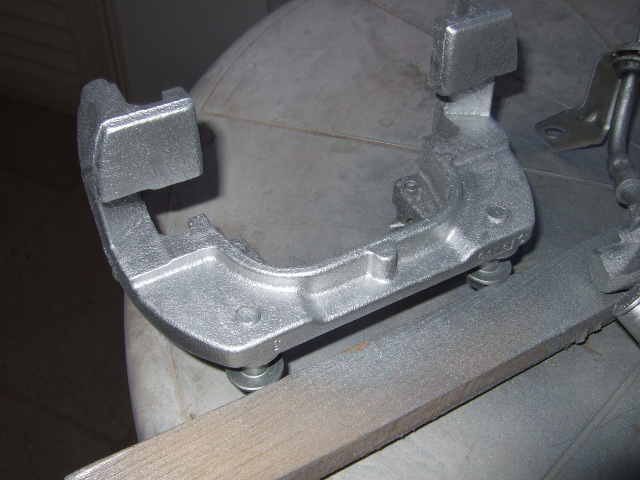
I used stove paint, holds up to 700 degrees Celsius, silver color to provide a subtle finish.
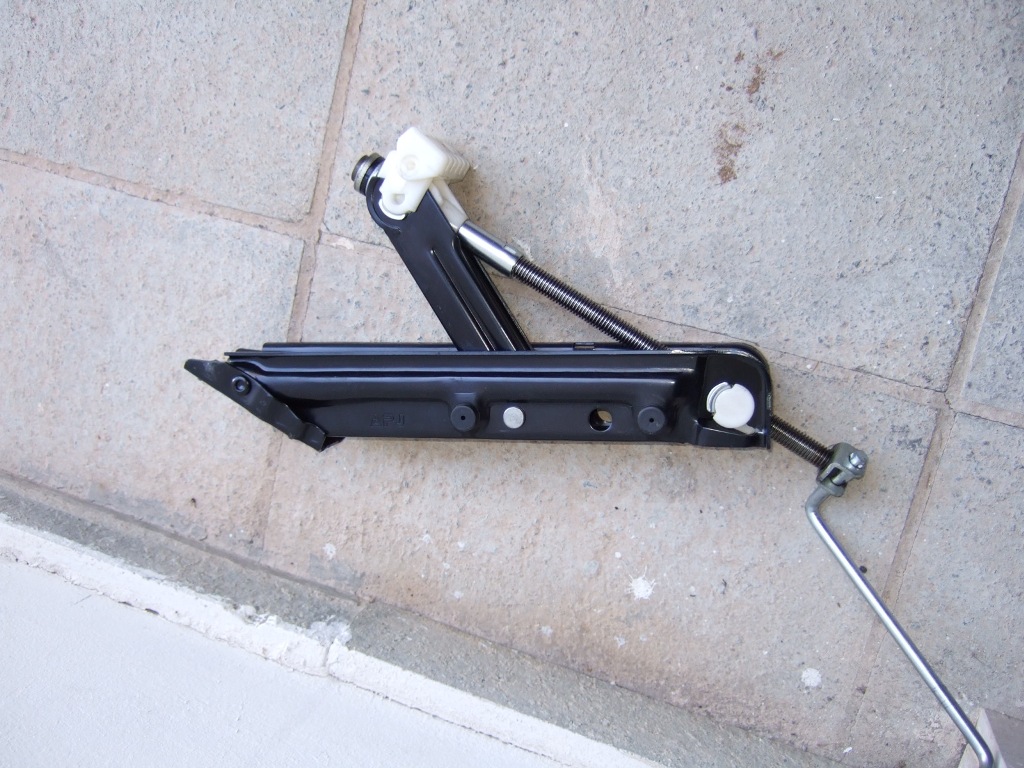
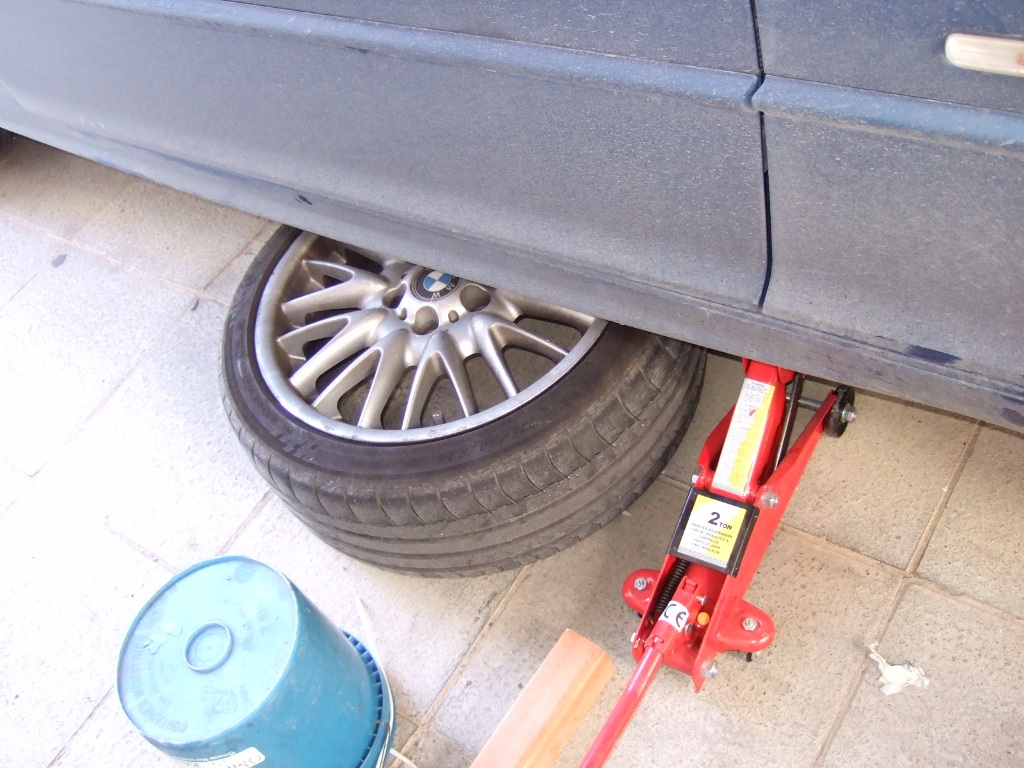
To mount them I used the OEM jack. NOT!!!!!!!!
Much better with a 2-Ton hydraulic jack
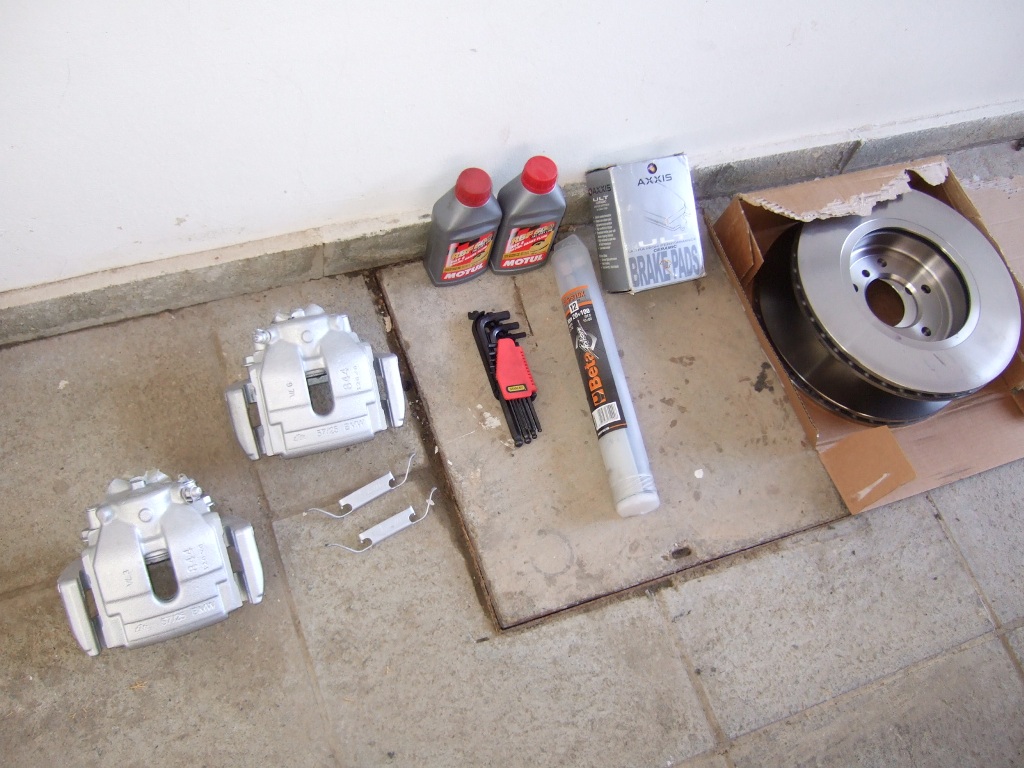
Parts ready. 330 Calipers, hex key for rotor retaining bolt, Motul racing fluid to top-up if necessary, torgue wrench, pads and the big 330 rotors.
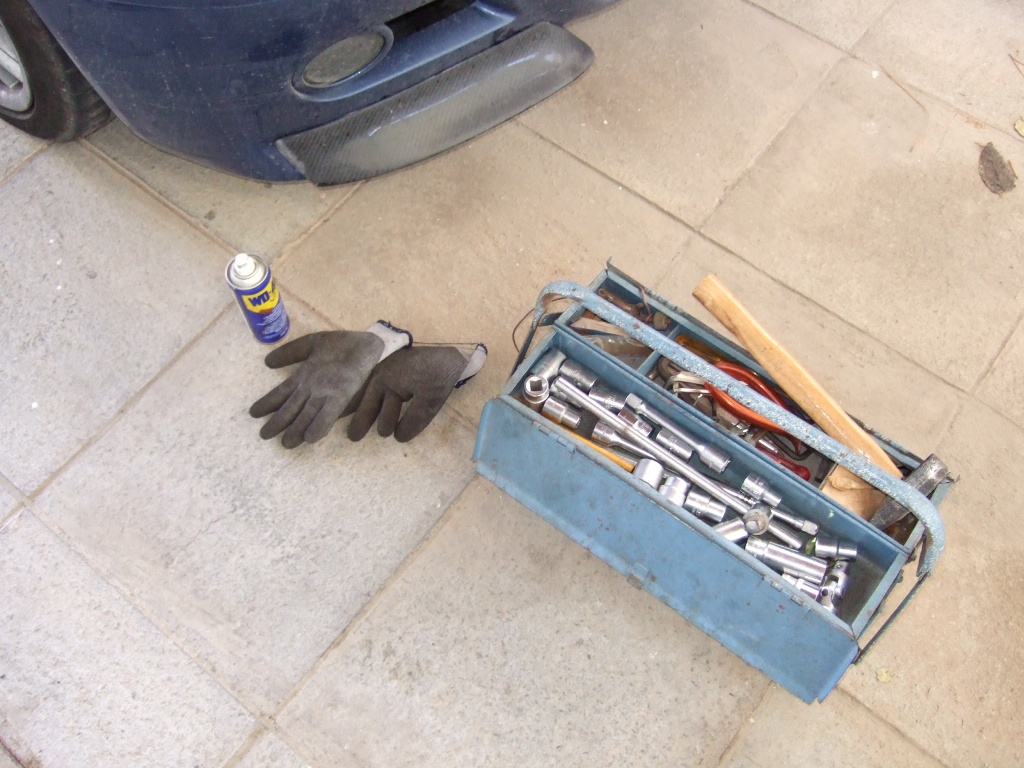
A can of WD-40 for the rusted parts, gloves and of course a couple of tools. You need 16mm for caliper bolts and 17mm for wheel bolts. Seems that the brake lines use British standards (15mm too small 16mm too big) so I used an adjustable wrench.
A good use for the removed wheel, to provide extra safety.
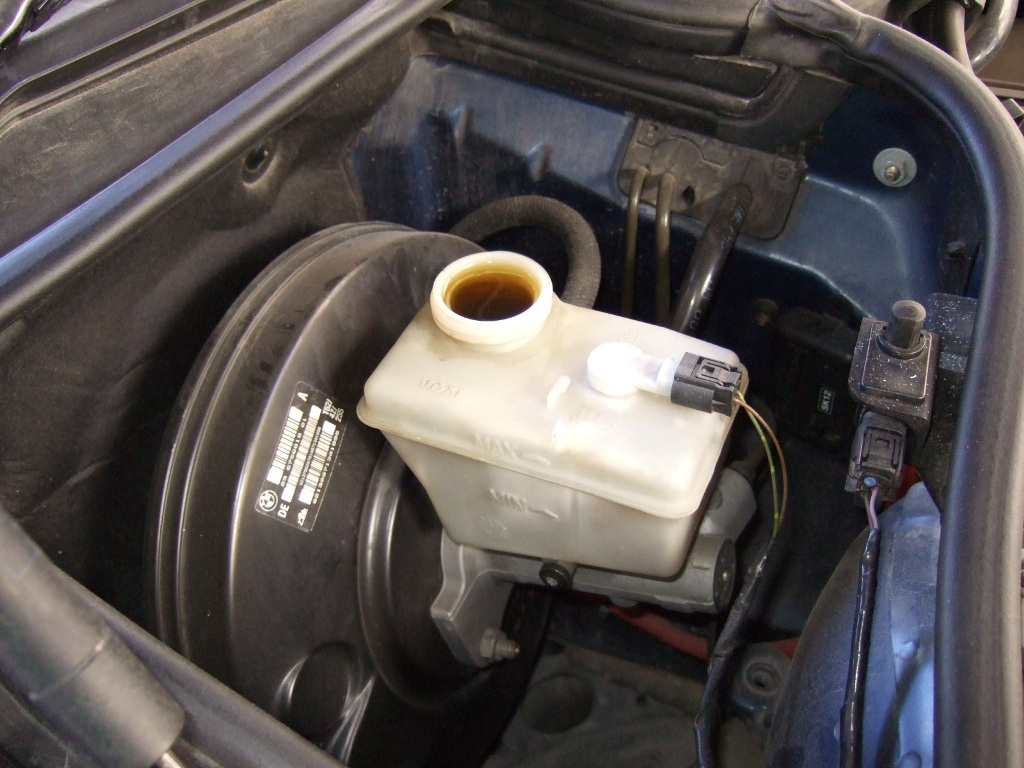
Remove brake fluid cap and monitor levels when pressing the caliper piston in order to remove it.
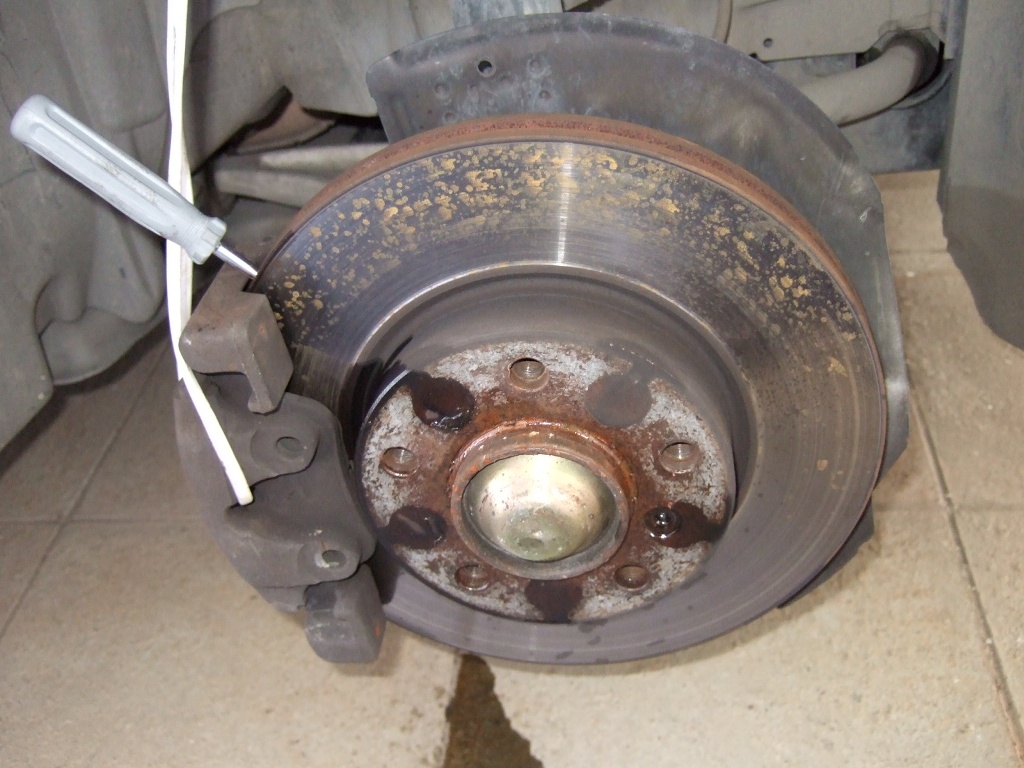
I sprayed the rotor retaining bolt with WD-40, let it sit for a while, inserted a screw driver between rotor and caliper to prevent rotation and removed the bolt. Came out pretty easily.
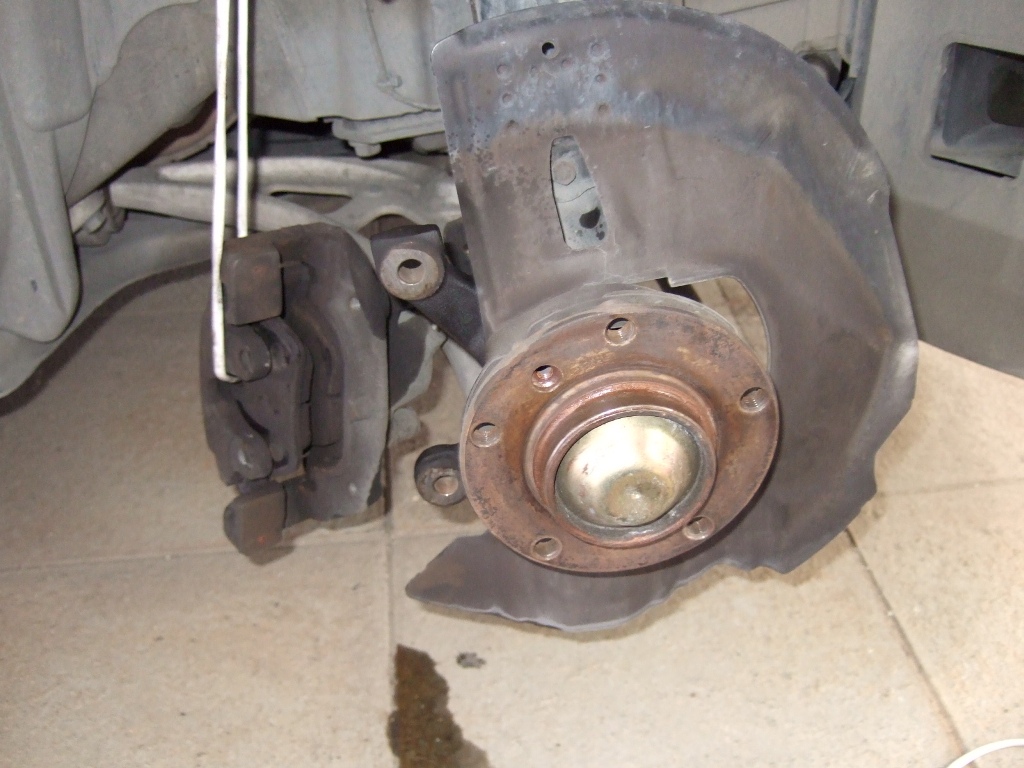
Removed the 2 x 16mm caliper bolts and voila, came out immediately. Everything came out easily, probably because the previous time I torqued them properly. With a bit of hammering, the rotor broke loose too.
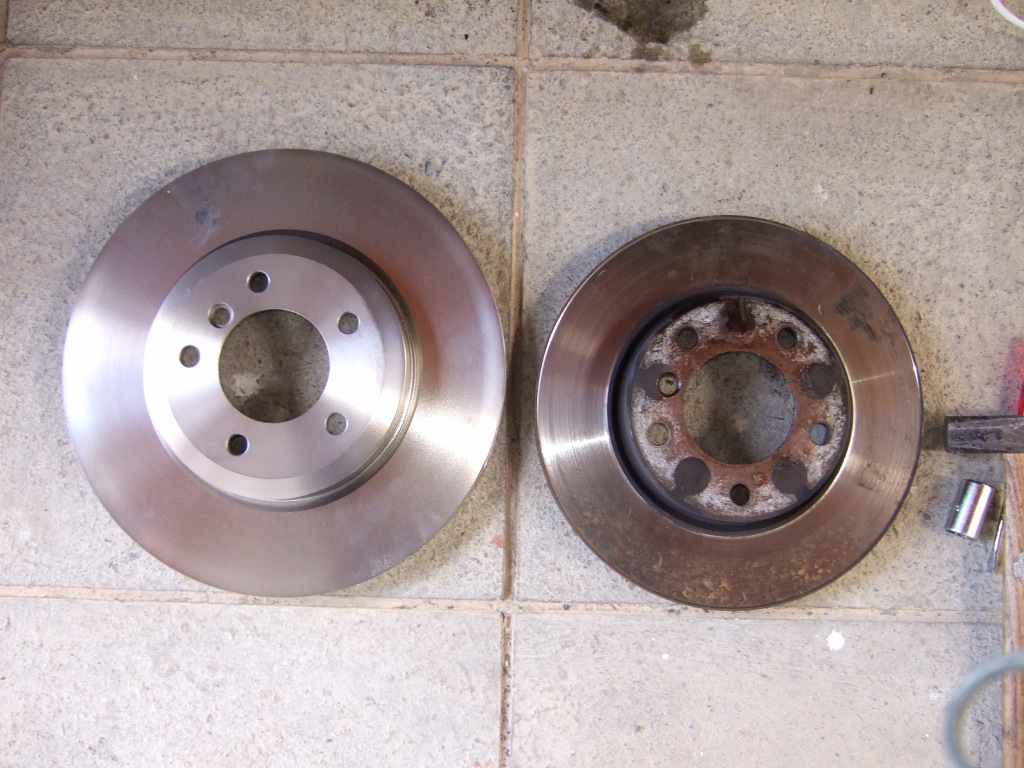
330 Vs 320 disks. Pretty impressive difference!!!
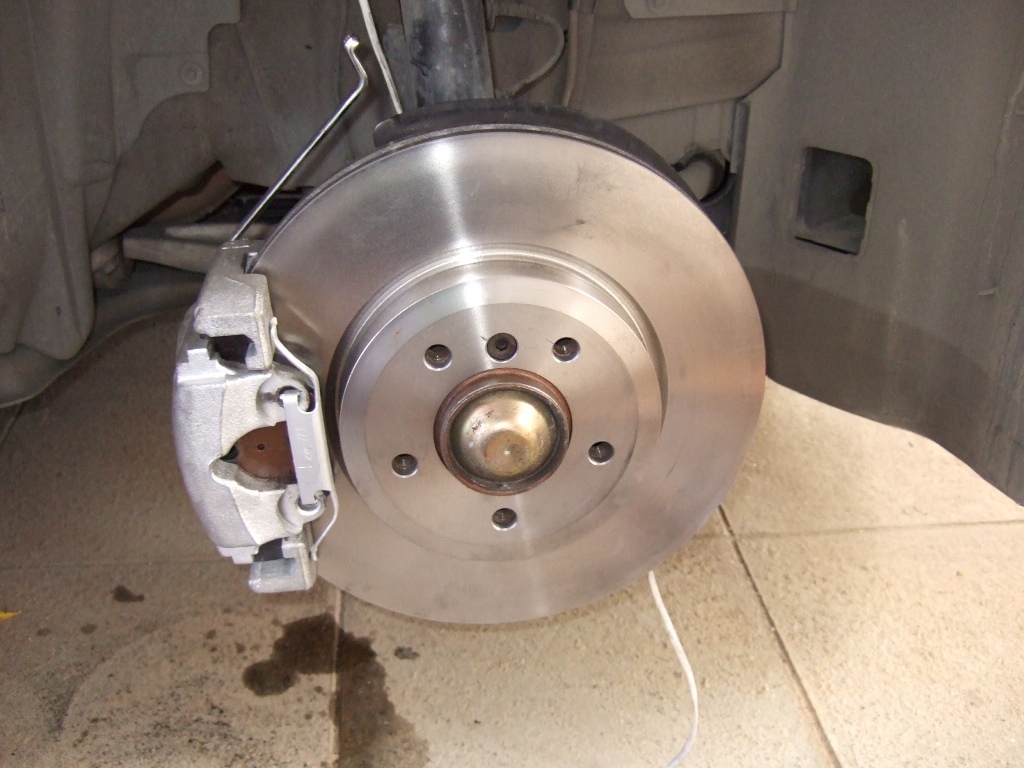
Larger rotor bolted right on. Installation of the larger calipers was the same straightforward process as the smaller ones.
I did a 2-Person bleeding job; 1 person was inside the car pressing the brake pedal and I was outside loosening the bleeder screw. We did the process of pumping + bleeding a couple of times till I got clean air-free fluid out of the calipers. I continuously monitored the brake fluid level and I had to top it once only.
So in short: 1. Press brake pedal a couple of times till it becomes stiff and then just keep pressing it 2. While being pressed, loosen the bleed screw, fluid and air will start to spit and pedal will start moving again. 3. Before pedal reaches the end of its travel, close the bleed screw and observe the brake fluid level while the other person releases the pedal 4. Fluid will go down, make sure to top it off so that no air is introduced into the circuit.
And that's it basically. After installation I went for a ride to bed-in the brakes. I felt the difference immediately. Now I need to go for a spirited drive to see how the new brakes keep up against fading.
|