|
Complete Suspension Install + Brake Caliper Rebuilt + Front Endlink Rebuilt |
|
After 170000km, a leaking strut, weird noises when going over bumps, torn endlink boots and a possibly sticking brake caliper, I decided that it was time to address those problems, at once. Why at once? Because there are a lot of things that are common among those components, so it made sense to disassemble once and do all 3 of the issues together. Therefore I went on and ordered all of the required components plus new bolts as per BMW TIS instructions in order to perform a proper and safe repair.
Initial notes: I chose to have my mechanic compress the springs in order to remove old struts and install new, due to the fact that he had a hydraulic spring compressor and made the job a 5-minute task. No need to struggle compressing springs using manual clamps if you have access to a hydraulic compressor. I am not listing part numbers because not everything is the same on the E46, specially braking and suspension components. I recommend going to http://bmwfans.info, put your VIN and get vehicle-specific components. I used a calibrated torque wrench to tighten all bolts and I'm encouraging everybody to do this.
Brands / Suppliers: - Bilstein Sport Suspension - Turner Motorsport - OEM spring pads, Sachs strut mounts/bearings - Turner Motorsport - Hotchkis front endlinks rubber boots - ultimateboots.co.uk - BMW Brake caliper repair kit - Pelican Parts - Various bolts/nuts - BMW Dealership
Tools: - 450Nm Impact Wrench (mine's electric) - 20-100Nm Torque Wrench - 1/2" Wrench with 13mm, 17mm, 18mm, 22mm sockets - Open wrench 10mm, 13mm - Pliers, WD40, rags, compatible brake fluid, grease and safety gloves/glasses.
Official BMW TIS Torque Values as - Download Official BMW TIS Instructions for Strut removal - Download Official BMW TIS Instructions for brake caliper removal + rebuilt - Download Instructions for brake bleeding - Link
Lets start. Part I - Suspension Removal
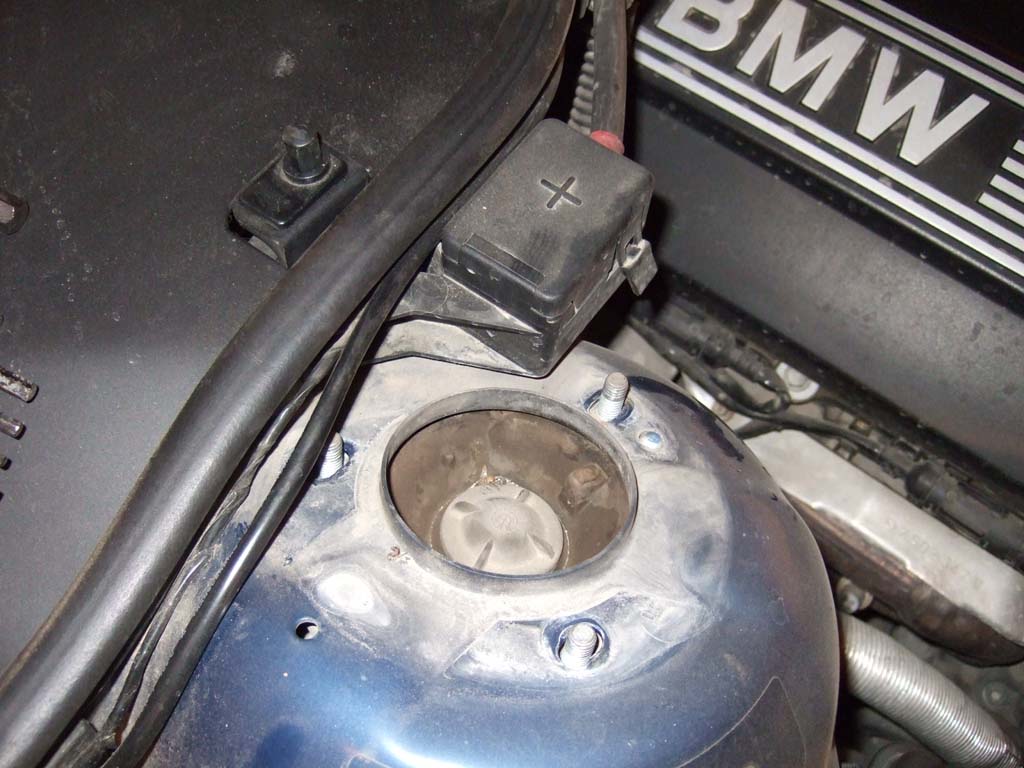
Remove (if installed) upper strut bar and re-install the removed nuts, do not tighten.
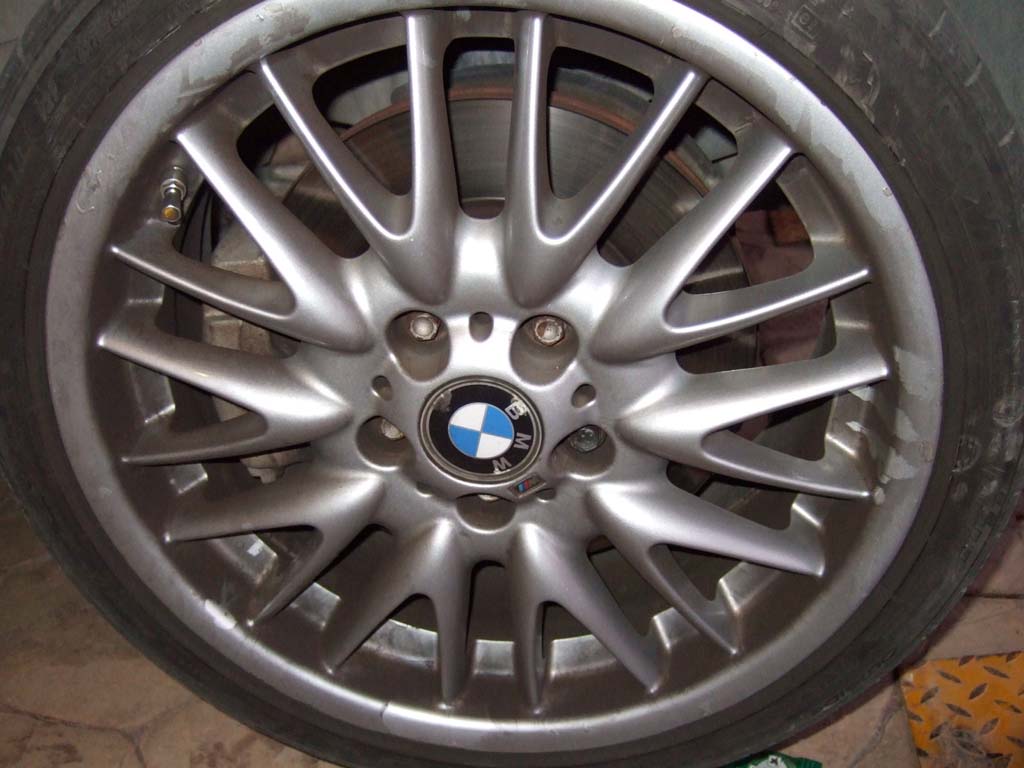
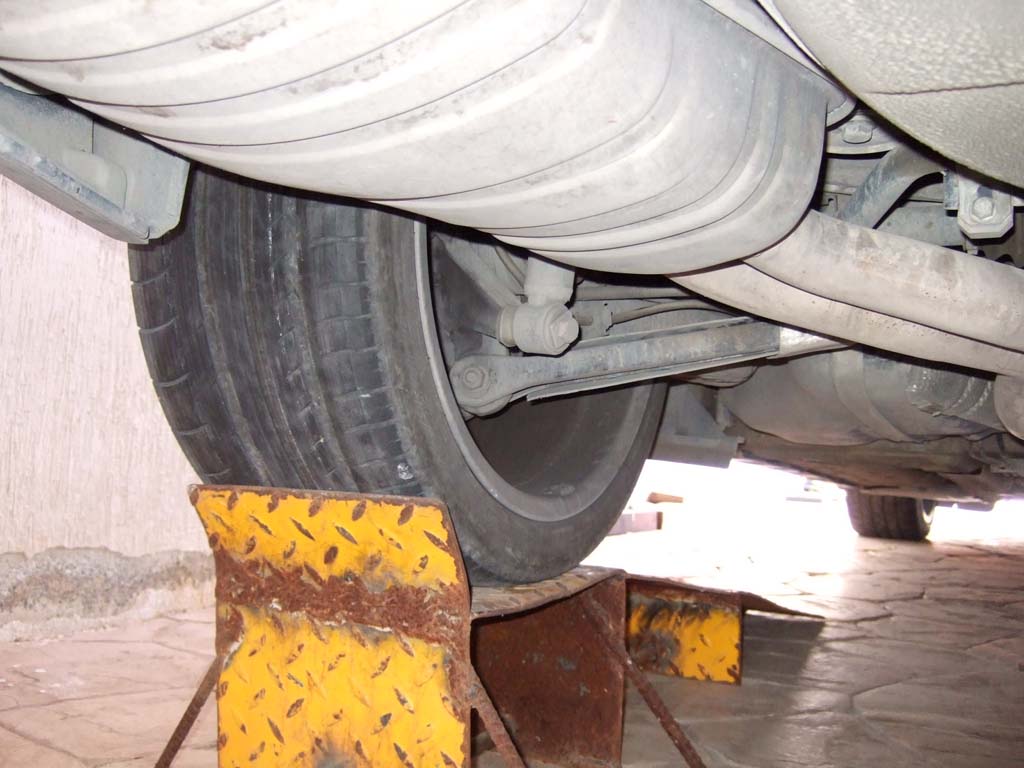
Loosen wheel lugs and place the car on jack stands. Personally the way I did was to drive the car on ramps, use a hydraulic jack to lift the car from the front center jack point, slide the ramps away, place jack stands at each jack point and carefully lower the hydraulic jack until car recess on the jack stands.
Remove wheels and place under car for additional safety measures. You can never be sure with only 2 jack stands holding the vehicle. I also used 2 hydraulic jacks under each frame rail for triple protection.
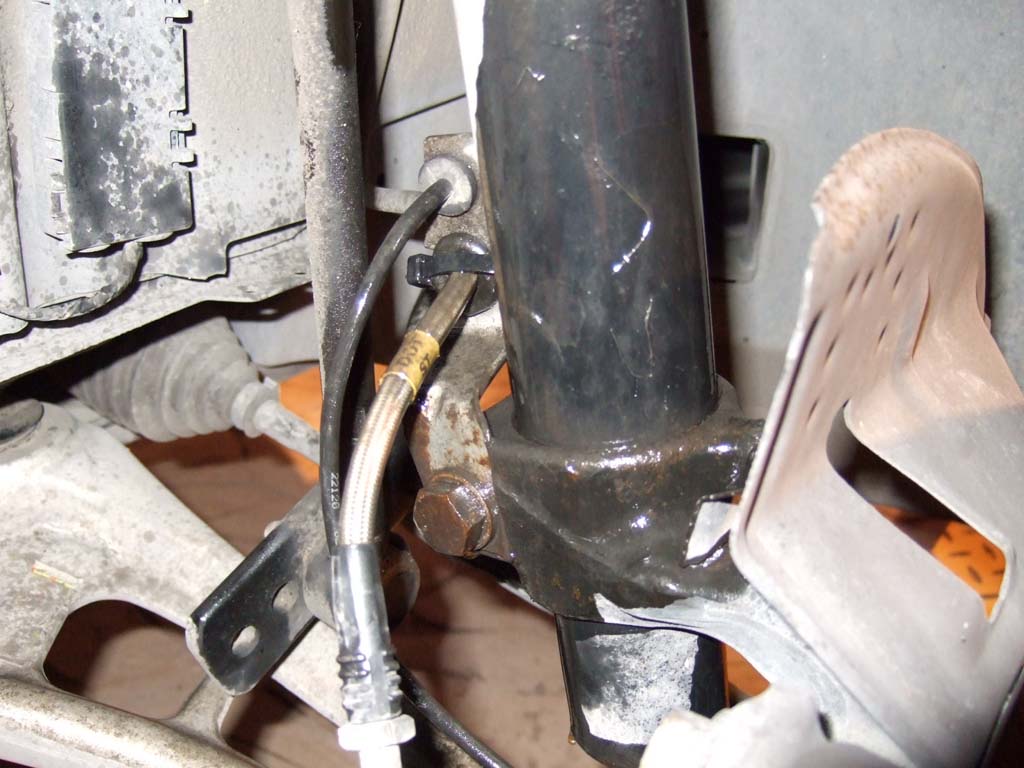
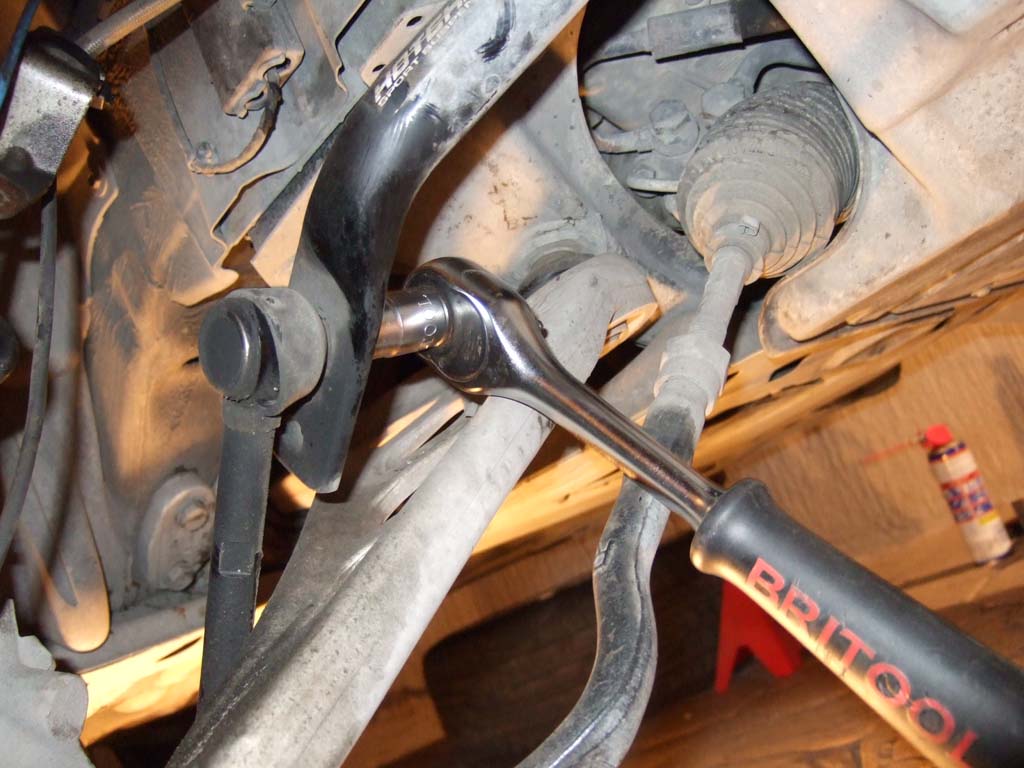
One of the most useful tools. The strut to steering knuckle 18mm bolt was impossible to remove without this tool. Honestly I'd have taken the car to a mechanic if I didn't have the impact wrench. At 450Nm max torque it still took me a while to get that bolt out.
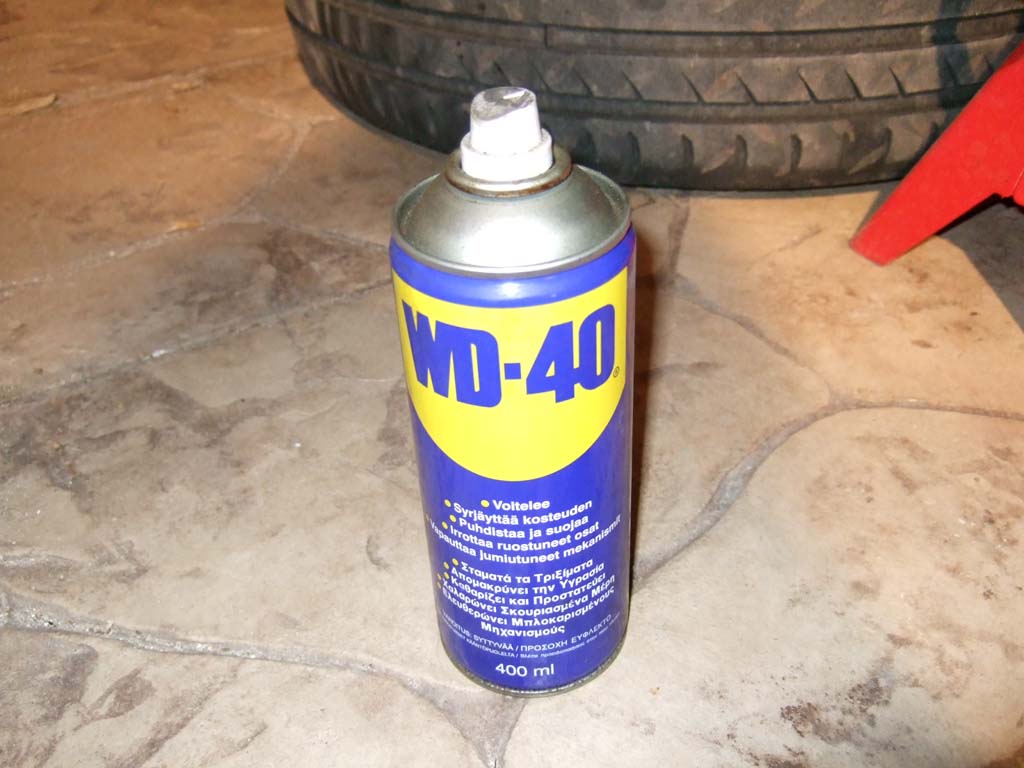
The night before, sprayed a generous amount of WD40 on all bolts to be removed and let it soak.
Top endlink nut
Remove 13mm endlink nut. If the stud turns with the nut, use an open wrench to hold it from the other side. Since aftermarket endlinks, sizing may not be the same as BMW.
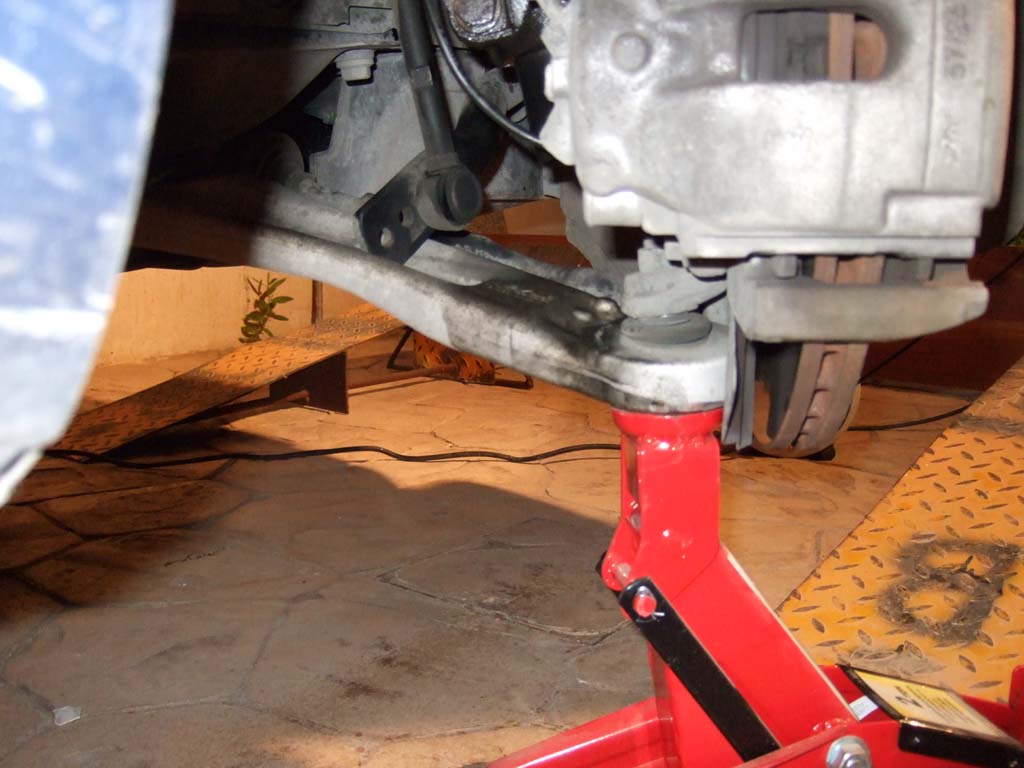
Place hydraulic jack under control arm, just to touch it. This will help dropping the suspension slowly.
Fun time: Bolts were discarded afterwards and used new ones. Figure out why, the previous mechanic must have used over 500Nm of torque (suggested is 81Nm)
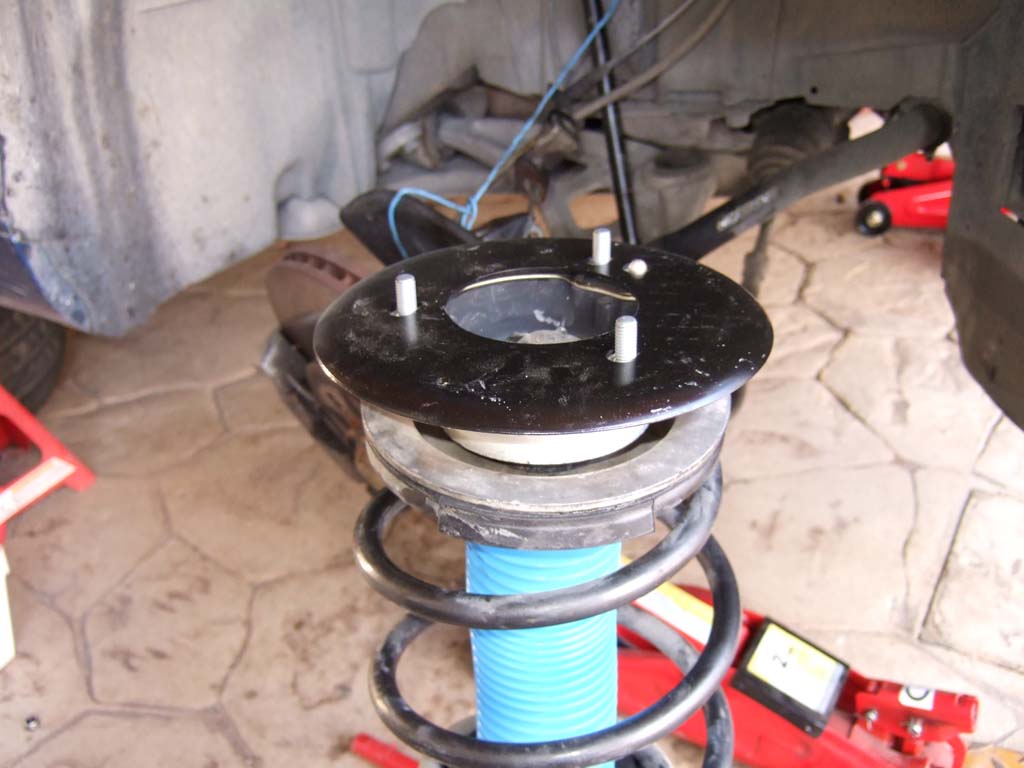
Once the lower 18mm bolt is removed, with the help of WD40, the strut is able to freely twist. The only thing holding it are the 3x13mm nuts located on the upper strut mount that you previously didn't tighten completely. Slowly lower the hydraulic jack until the strut breaks loose from the steering knuckle, tilt the strut a bit to facilitate movement. Once completely free, grab the strut with your strong hand and one by one, remove the 3x13mm nuts. Once removed you can maneuver the strut away from the car. Pretty intuitive once there.
Using rubber band, thick wire, whatever, secure the front wheel brake/bearing/knuckle assembly so that it doesn't tilt when you remove the strut. It IS pretty heavy and you don't want to stress the brake lines with its weight.
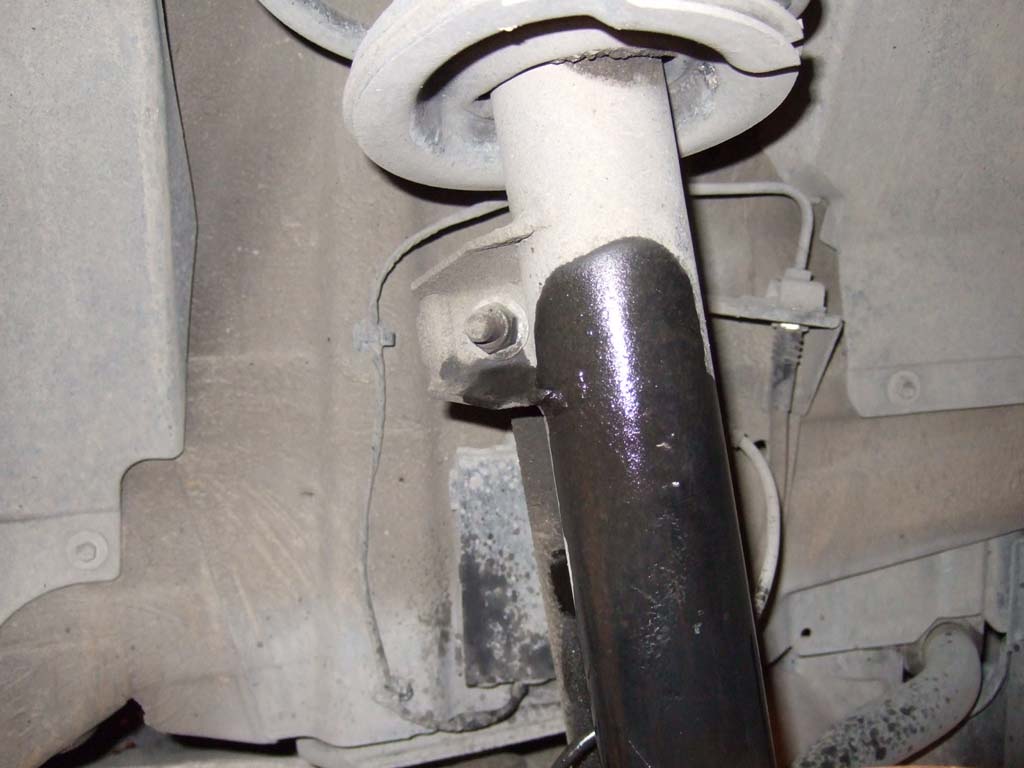
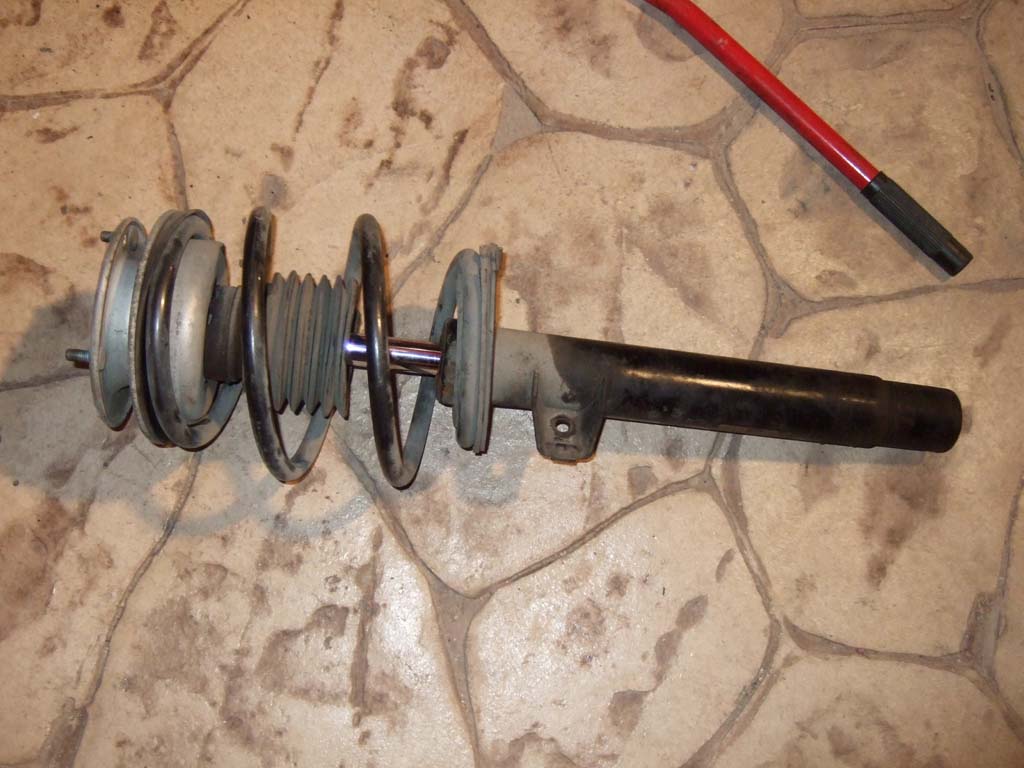
Blown suspension (will show later why)
Picture of what car looked like after temporary stop for sleeping (yes I was doing this after work so it was pretty late).
Did the other side too: Same process
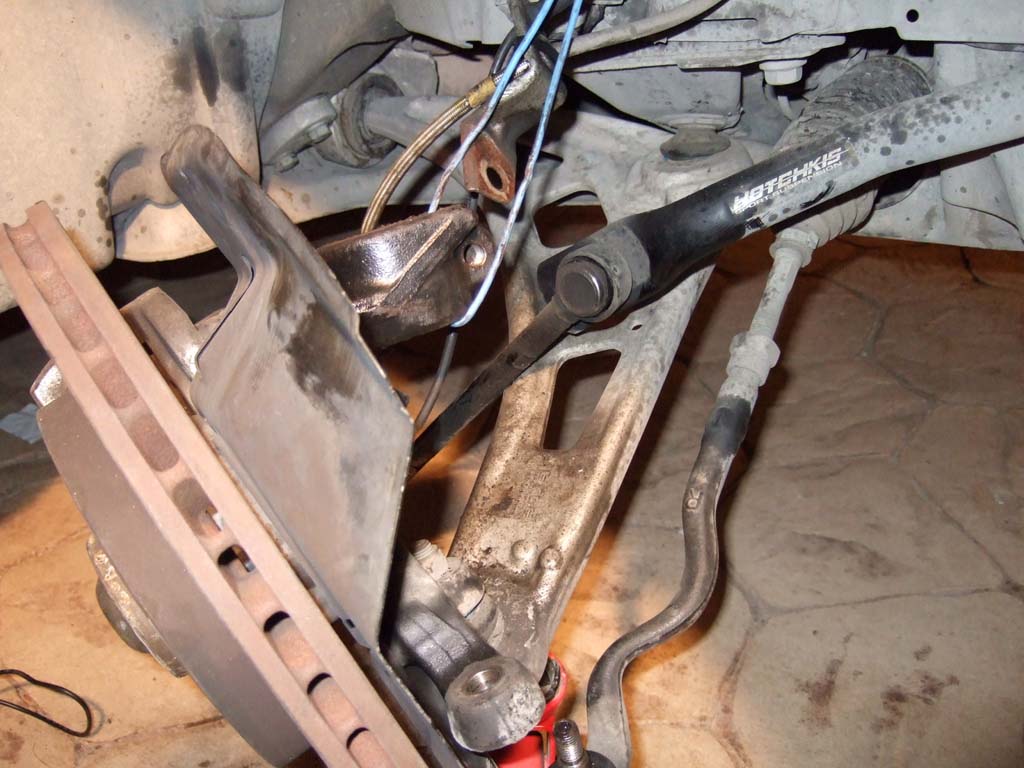
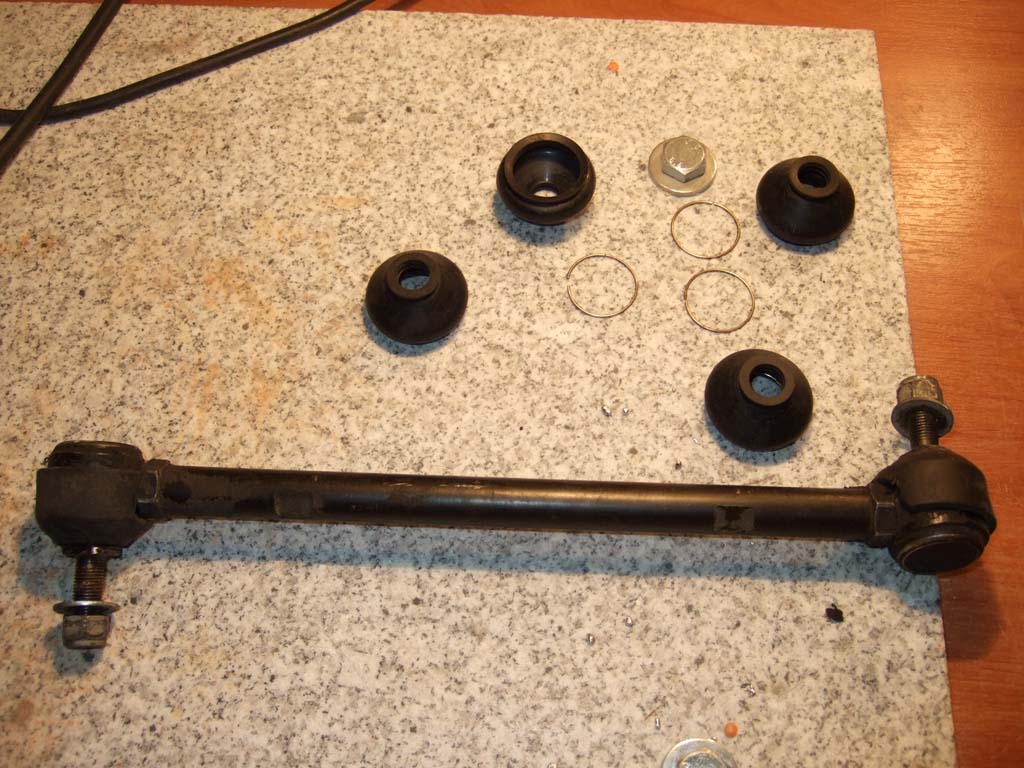
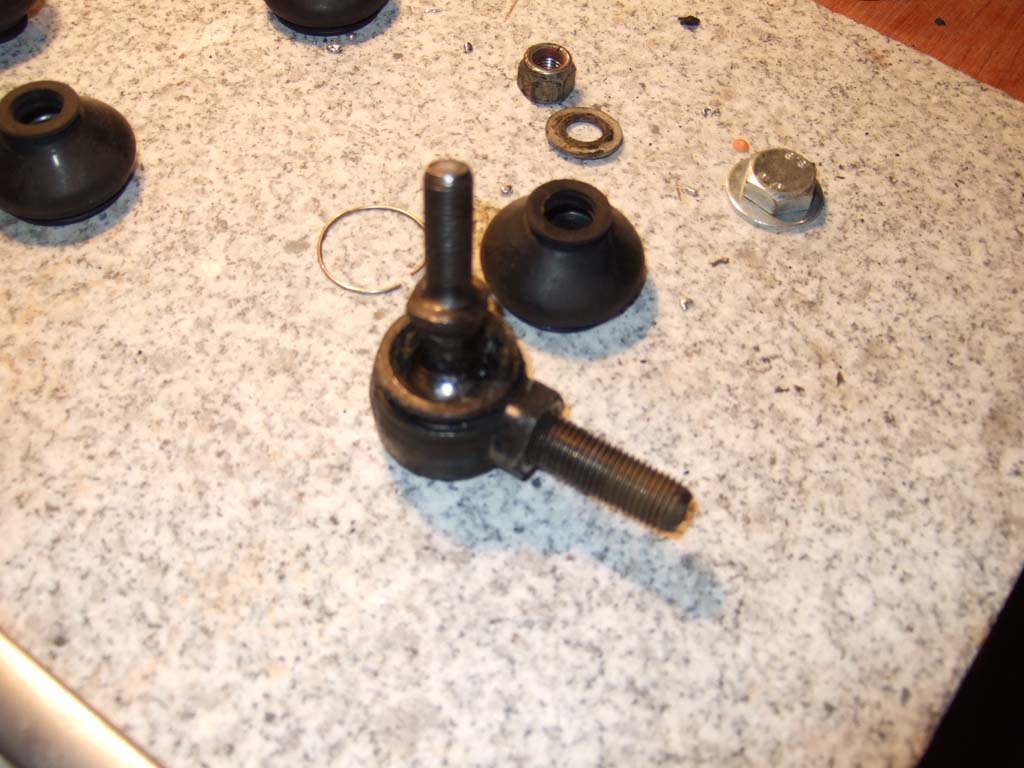
Now, time to get the endlinks away. With the upper nut already removed it was only the lower one still attached. Although thicker and supposedly better than OEM the Hotchkis front endlinks suffered from torn boots in notime. Therefore to prevent damage to the ball joints I had to replace them. The current boots are not their originals but a temporary replacement from energy suspension. Didn't to much though, they were out of grease and full of dust.
New boots and their assorted lock rings.
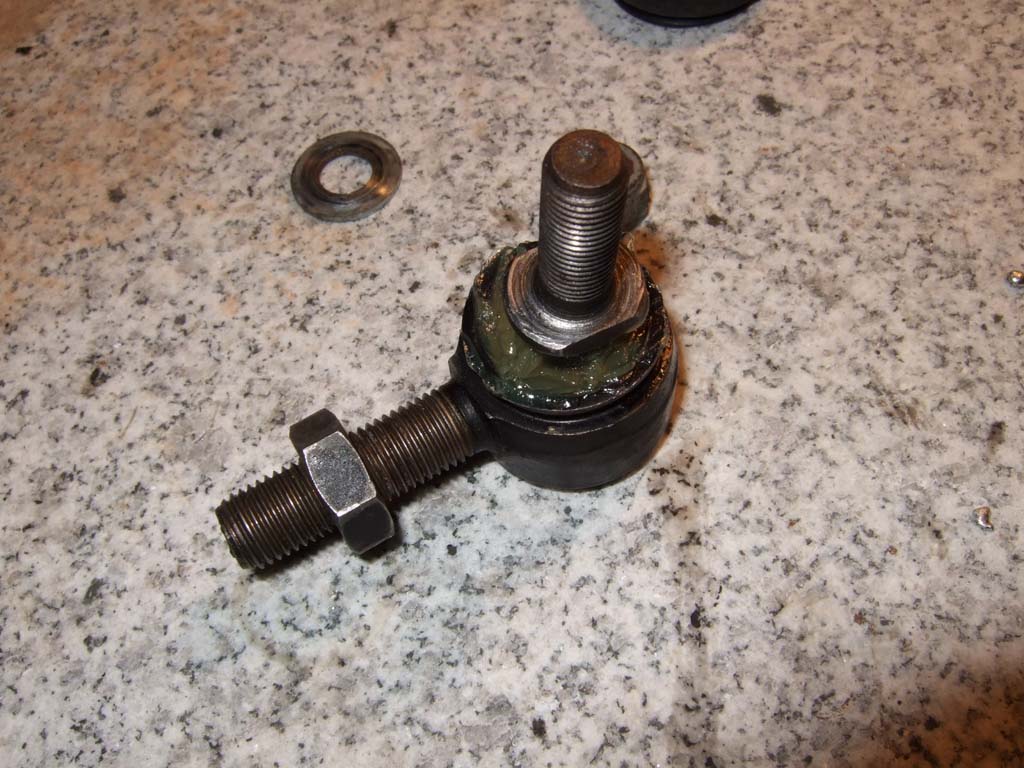
Removed ball joint from rod and thoroughly cleaned
Packed with grease:
...and slid the new rubber boot.
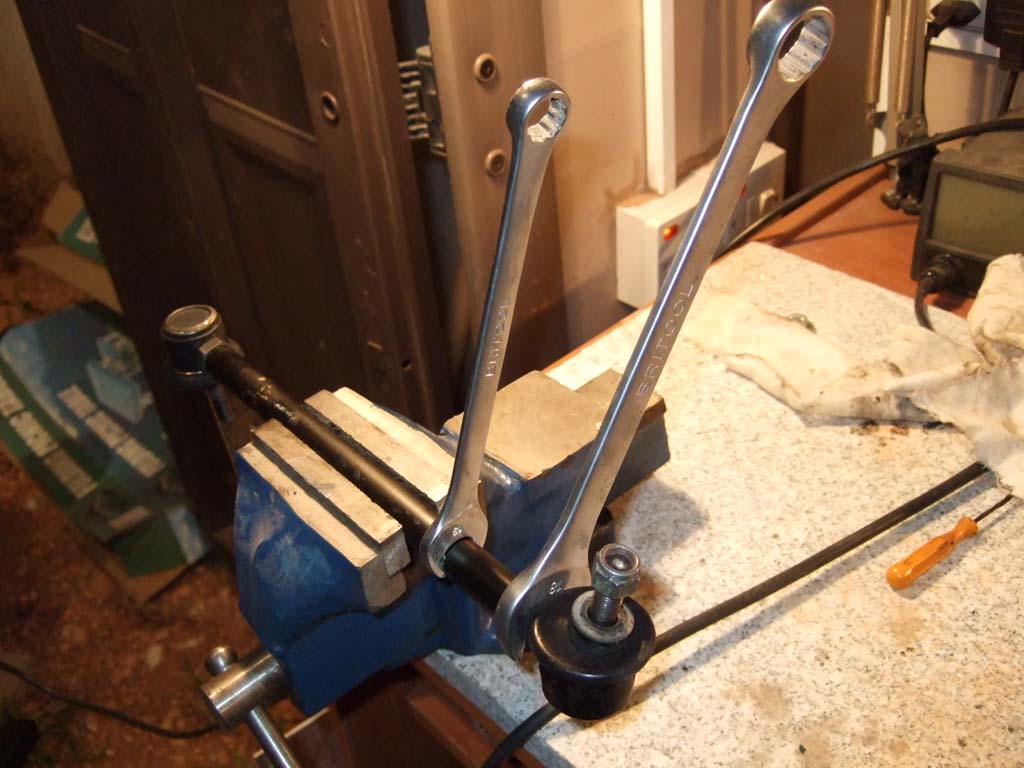
Screwing the ball joints on the endlink rod. I also used locktite so that nothing gets unscrewed accidentaly.
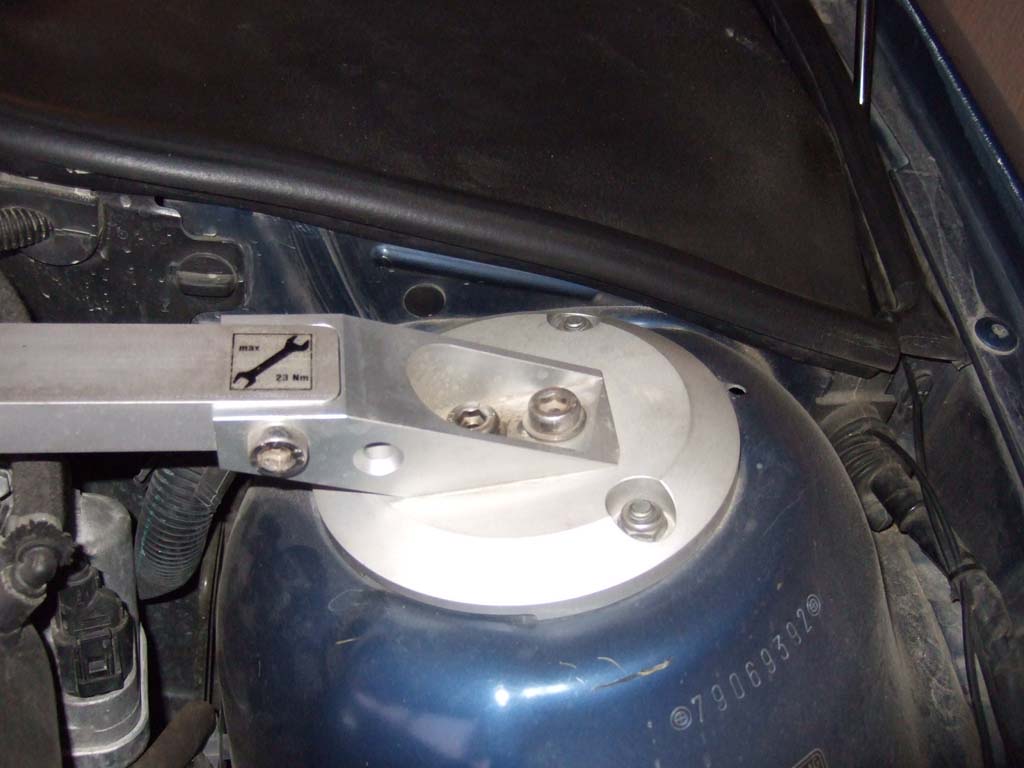
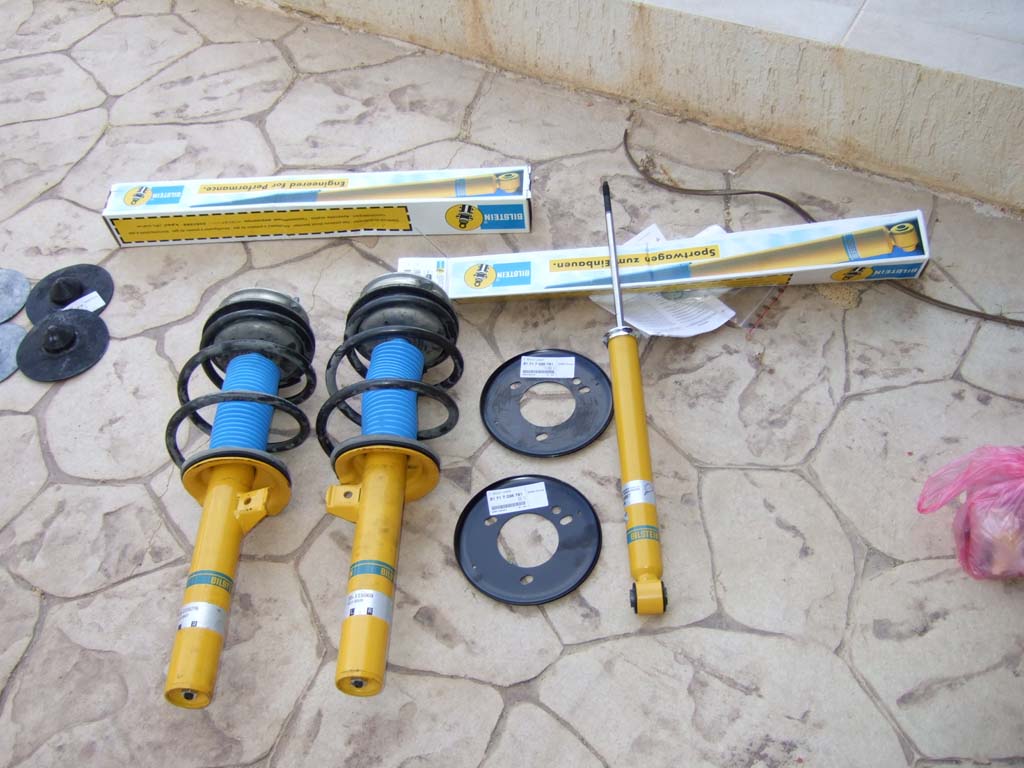
Once the endlinks were done, I resumed the suspension. A visit to the mechanic and 30 minutes later resulted this: Eibach Pro-Kit on Bilstein Sport shocks with new rubber pads and Sachs upper strut mounts/bearings. I also went ahead and ordered front strut tower reinforcement plates as seen below to cope with the crappy roads we have.
Reinforcement plate in place:
Installing the new strut is the reverse procedure. Maneuver it in place while paying attention to get the top alignment pin in place. Unlike the OEM Sachs, the Bilstein struts do NOT go below the steering knuckle. This is normal, as there is a stop at the bottom of the knuckle preventing further movement. New bolt also in place and torqued to 81Nm. Top 13mm nuts also placed and torqued to 34Nm. Repeat same process for other side.
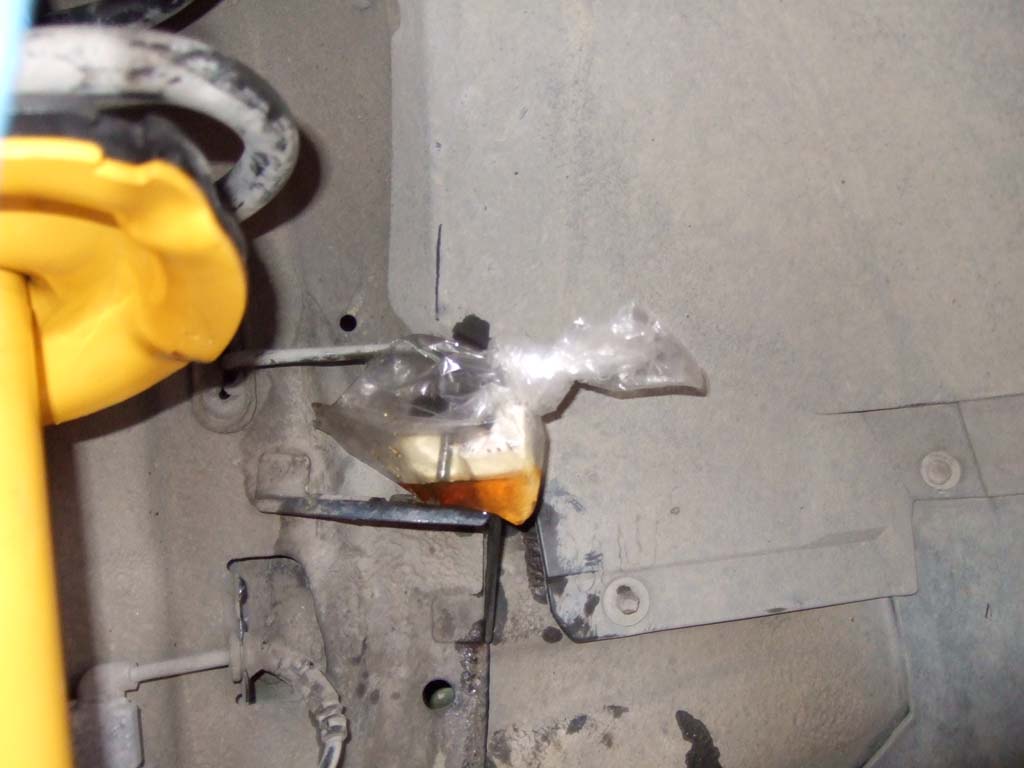
Part II: Brake caliper rebuilt. Remove caliper and disconnect brake line from upper end where it meets with the steel hose. I used a plastic bag to grab leaking brake fluid.
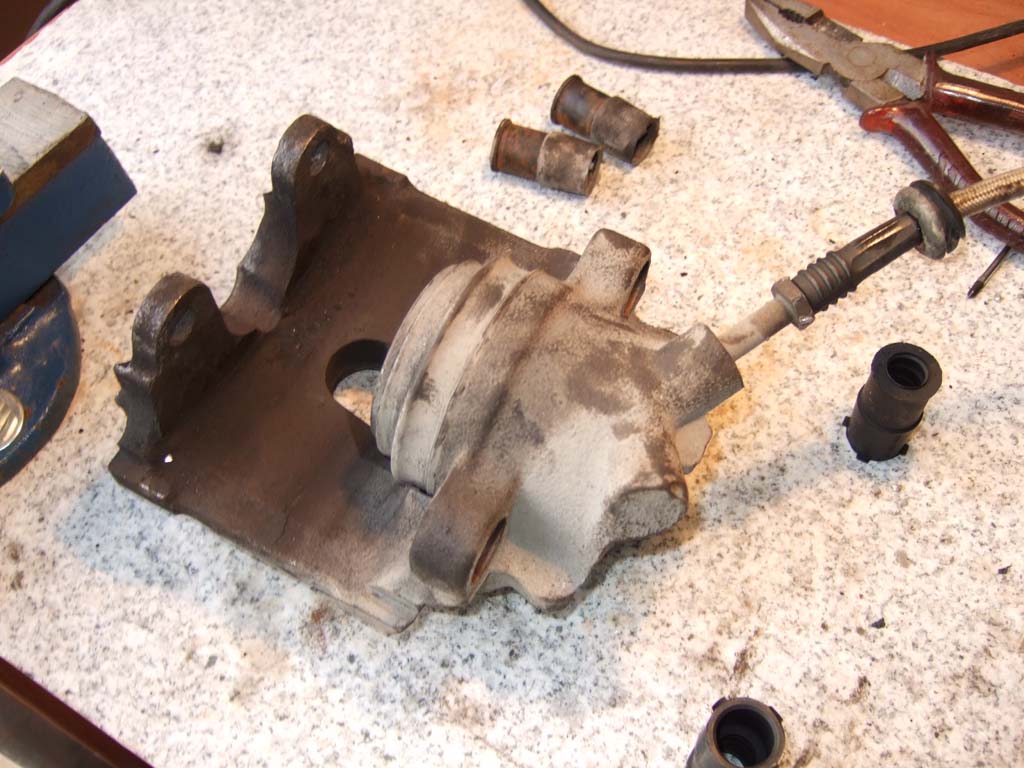
New caliper guides to be installed along with new piston boot and seal. I used some high-temp silicon based grease for the rubber bushings/guides.
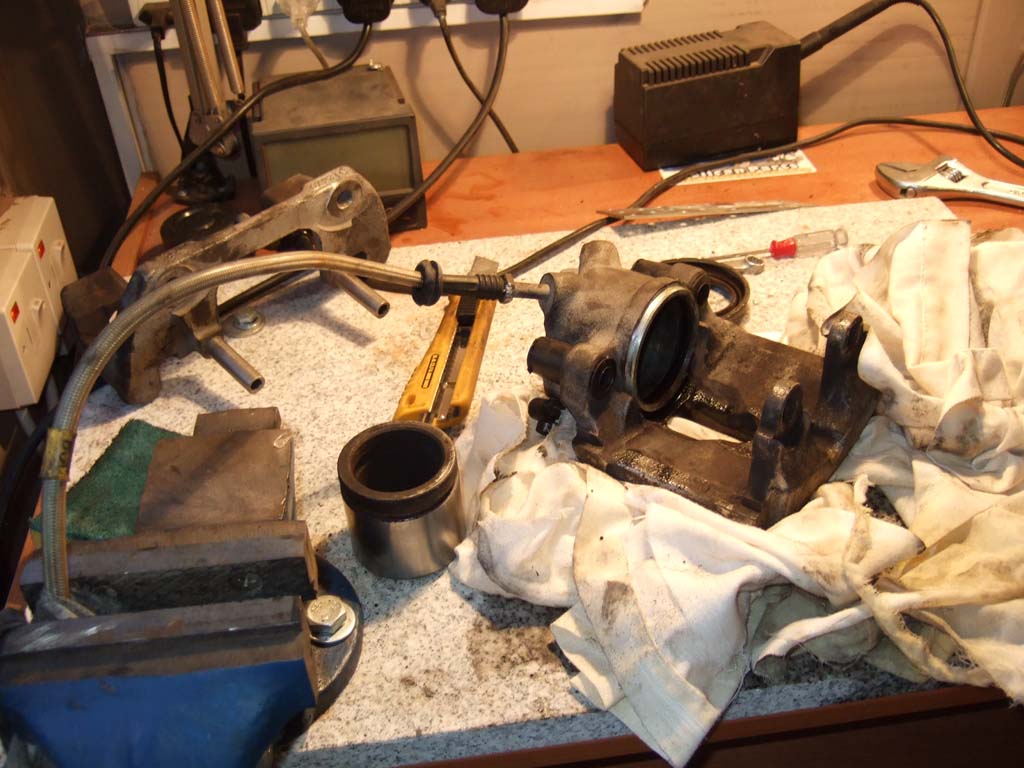
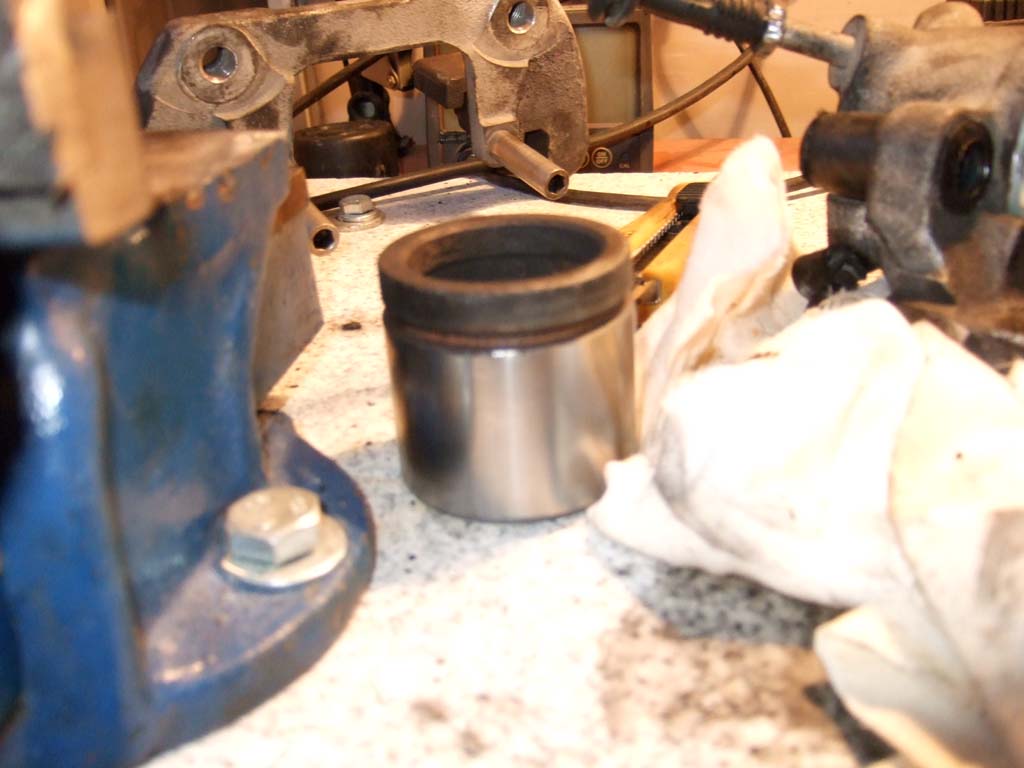
I thought they were exaggerating.. They did not. Blowing with compressed air through the brake line will literally launch the piston out of the caliper at light-speed. Be ready to stop it using a piece of wood (NOT YOUR HAND) and to use the rags to clean the remaining brake fluid within the caliper and brake line.
Piston had slight rust that had penetrated just a bit after the cover, but not a big deal. Rest of the piston and bore where perfect.
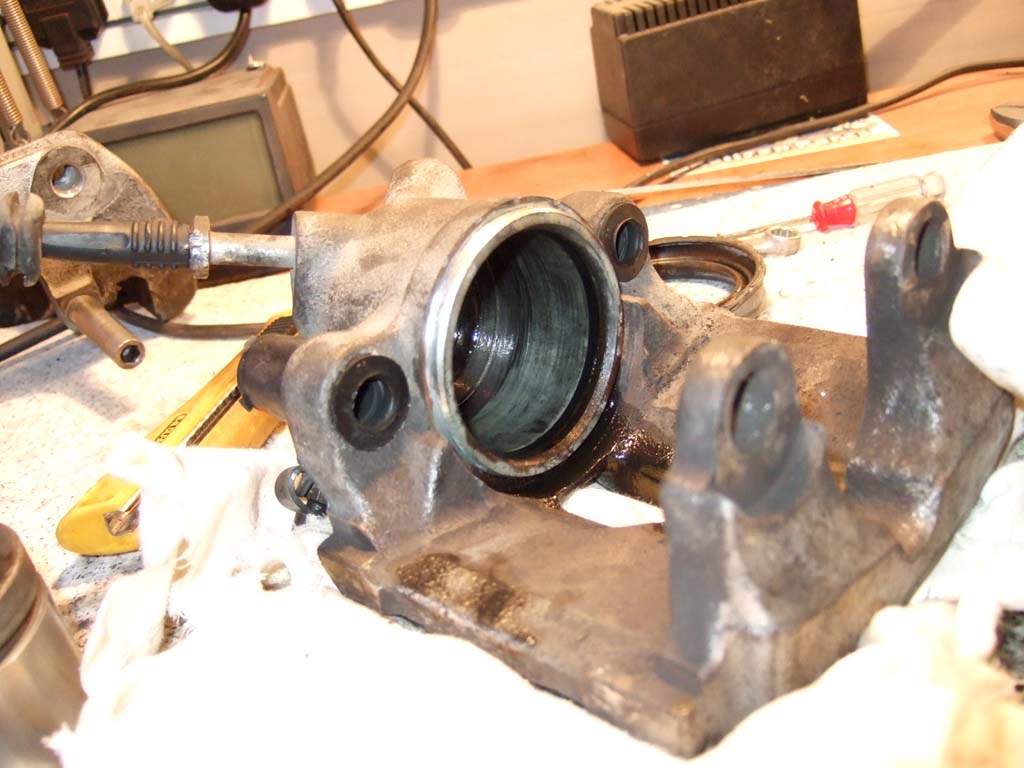
I used a plastic rod to remove the piston seal, clean the cylinder and installed the new seal along with the new guides. Used some brake fluid as lubricating agent I slowly pushed the piston back in place using a wooden rod. Getting the protective boot back on the caliper proved to be the most time consuming task, since it needs to slide evenly to make a good seal. I didn't take pictures, sorry, I was sweat, swearing, and very dirty with brake fluid. The process is the same for all 4 calipers, with the difference that the rear ones have smaller components. You MUST perform brake bleeding after installation.
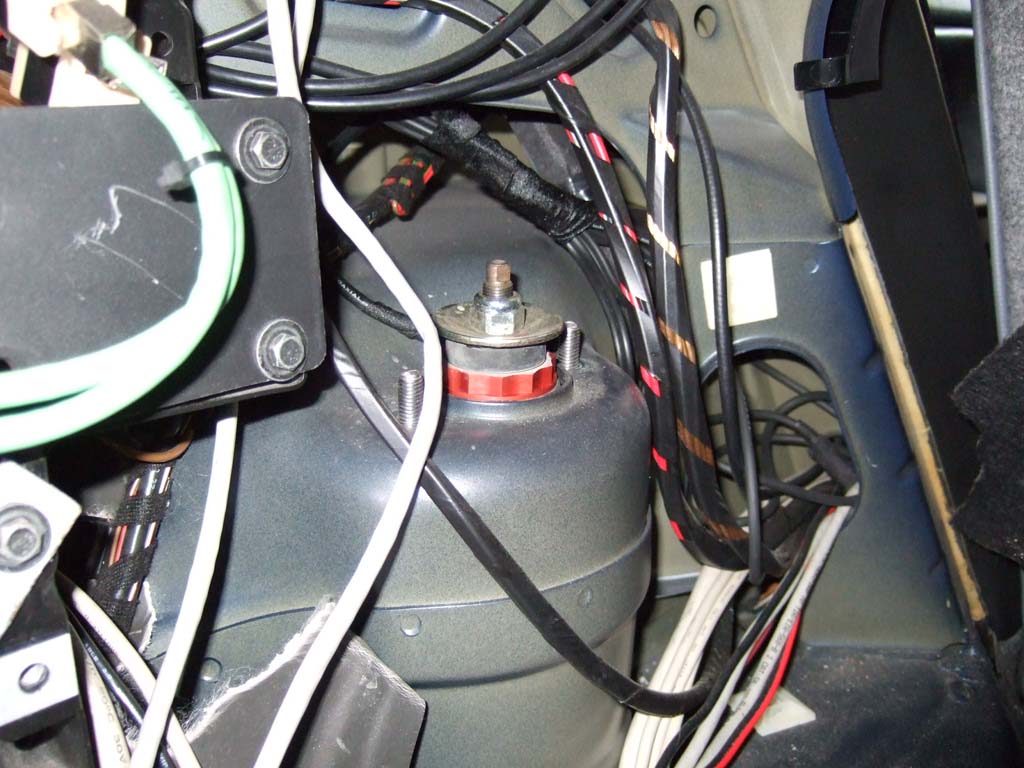
Part III: Rear suspension Place car on ramps and remove 2x13mm nuts on each side of the rear shock tower. Need to (obviously) take the covers out before seeing the 2 nuts.
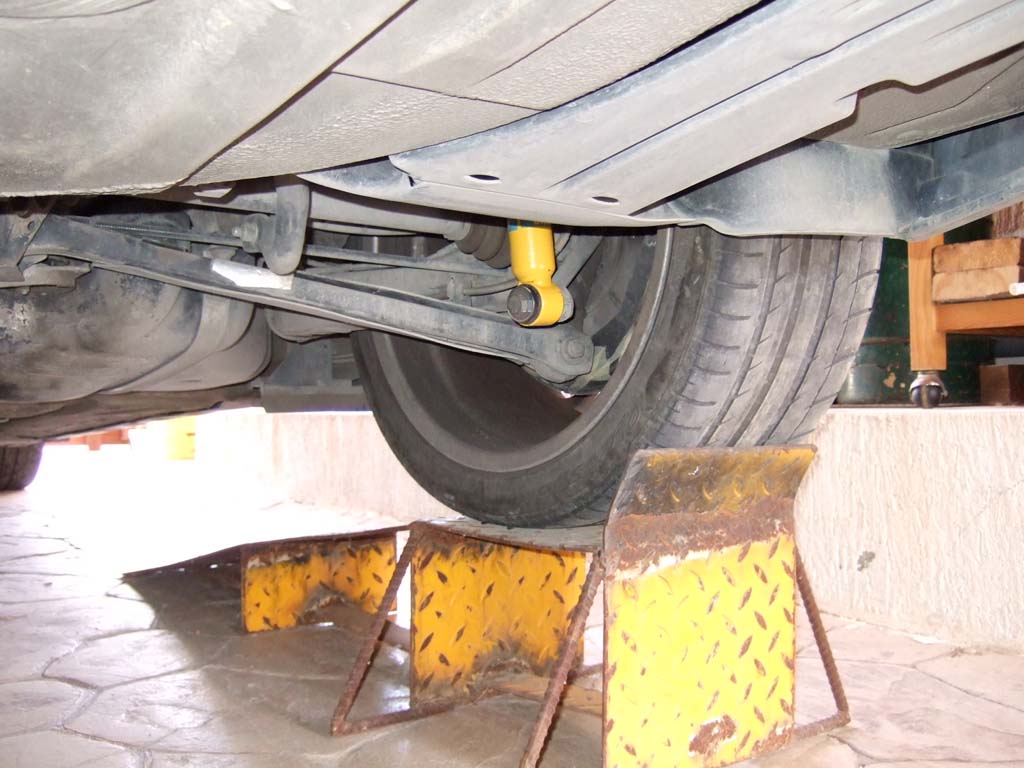
18mm bolt to be removed holding the rear shock
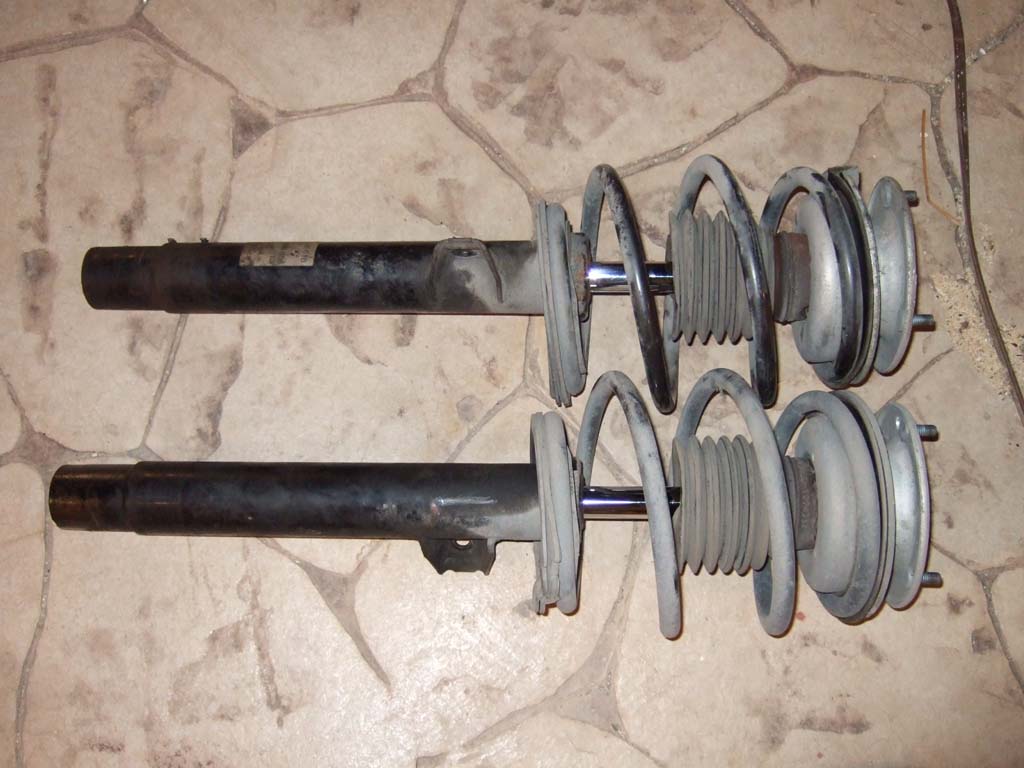
Comparison: The Bilstein shocks were simply uncompressible unless you were some dude on steroids. On the other hand, the OEM Sachs's piston was dropping within the shock by its own weight. It was like having no rear shocks from what I figured out.
Removed the stock nut on the OEM shock in order to reuse the rear shock mounts, bump stops and covers.
I had to use a hydraulic jack to push the rear shock in order to align with the mounting position. Bilstein includes a washer for that bolt.
Old stuff ready for recycling
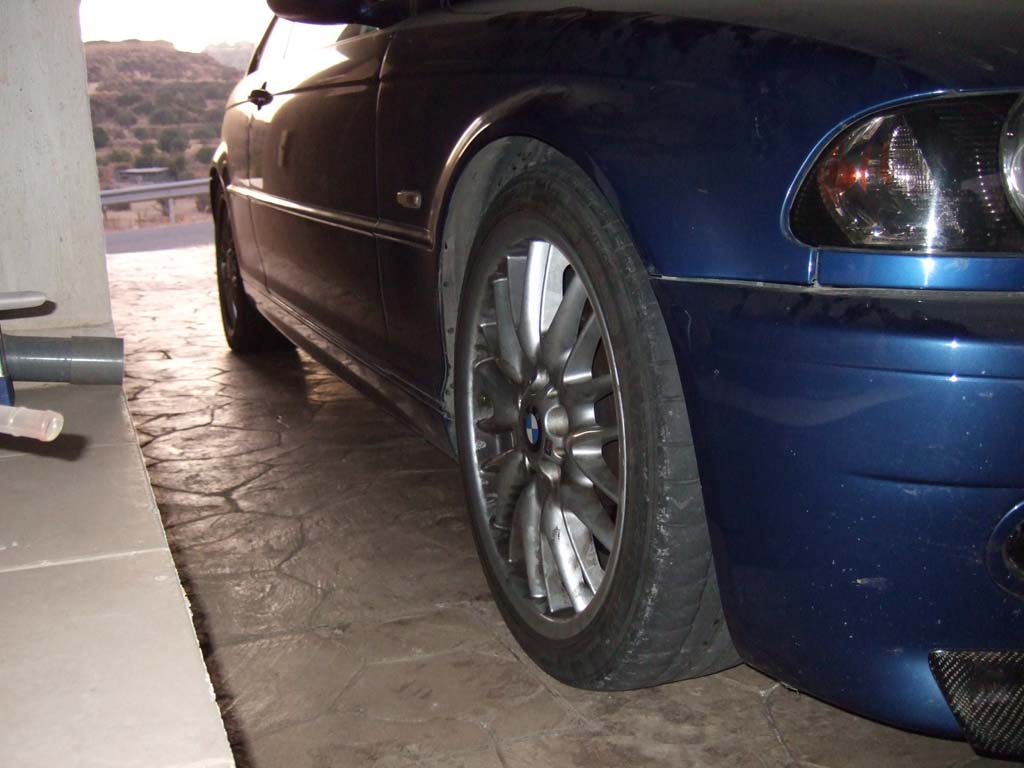
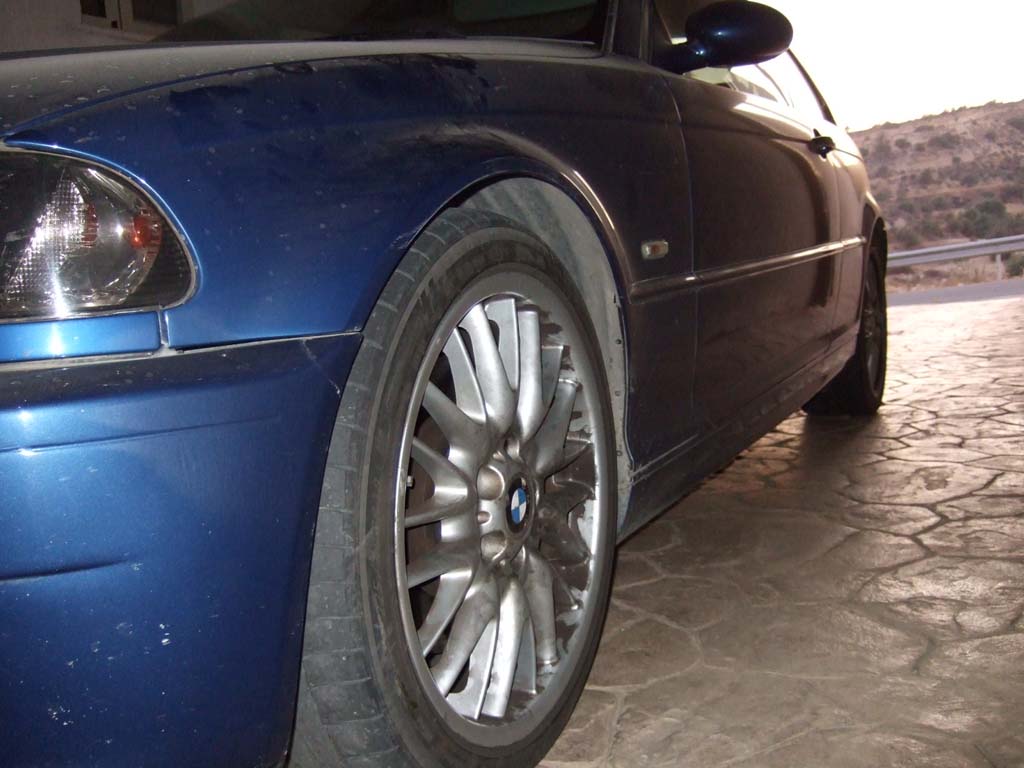
Finished!
Results: No more brake caliper sticking Quieter ride, no more weird noises, car feels SOLID again! Added a couple more years of life to endlinks
|