
The ZF 8HP70z Gearbox Project
After about 1.5 year with the DCT Project, I decided to switch platforms. DCT is out along with the transmission wiring and the controller. Reasons many but not part of this thread.
In its place, we’re installing a ZF 8HP70z automatic transmission from the F30 330d series. A very capable, 8-speed transmission, that can handle loads of torque, that will be paired with a different control unit this time from TurboLamik. I will emfasize on the electronics modifications on this thread as well, along with the mechanical bits.
For this conversion, I will be using the following:
1. Adapter plate to allow this gearbox to bolt to the M54 block, as the starter is lower/left side instead of upper/right (sort of mirrored)
2. Custom or OEM mix’n’match driveshaft
3. Custom or OEM gearbox crossmember
4. Turbolamik TCU with MS43 canbus integration & individual drive mode programs
5. N55 6-bolt Flexplate (my crankshaft is 6-bolt pattern so got to use this one)
6. N57N torque converter (comes with the gearbox thankfully)
7. F82 M4 Joystick
8. E46 M3 paddles
9. Custom IKE integrated OLED display for gearbox info
10. Milspec wiring with proper connectors
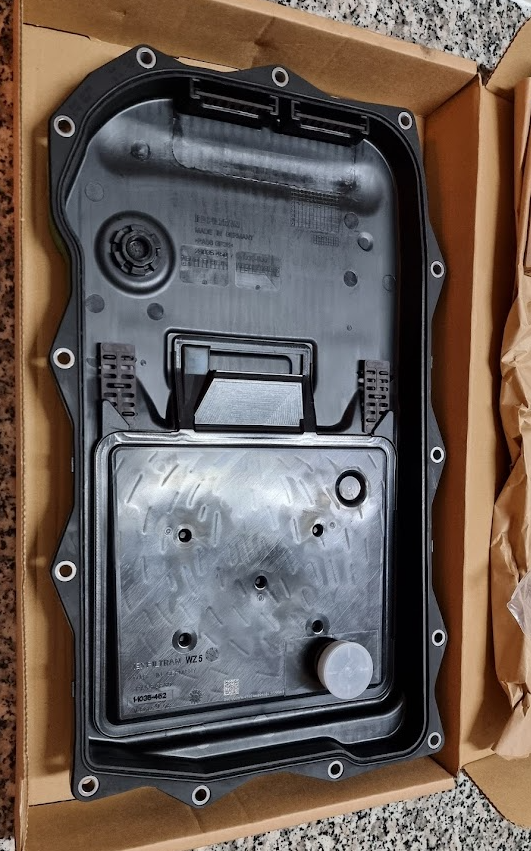
11. Genuine BMW oil pan with integrated oil filter
12. Setrab 25-row oil cooler
13. Davies, Craig 12″ cooler fan with thermostat
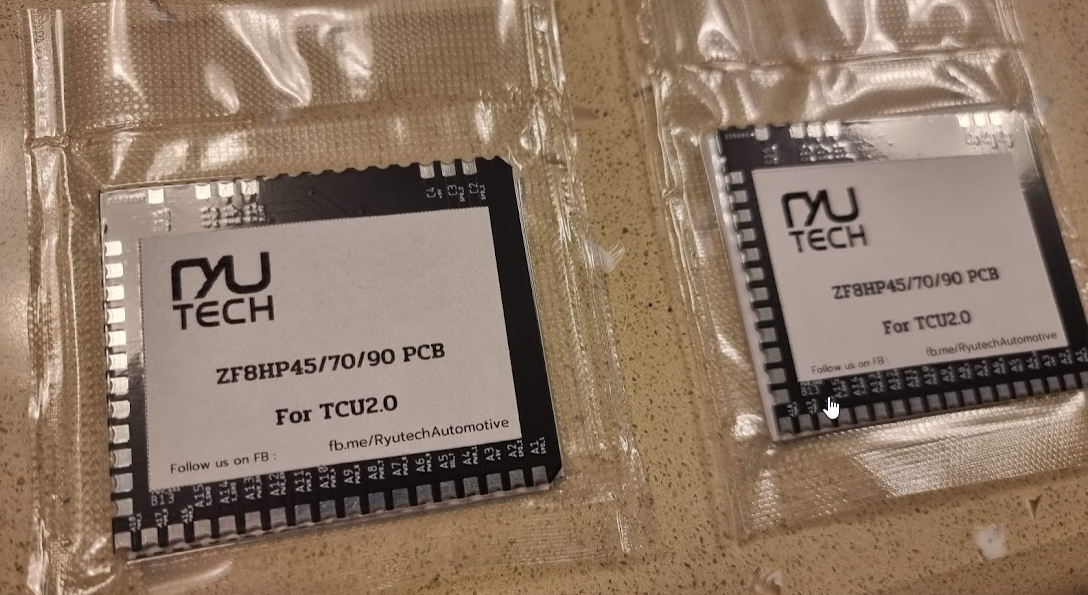
14. Custom PCB board for 8HP Mechatronics modification
15. Oil seals & Gaskets
At the moment I am waiting delivery of the gearbox. Once received and verified non-damaged, I will go ahead with the rest of the parts.
Document with repair instructions & torque values:
Gearbox:
Crank on my engine:
28 September 2021: Gearbox has been delivered
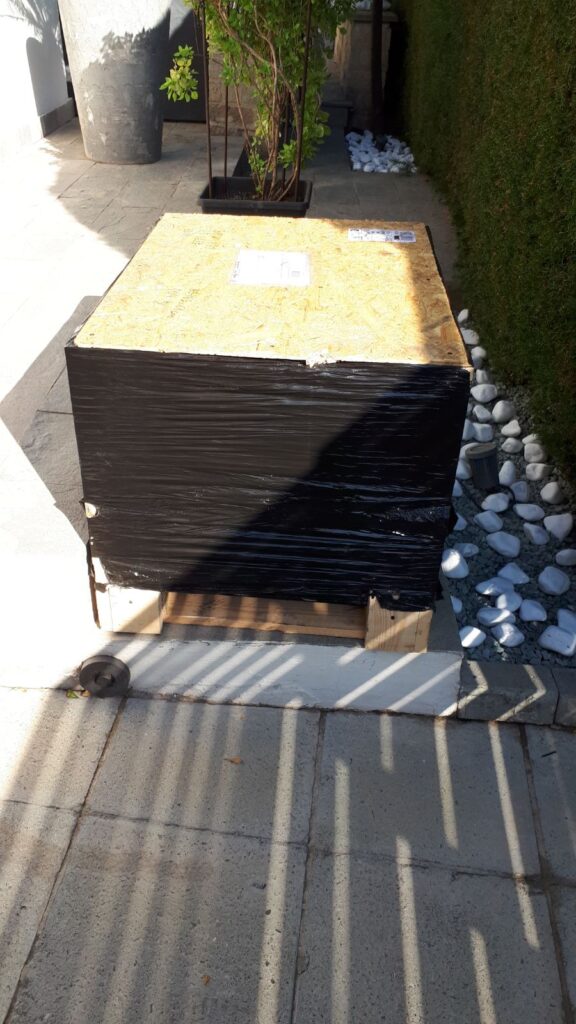
Unboxed:


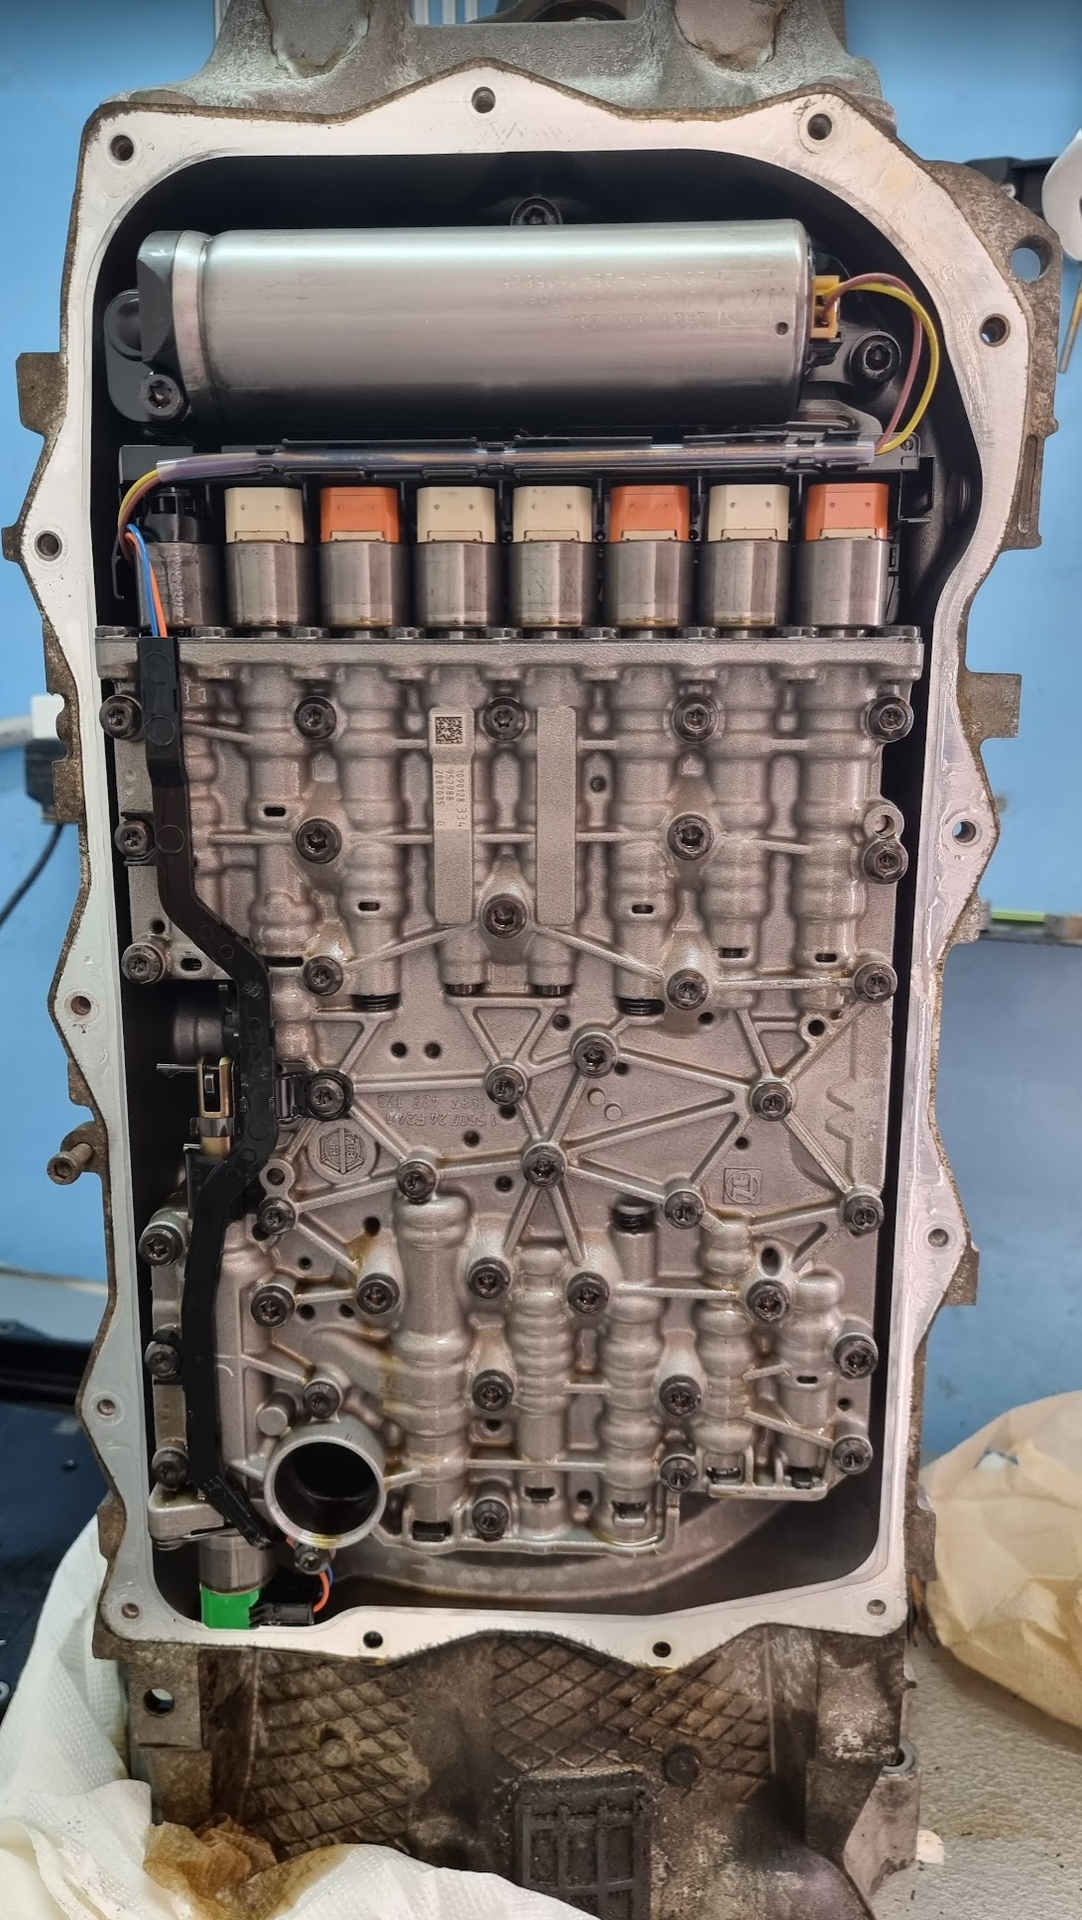
Oil pan removed. The big round tube on the top is the oil pressure accumulator for cars with start/stop system. Not going to be used on the E46 obviously.
As all parts have arrived (minus the potting epoxy) it’s time to start working on the project.
Reference video for the mechatronics modification:
Parts:


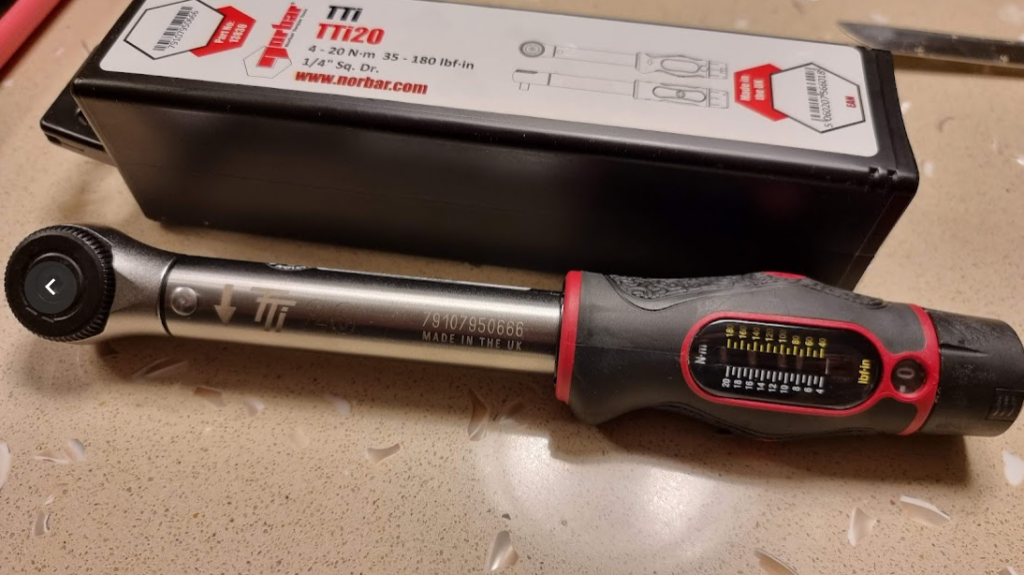
Small range torque wrench for the detailed works. Inside the 8HP most torque settings for this job are between 5-12Nm
Removed the valvebody/original TCU from gearbox and preparing for solder:


Although all bolts will be replaced, it’s always a good idea to sort them


Dremeling the 4 plastic welded rivets on the TCU housing to separate it


Exposed (Almost)

Cuting time

Marking with blue the max cutting depth (1.4mm)

Here it is:

Using a knife to cut all connections


Cleaning as much things as possible. That PCB is very hard to remove as it’s glued so I left it there

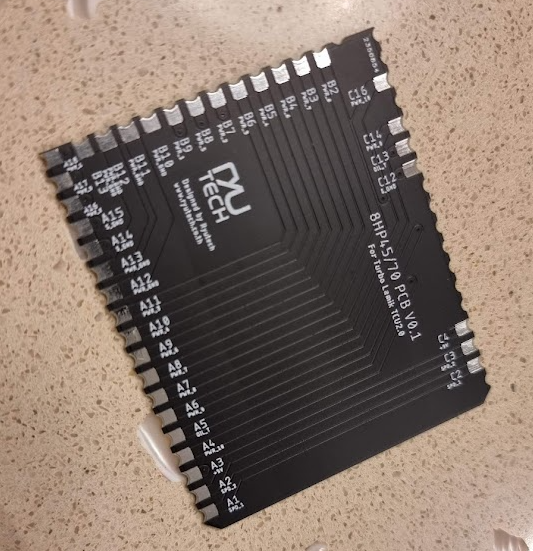
Test fit of the new PCB, that will allow the aftermarket gearbox controller to… control this gearbox:

Next step: Soldering, sealing, re-install
Finished Soldering Job:


Santa (UPS) has also just delivered the TCU – Transmission Control Unit by TurboLamik
Chunky plug

Program Selector, shifter & LCD connectors

Potting the PCB


I’m also going to use Domiworks aluminum CNC cover with for added protection to go on top of that.

Trimming the tcu cover a bit


All done, closed and sealed:


Resistance measurement (5-6Ω) average check

New mechatronics plug seal

8Nm Valvebody to transmission

New bolts, all in place and torqued to spec

It’s night and it’s cold so I started working on the wiring loom install. First of all, the LCD screen and the program selector switch are installed in the below the HVAC.


Program selector a bit recessed because i like it like this


Wiring Weekend
TCU will be mounted here, once the clutch departs


Labeling

Connected:
+12v straight from battery positive with 20A fuse
Ignition switched from below steering wheel (used as signal only)
Handbrake signal
Canbus signal from the twisted pair going to the instrument cluster
Reverse signal
Aux fan signal
Screen & Program selector
Tucked the wiring loom for the gearbox around the shifter area till the installation day
Flexplate ready, from N57N (but converted to a 6-bolt patter for my unique crankshaft)

Adapter plate

Some trimming needed:

What the plate does, comparing with the stock E46 bolt pattern for bellhousing


The M54 starter teeth seem to mesh fine.

Grinding time

Final testing before actual install

After getting 0 errors in TunerPro, packed for the install.

Installation so far is straightforward. We reused the prototype DCT gearbox mount (that’s why it’s shaped oddly) and driveshaft. Shop chose to use genuine BMW gearbox bolts rather than the supplied allen bolts. Reason being, they require shorter sockets (see reaching top/starter bolts etc) and less likely to strip.


Oil cooling also sorted, using an HPR adaptor, AN10 fittings, 185F Improved Racing thermostat and a 25-Row Setrab Pro-line Series 9 Cooler


01/01/2022 Update – Everything bolted and car is ready to roll. Nearly 10L of oil added, checked for leaks, arranged the exhaust a bit and it’s ready.


